I created a Xeltek Superpro 7500 Socket Cover Protector
When it comes to storing the Xeltek Superpro 7500 While not In Use, I am particularly cautious about not leaving the Adapter Installed. Instead, I opt for a highly secure approach by storing the expensive xeltek adapters, Which cost $135 for a basic GX0001 to upwards of $750-$1,500 for the BGA and Gang Adapters, in a drawer. Given the significant value of the programmer alone, totaling around $2000 USD, I am compelled to take proactive measures, which led me to create a Socket Cover Protector.
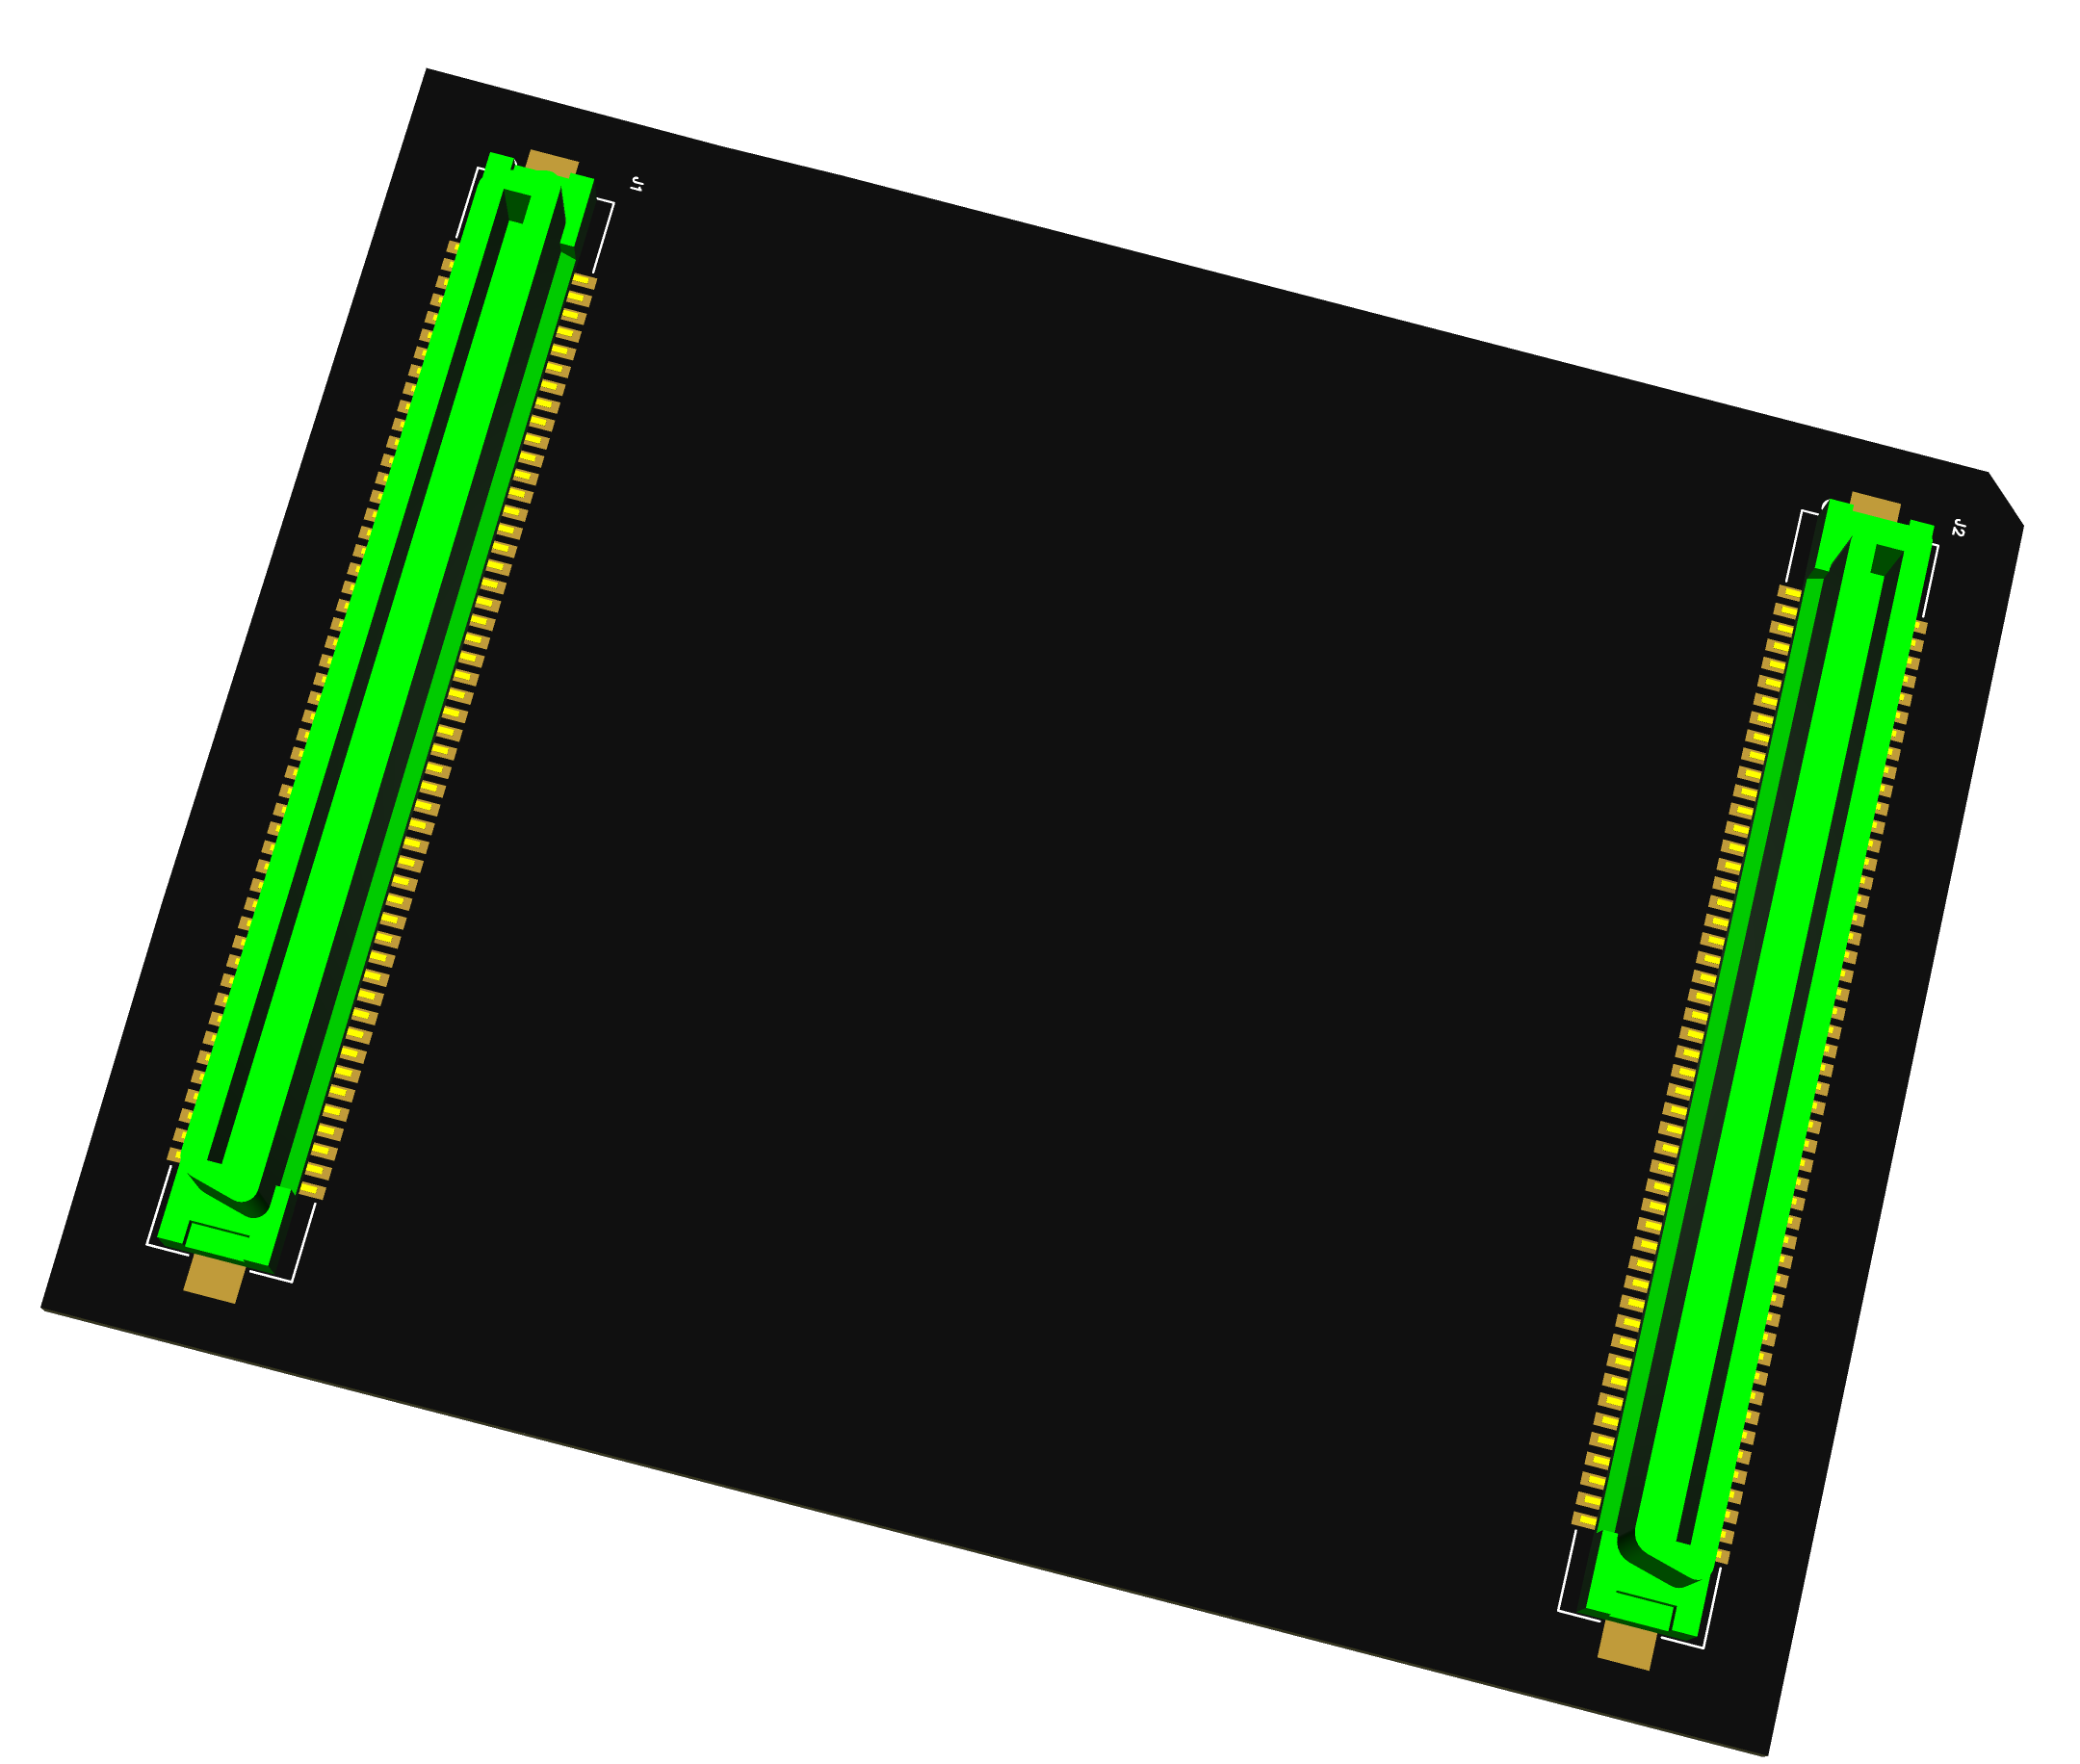
Although I’m still a novice in 3D Modeling, I am actively learning and improving along the way. Employing a variety of 3D modeling tools, I embarked on the task of creating a 3D model of the Adapter in easyeda pcb software. However, I encountered a challenge when the pins resulted in a noticeable gap between the Hirose FX2-100S-1.27SV(71) connectors and the top section. Determined to overcome this obstacle, I devoted my efforts to diligently filling in the area and slightly increasing its size to ensure enhanced rigidity. While I recognize that simpler methods might exist, unfortunately, due to time constraints, I couldn’t explore more complex 3D modeling platforms like Fusion 360, freecad, blender, etc.
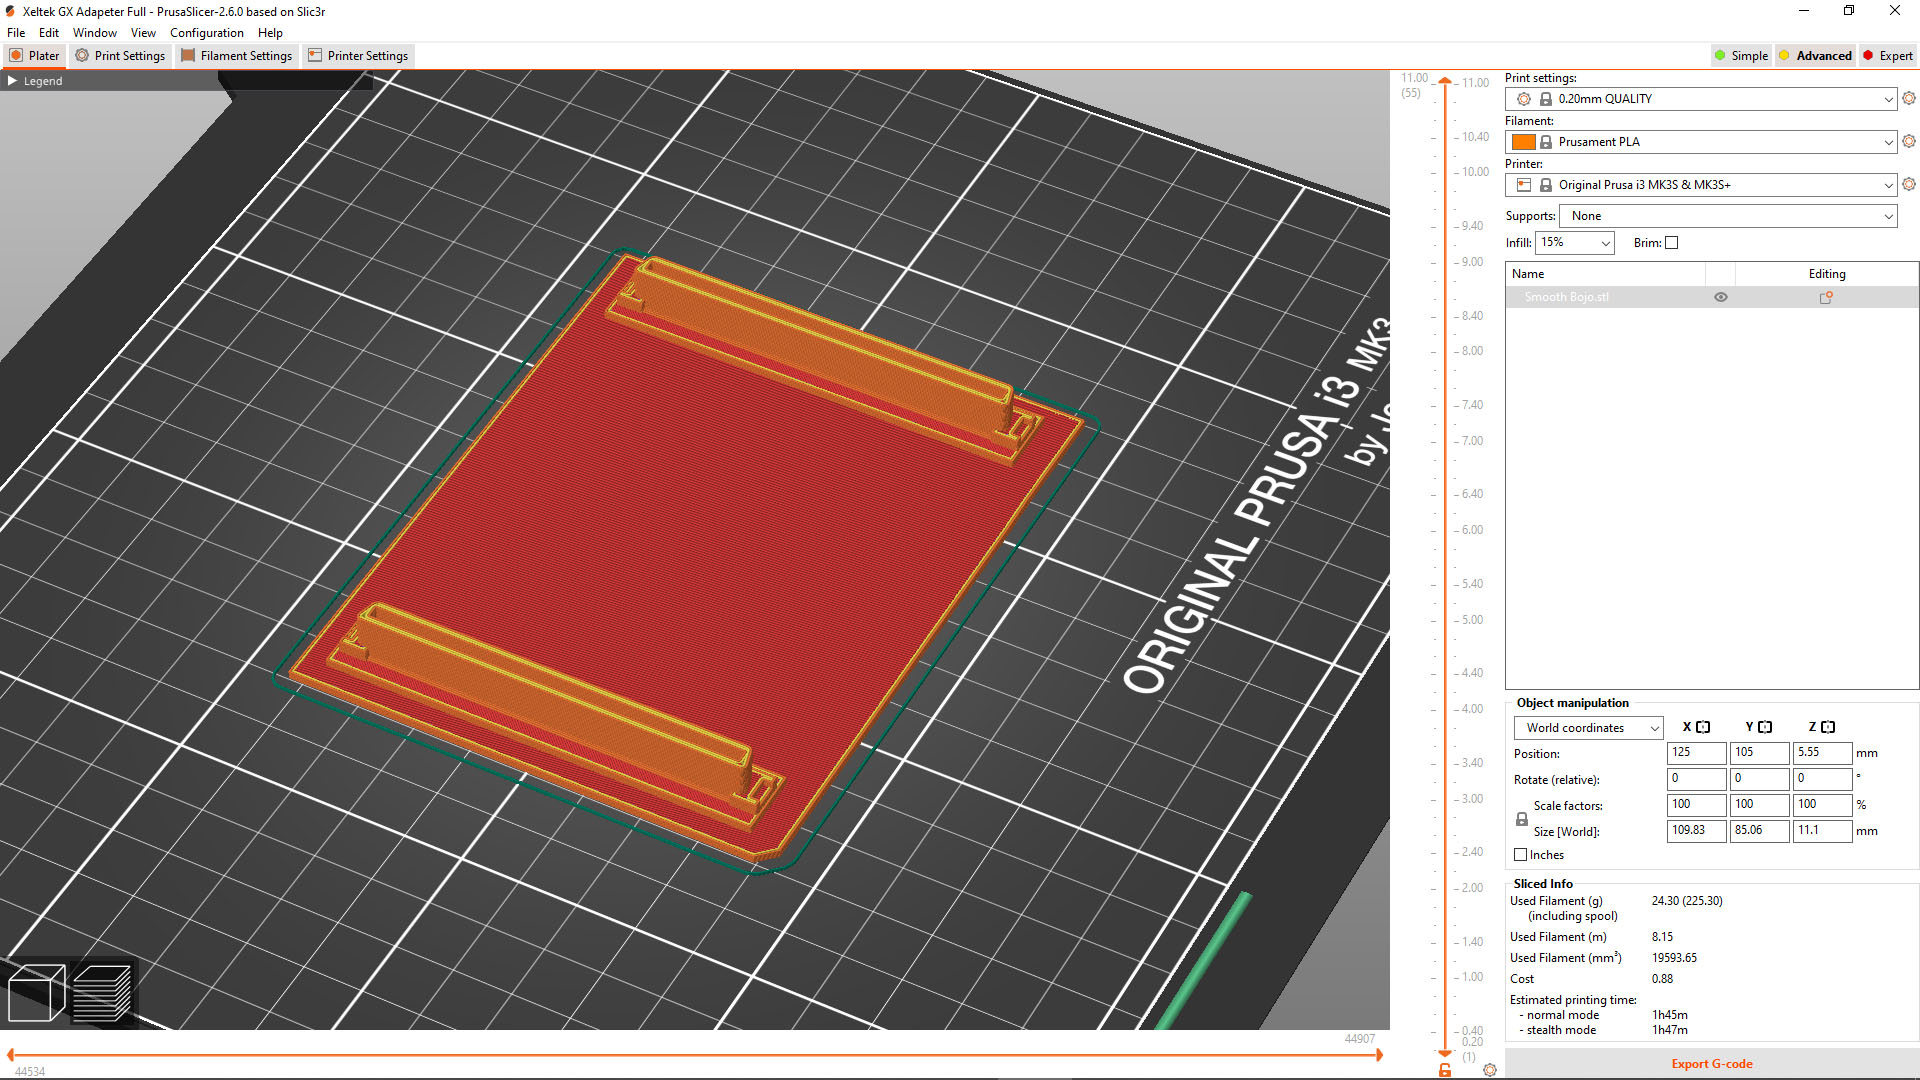
After meticulously refining the 3D model for effortless 3D printing without the need for excessive supports, I imported the Xeltek Superpro 7500 Socket Cover Protector model into the user-friendly Prusa Slicer. Much to my delight, the software swiftly analyzed the design and projected a remarkably efficient printing time of a mere 1 hour and 45 minutes.
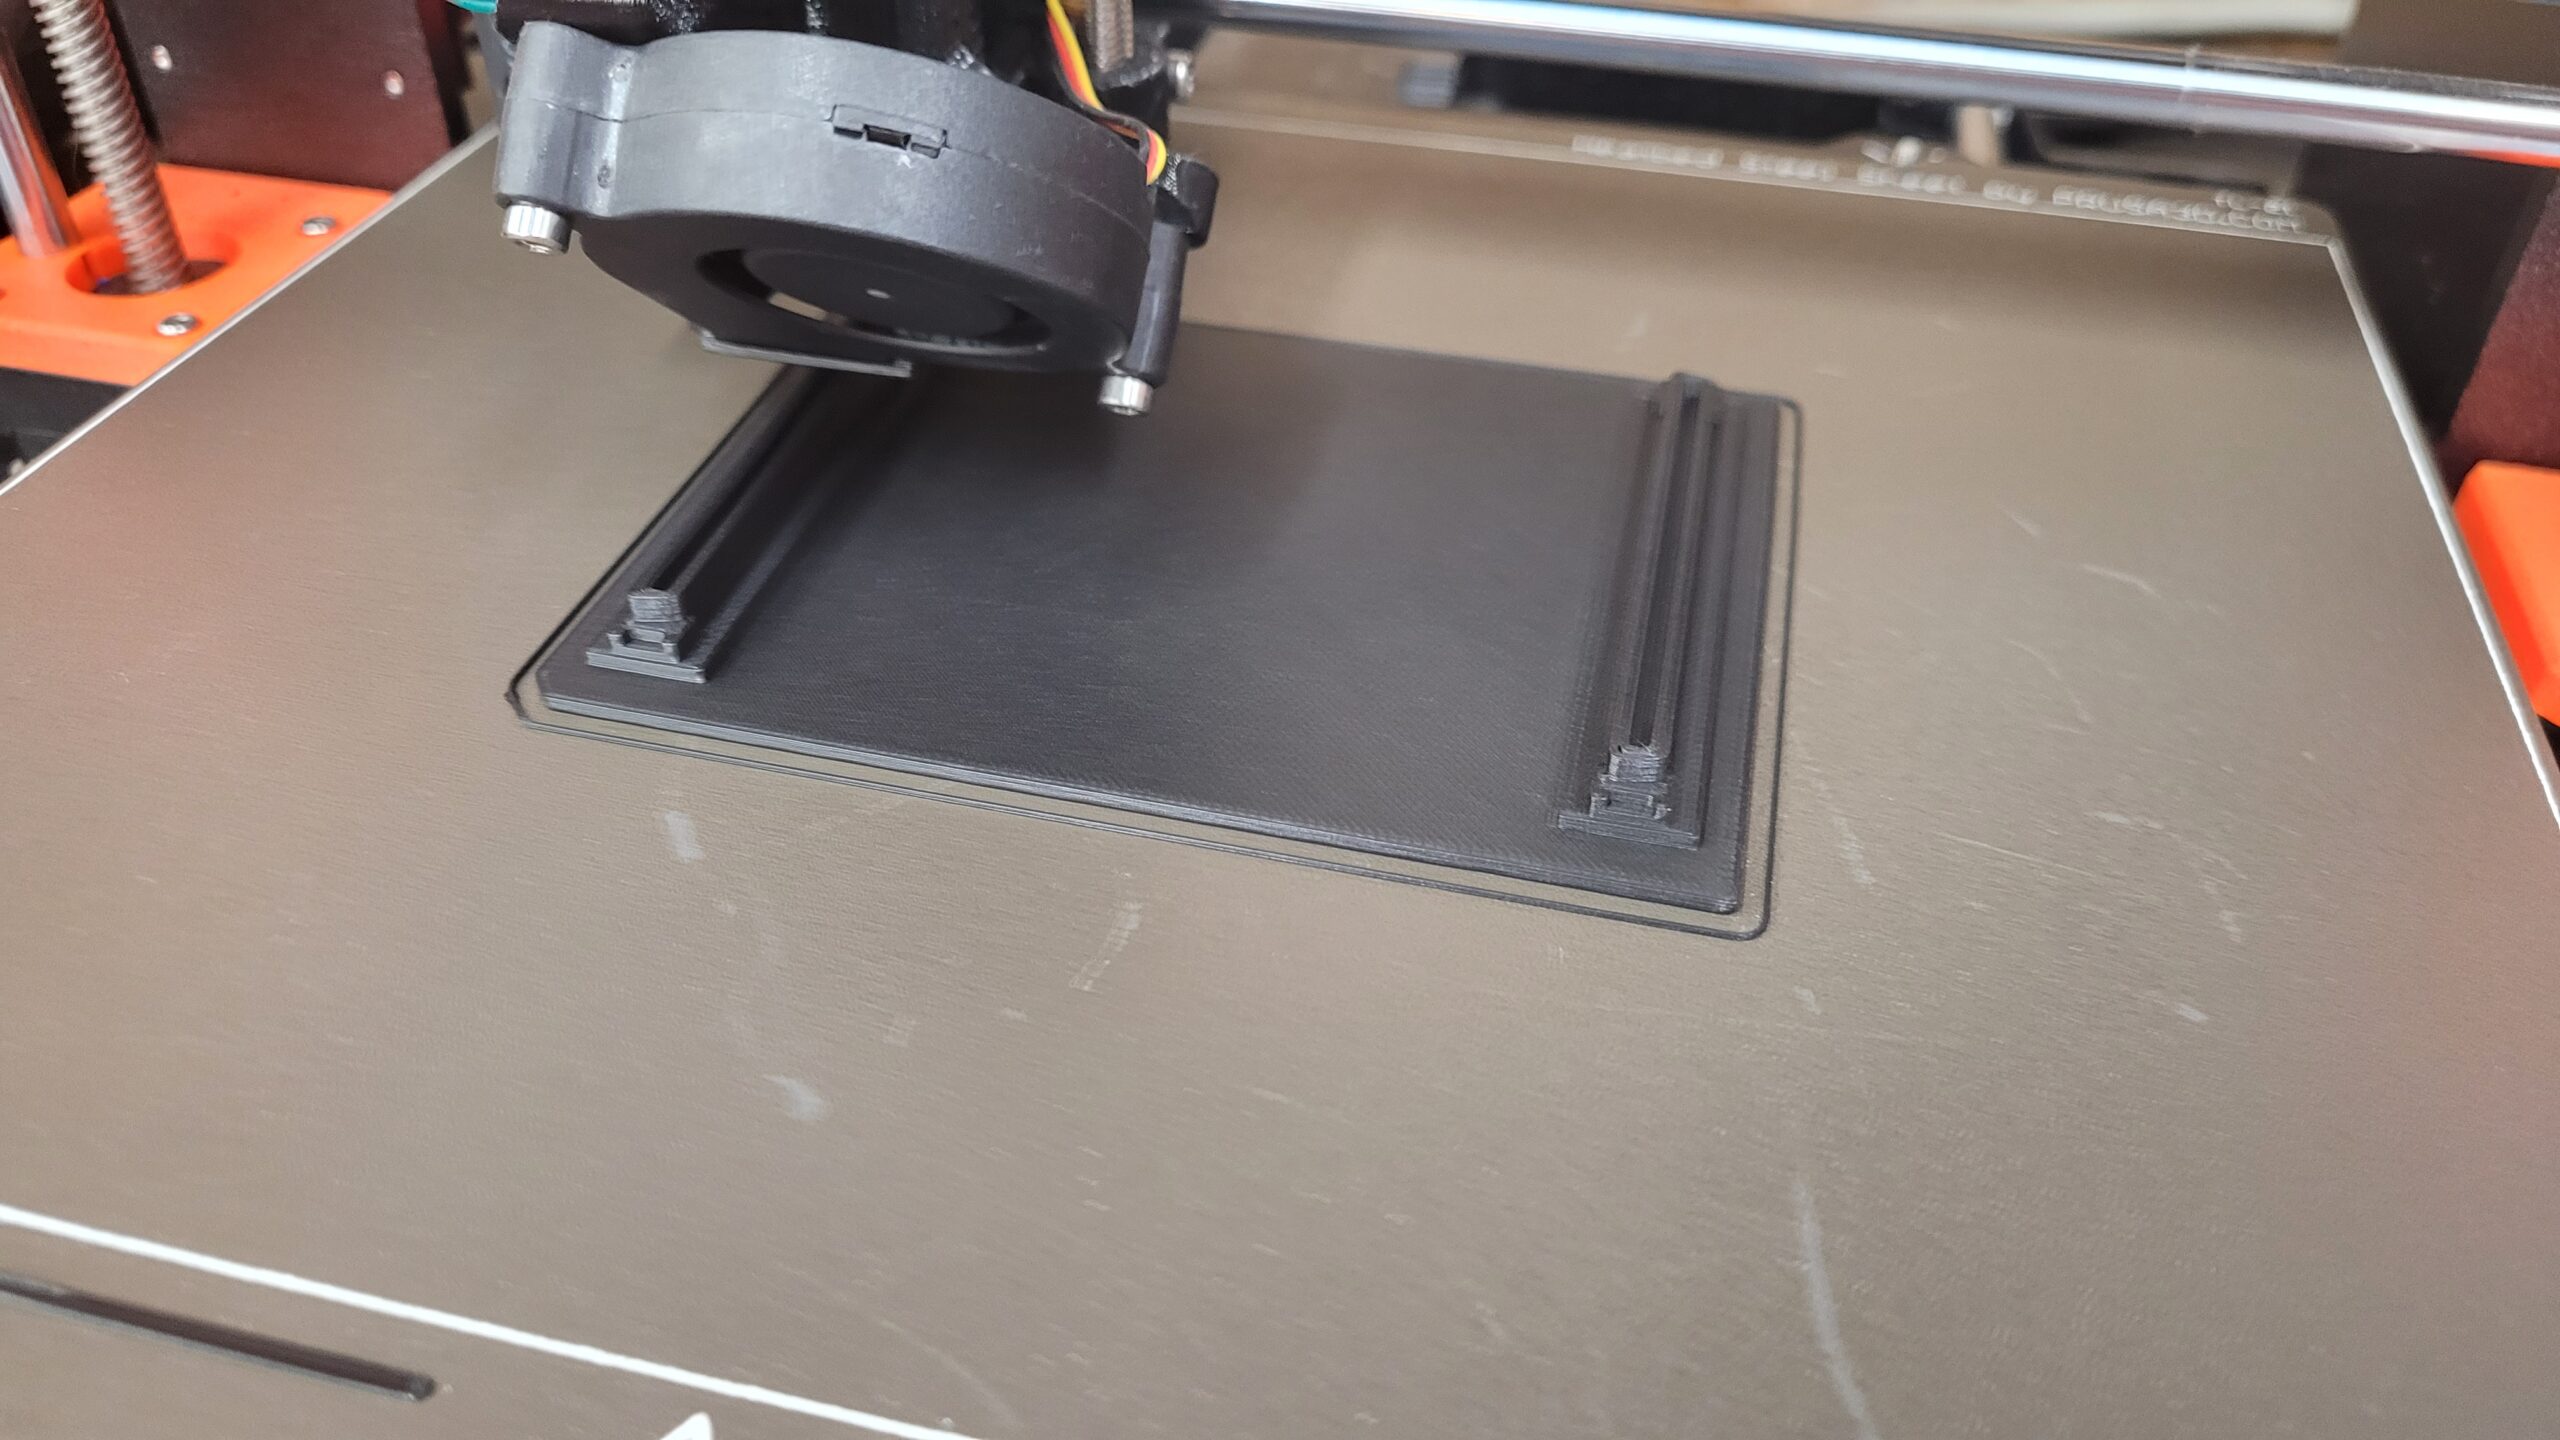
Taking full advantage of one of my reliable Prusa MK3S+ 3D printers, I initiated the printing process. The first and second layers seamlessly adhered, despite this filament’s inconsistent performance, fueling my confidence in the print’s ultimate success. An hour later, upon revisiting the printer, I experienced a surge of satisfaction as I observed that everything was progressing flawlessly as intended. In an effort to minimize waste, I consciously opted to employ this spool of matte filament that proved to be challenging to work with due to its inadequate printing properties and excessive softness, rendering it unsuitable for finished items. However, for the purpose of prototyping, this compromise proved acceptable, effectively preventing the spool from being consigned to the landfill.

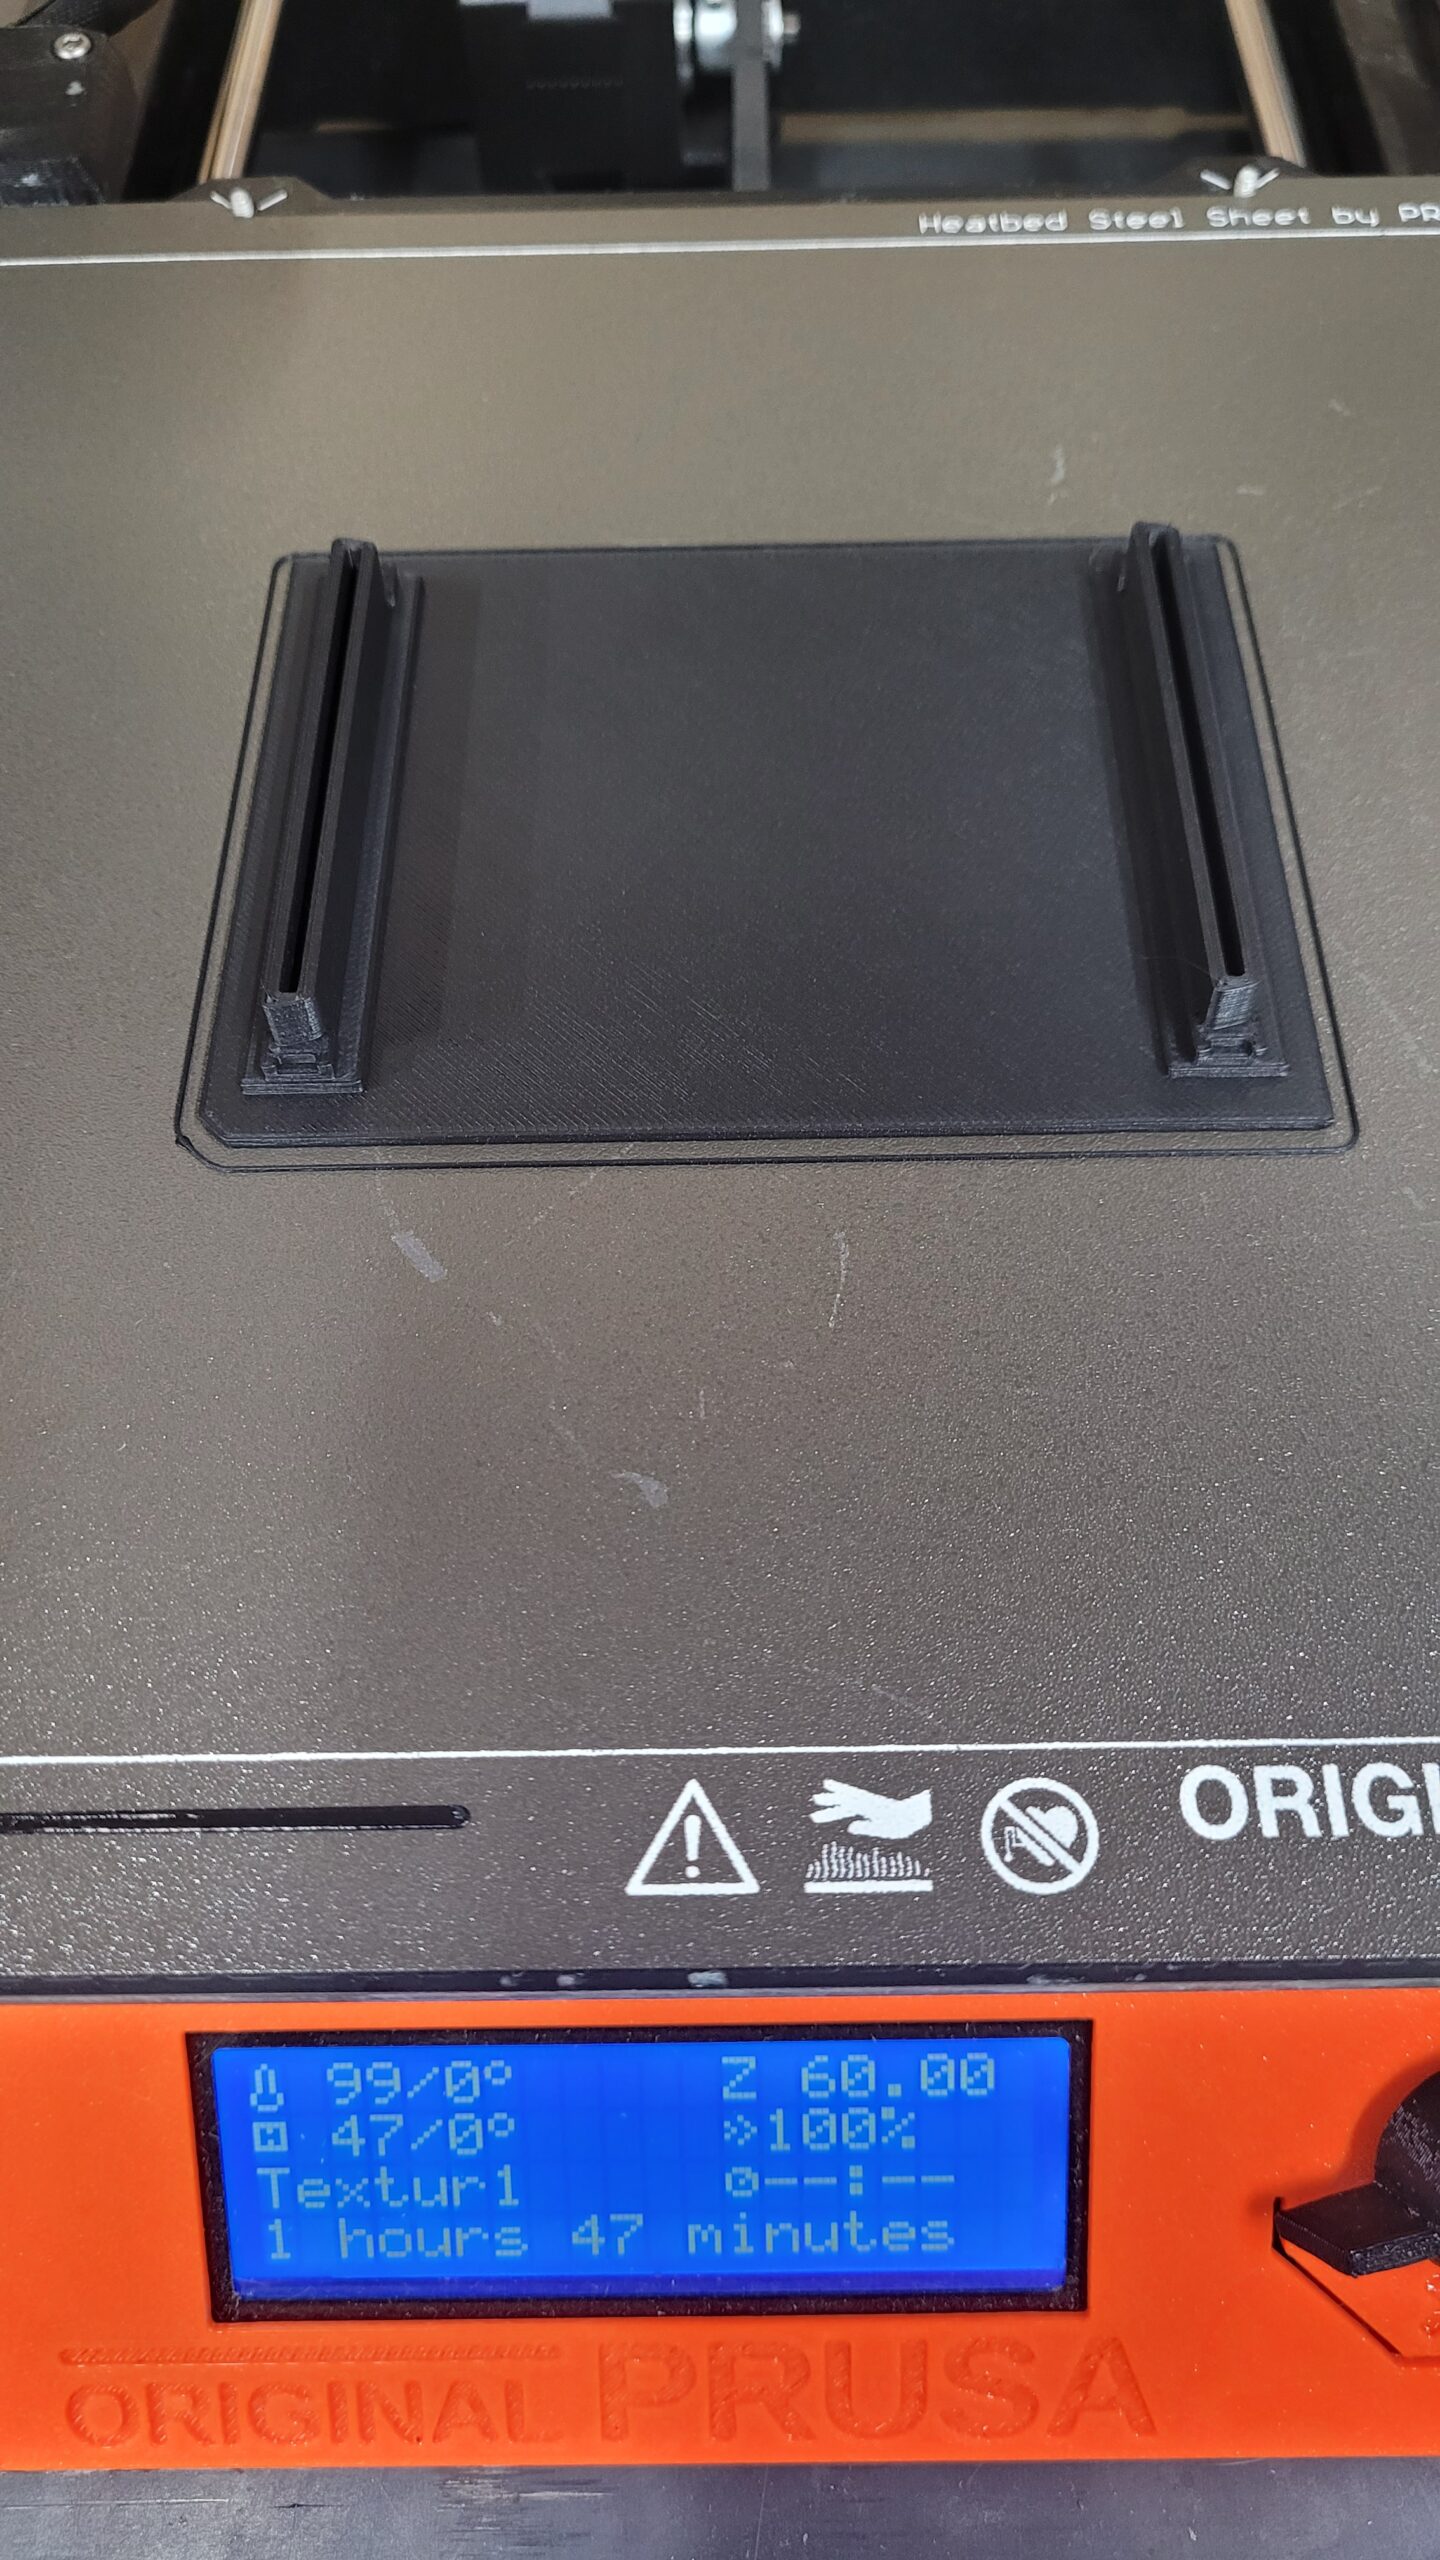
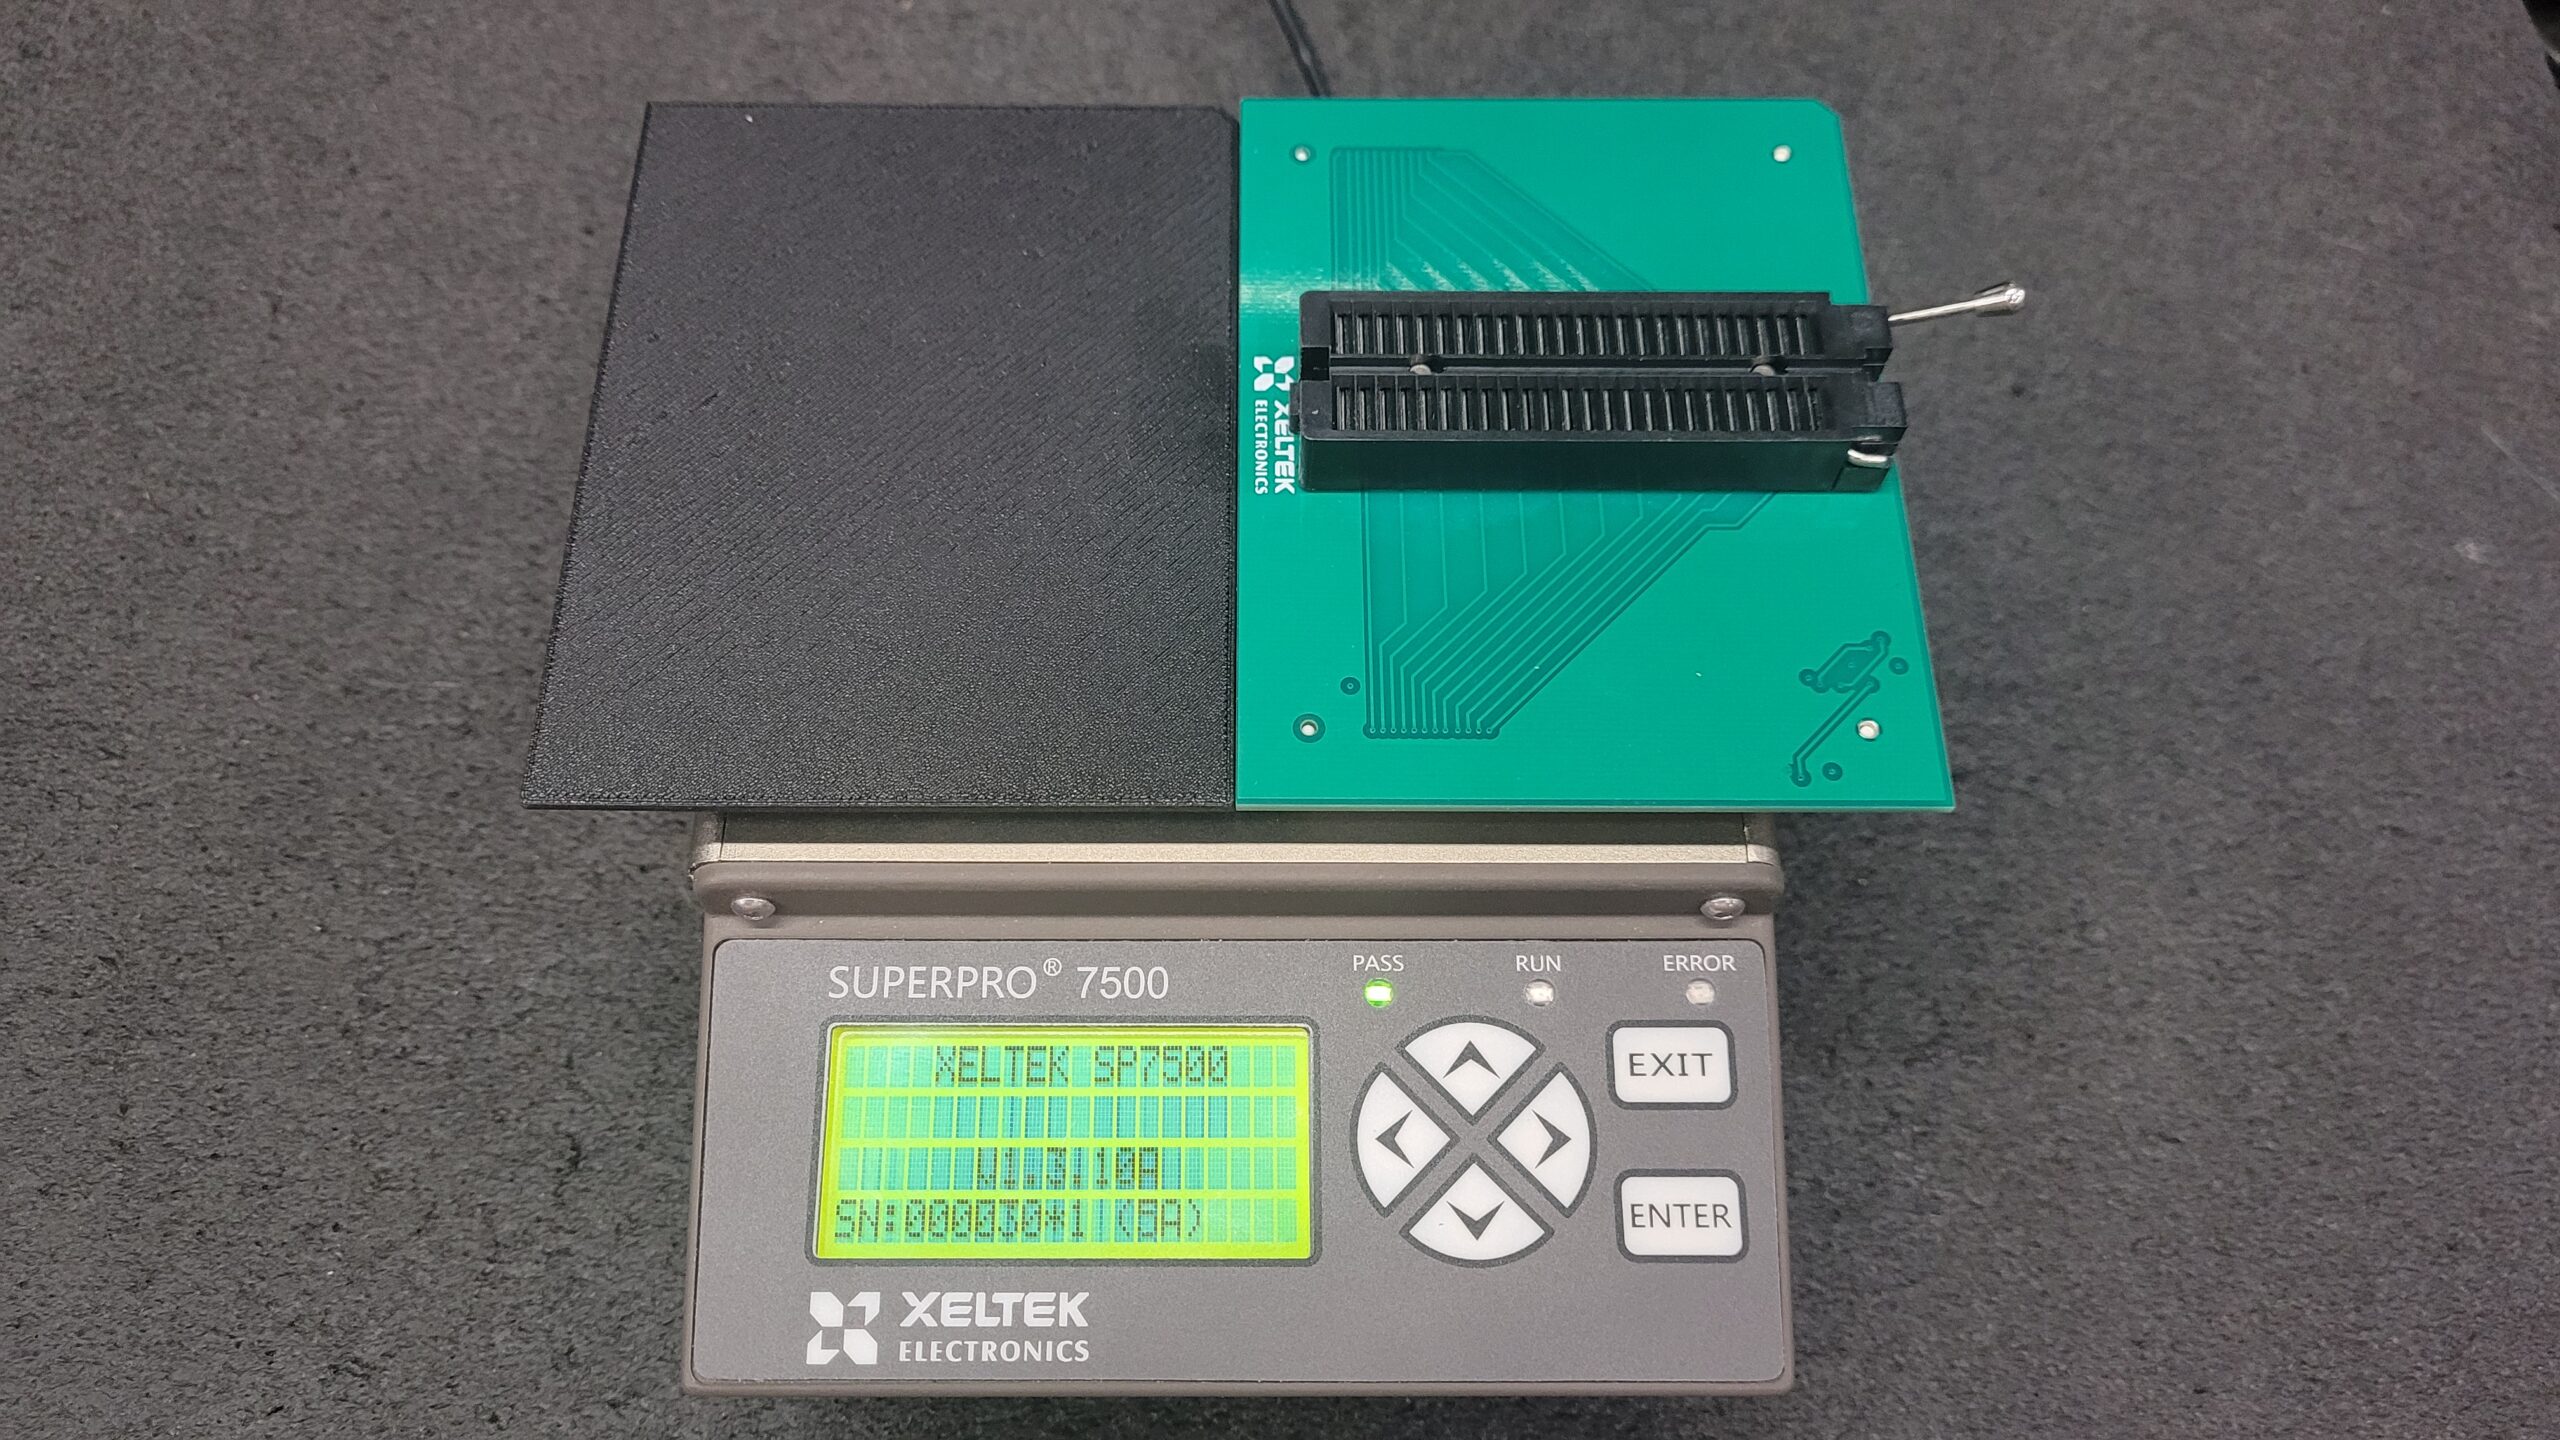
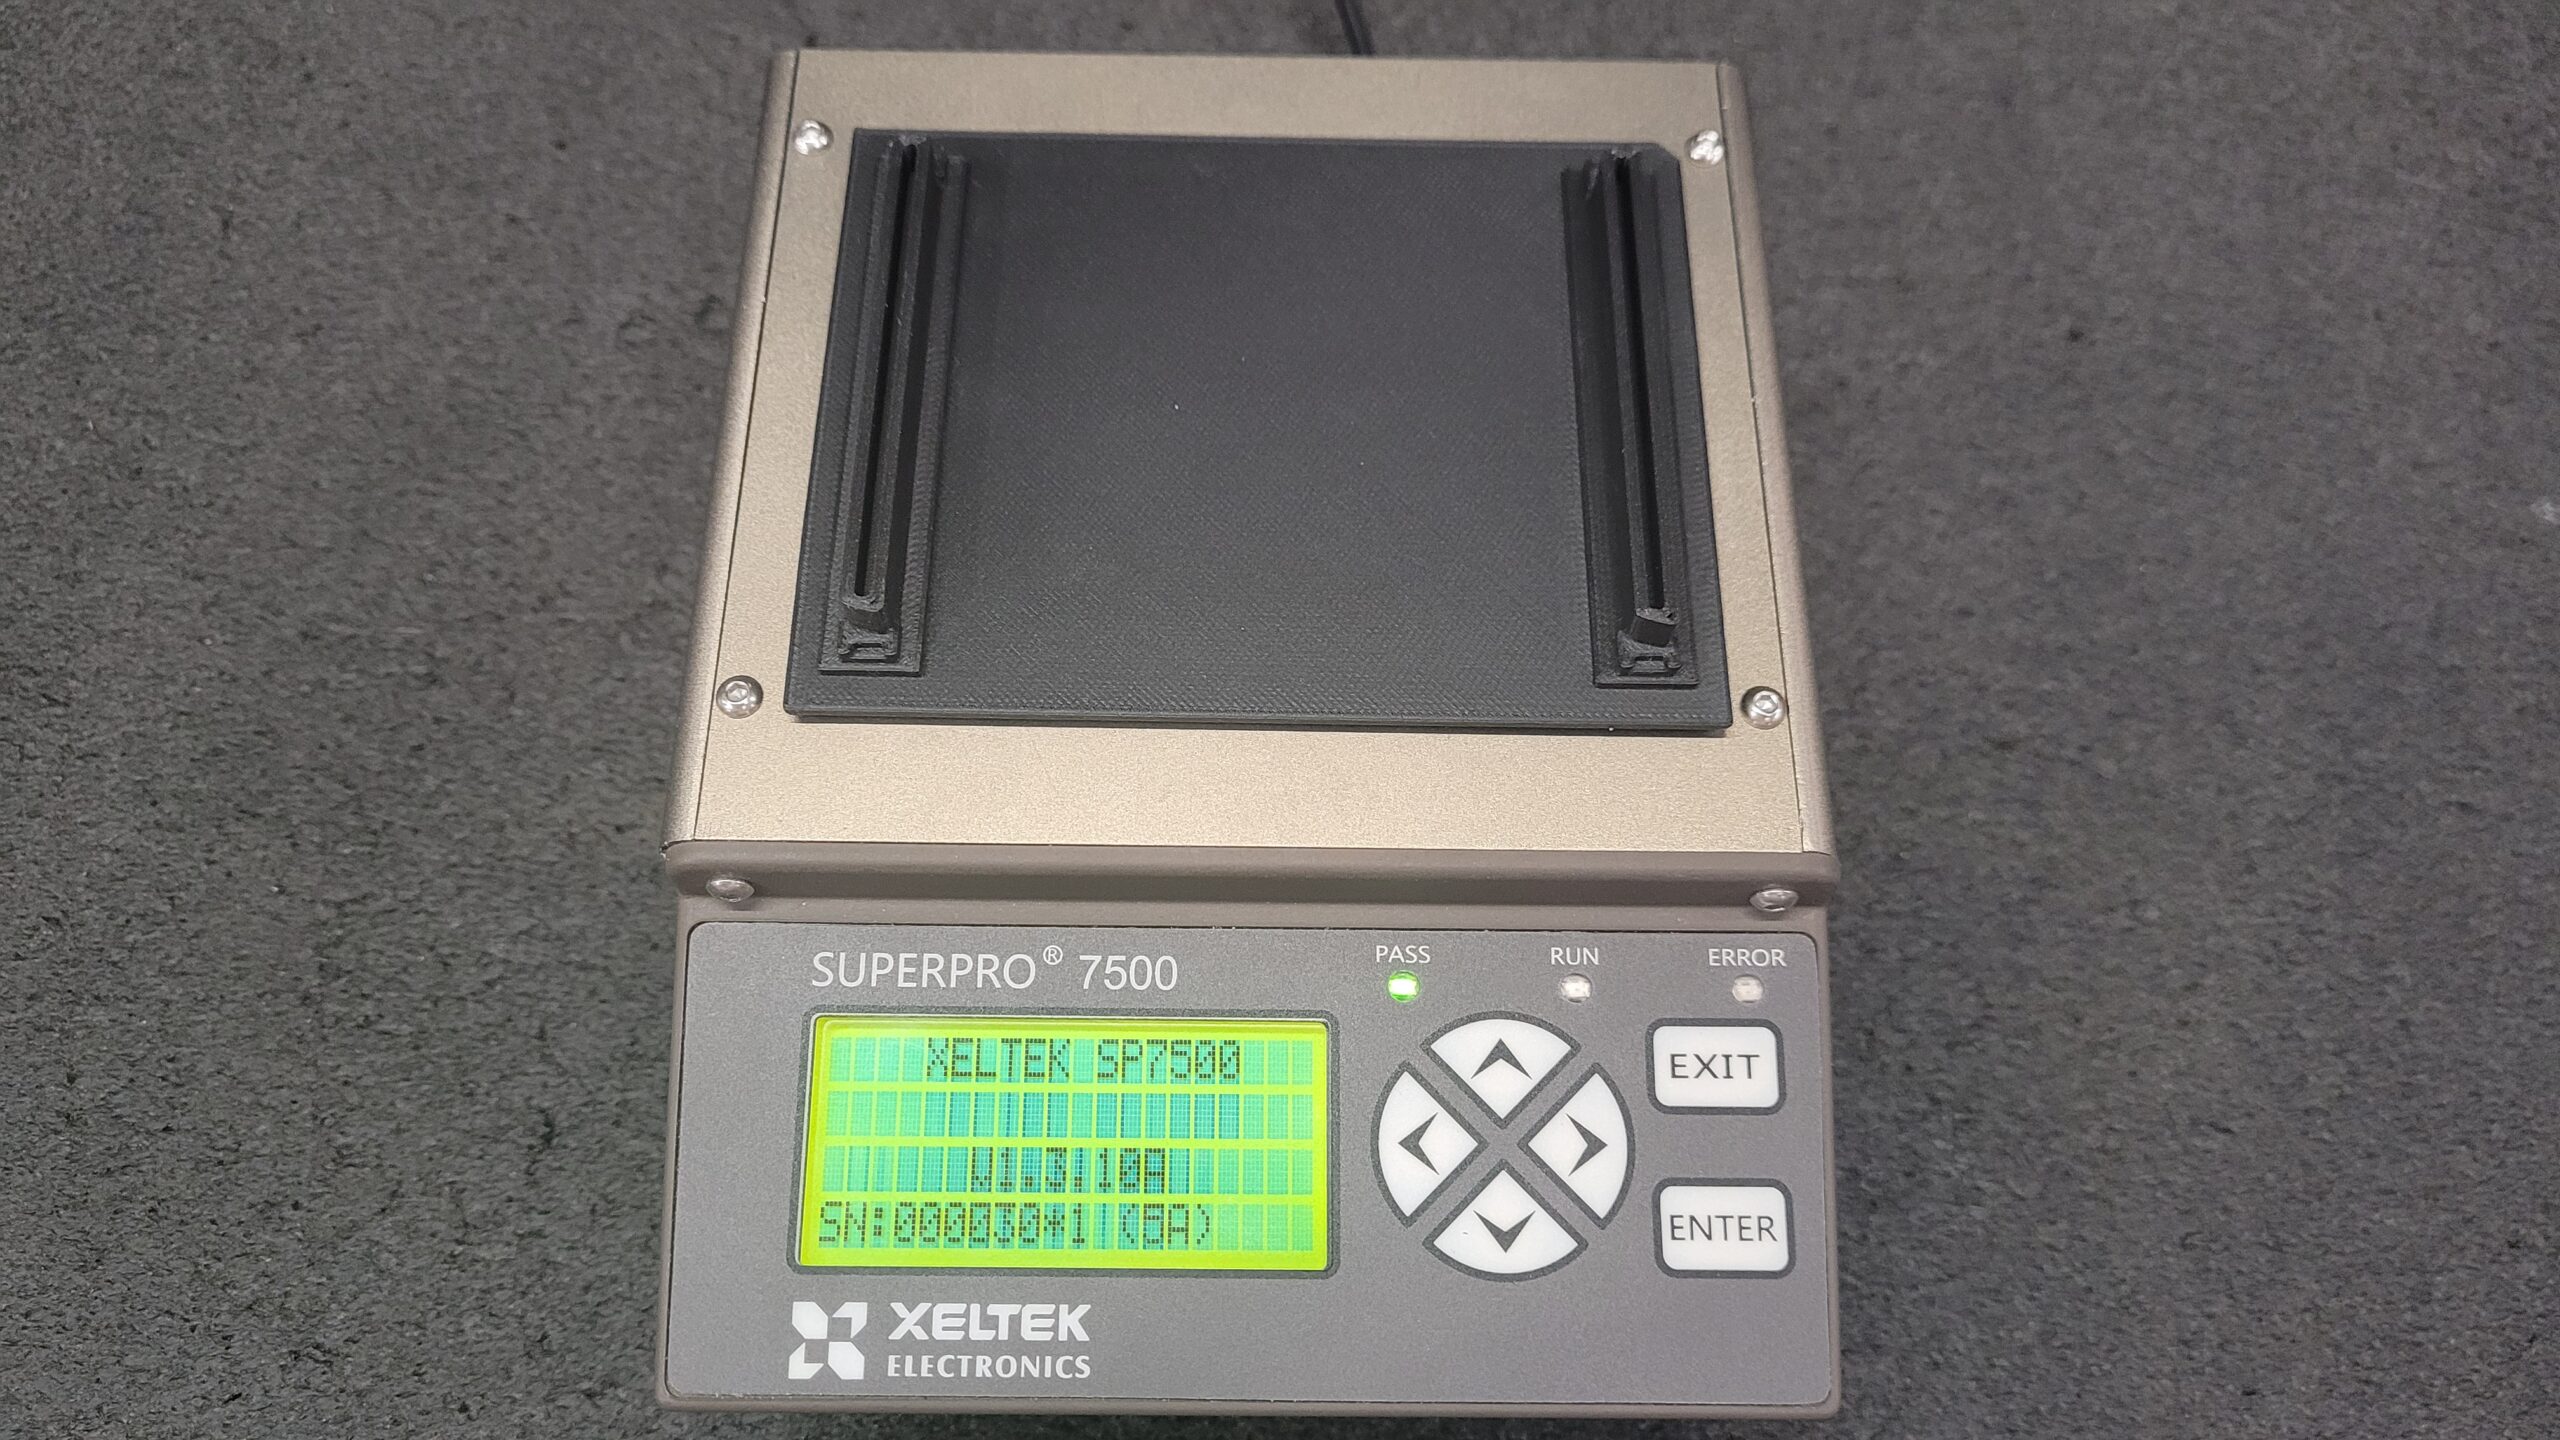
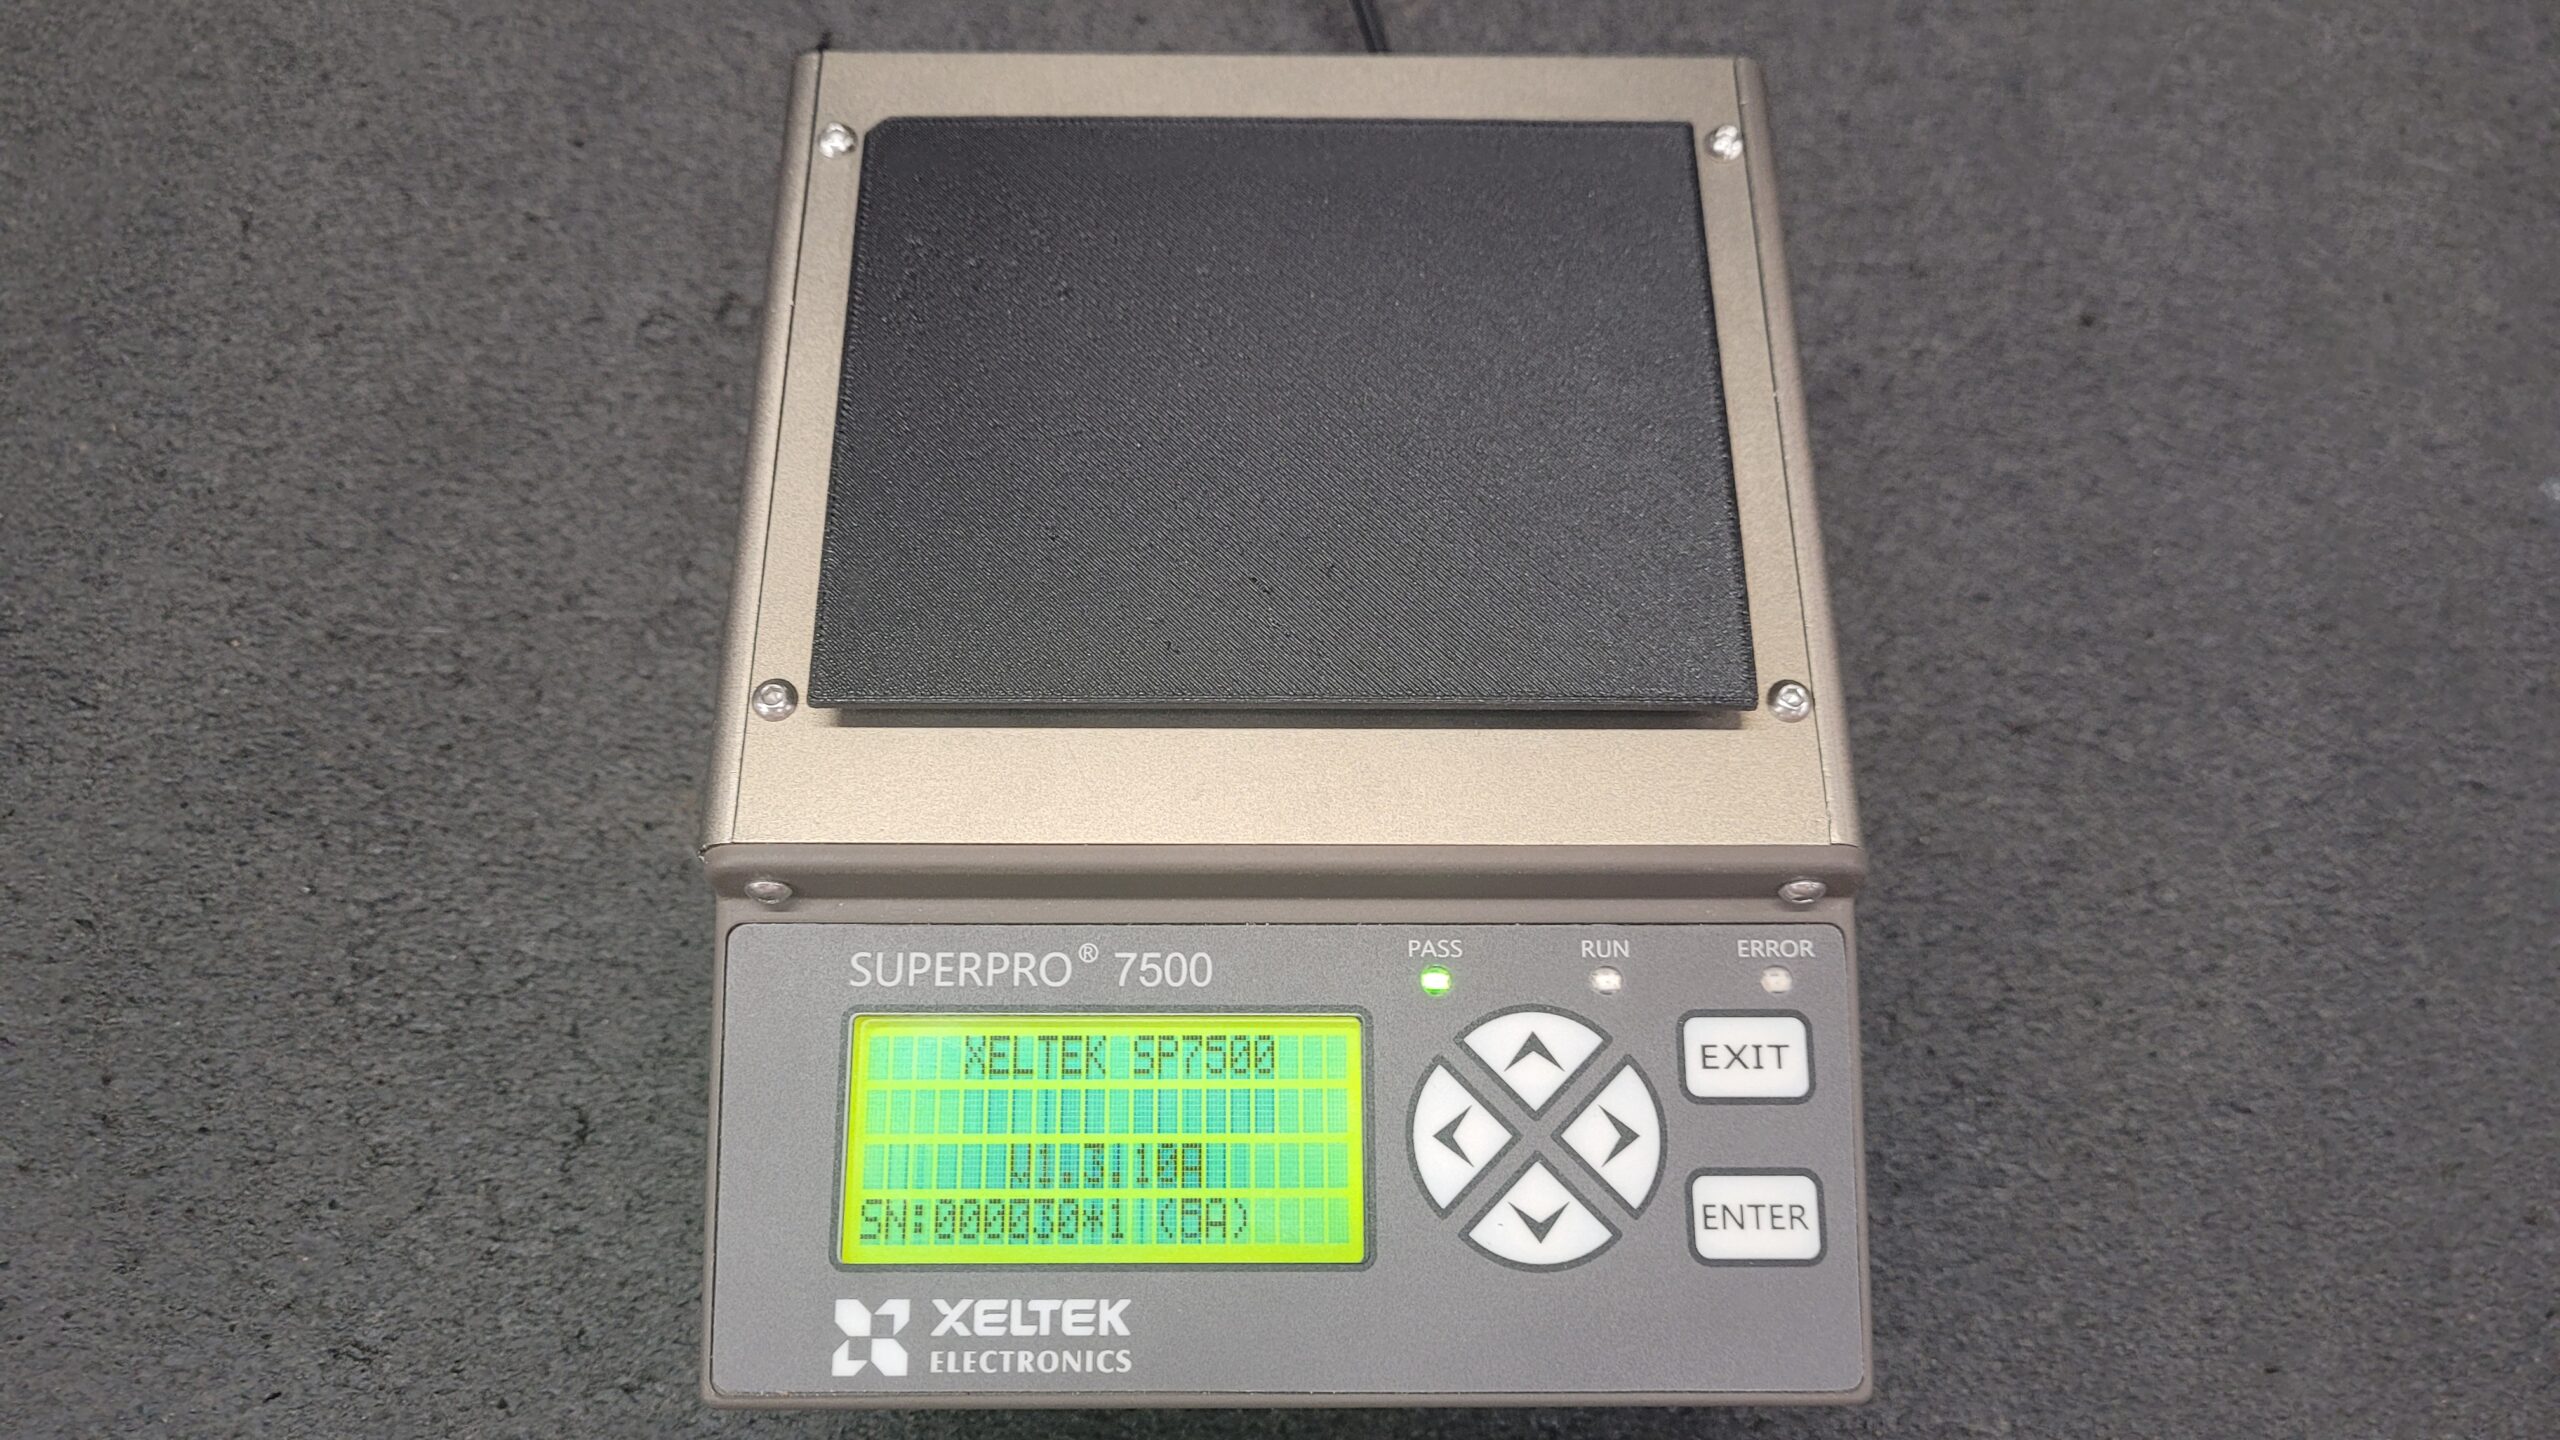
After investing 1 hour and 47 minutes of print time I have a finished Cover. The crucial question that remains is: Will it fit?
First, let’s compare it to a Xeltek GX0001 Adapter. Dimensionally, it matches up quite well.
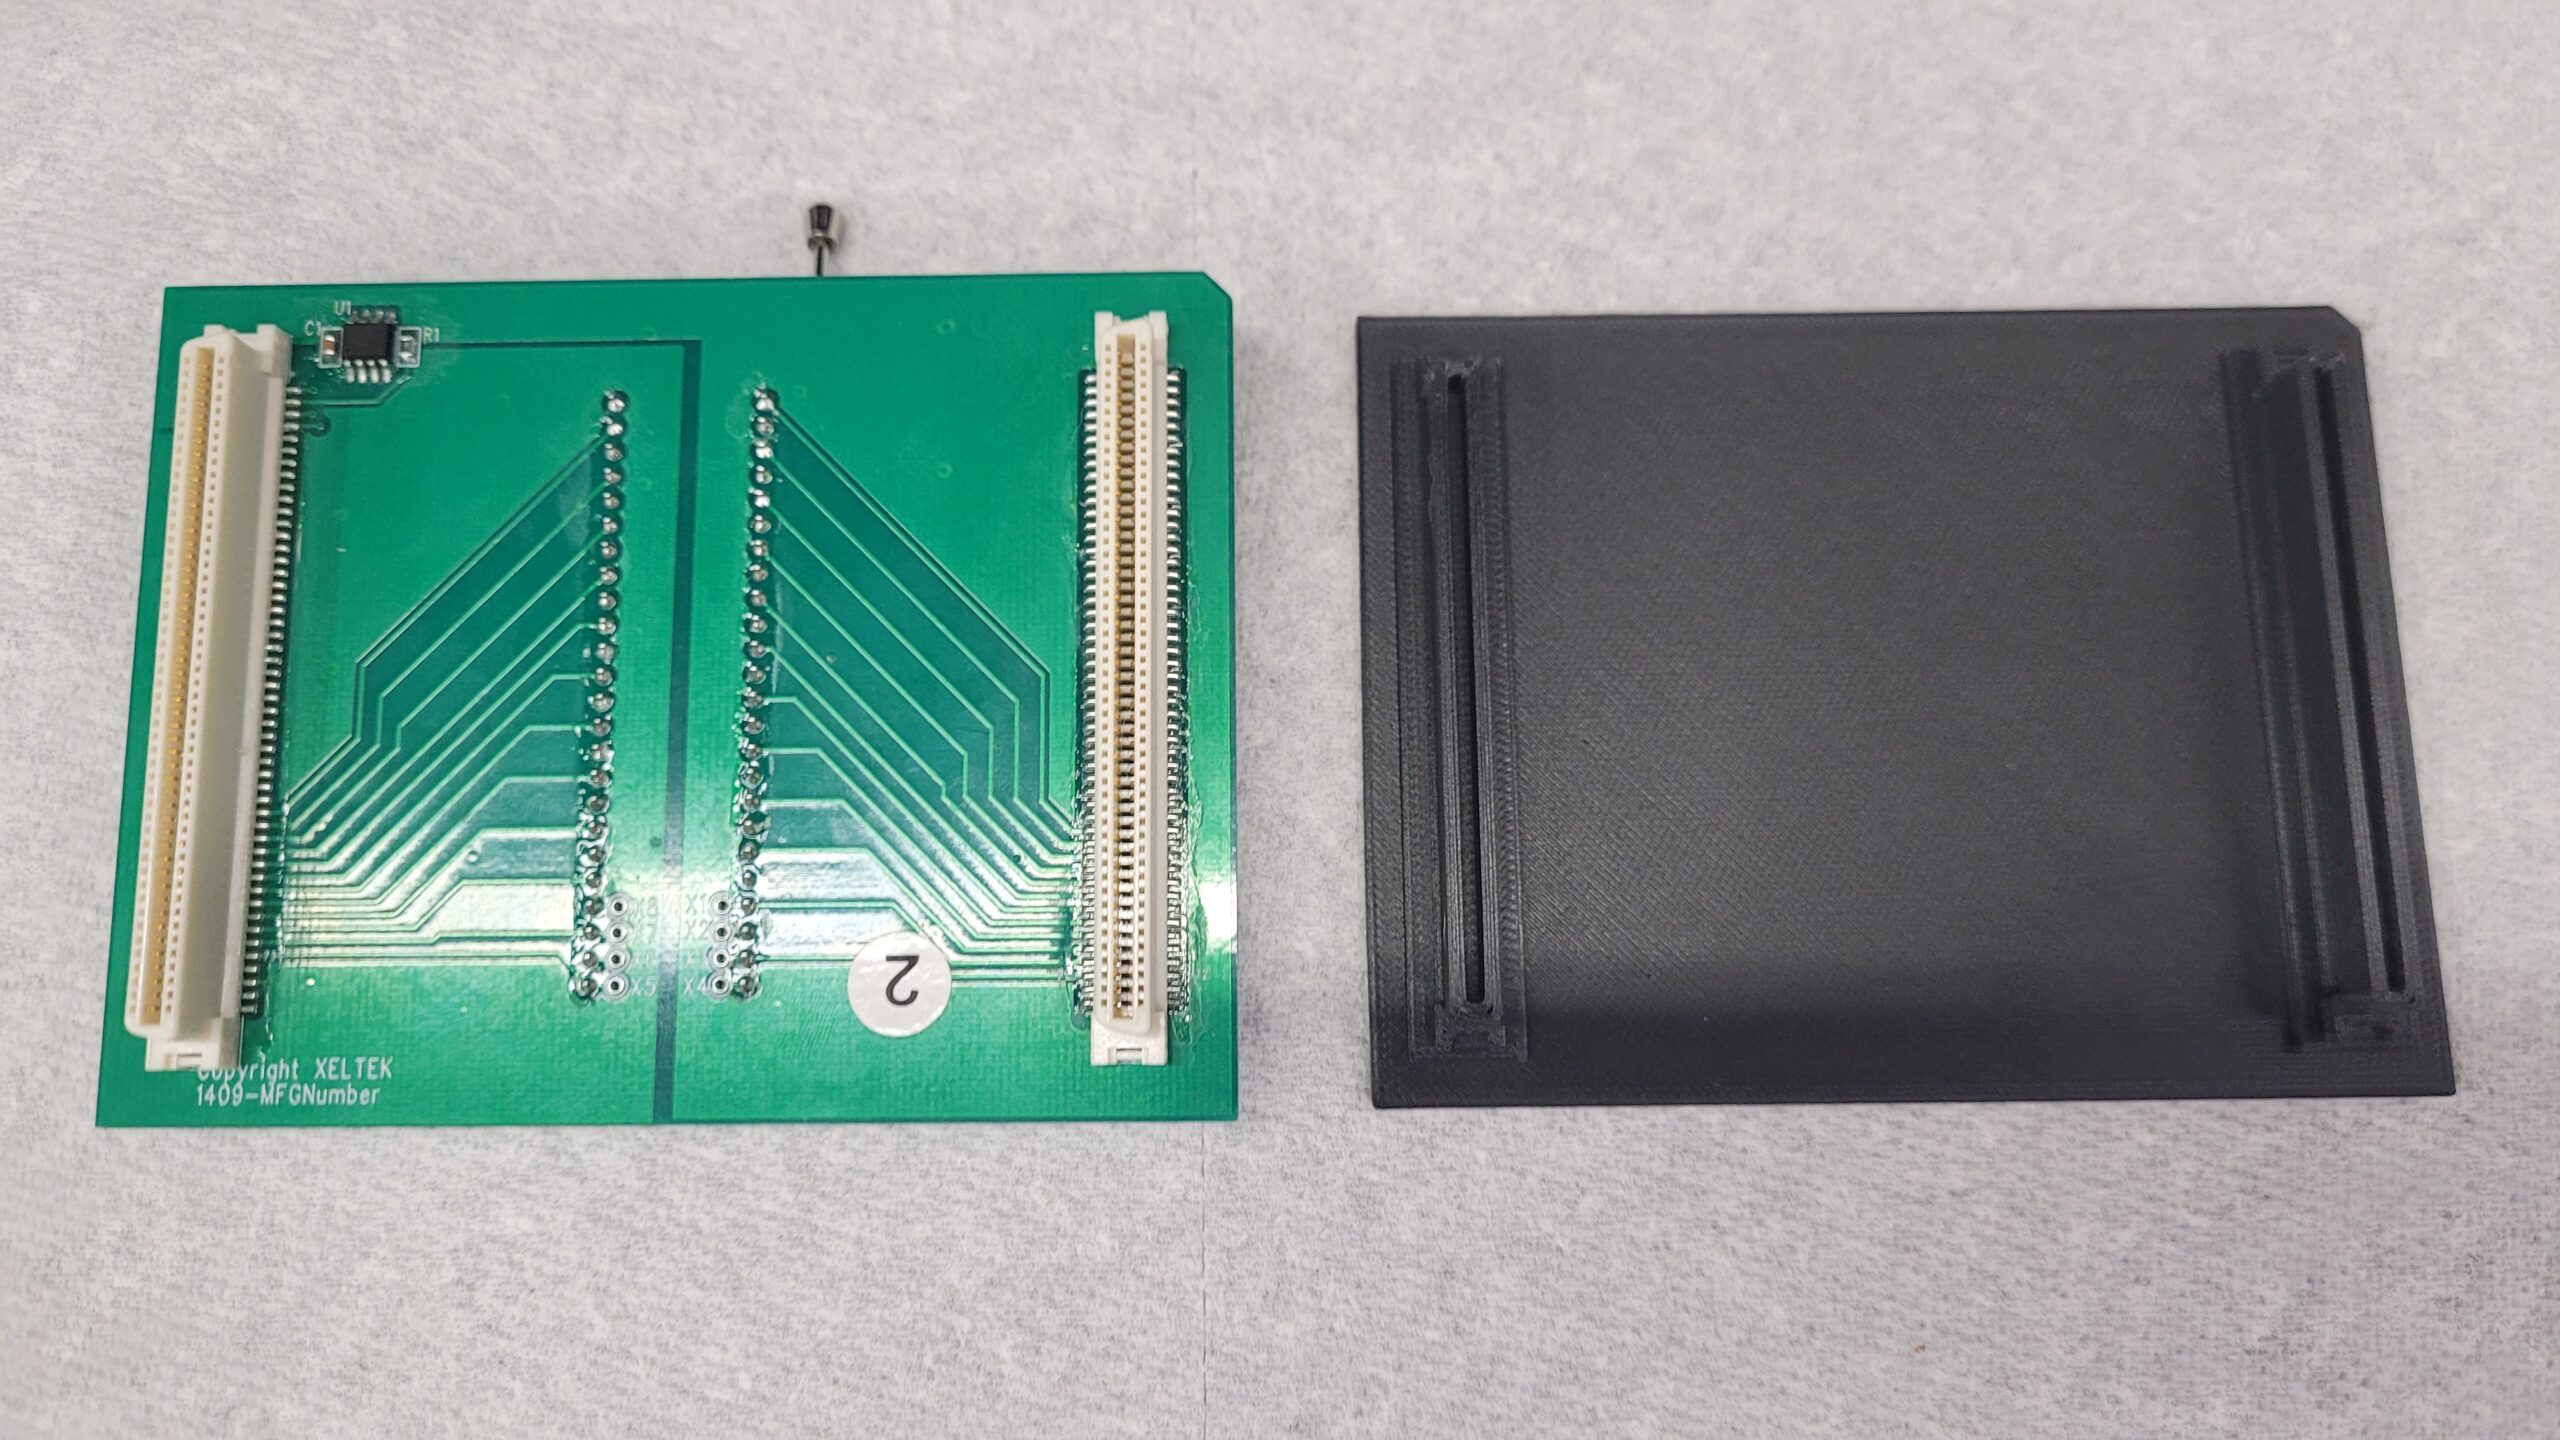
The Xeltek GX0001 Adapter Installed On The Superpro 7500 and the Xeltek SP7.5K Without the Adapter.
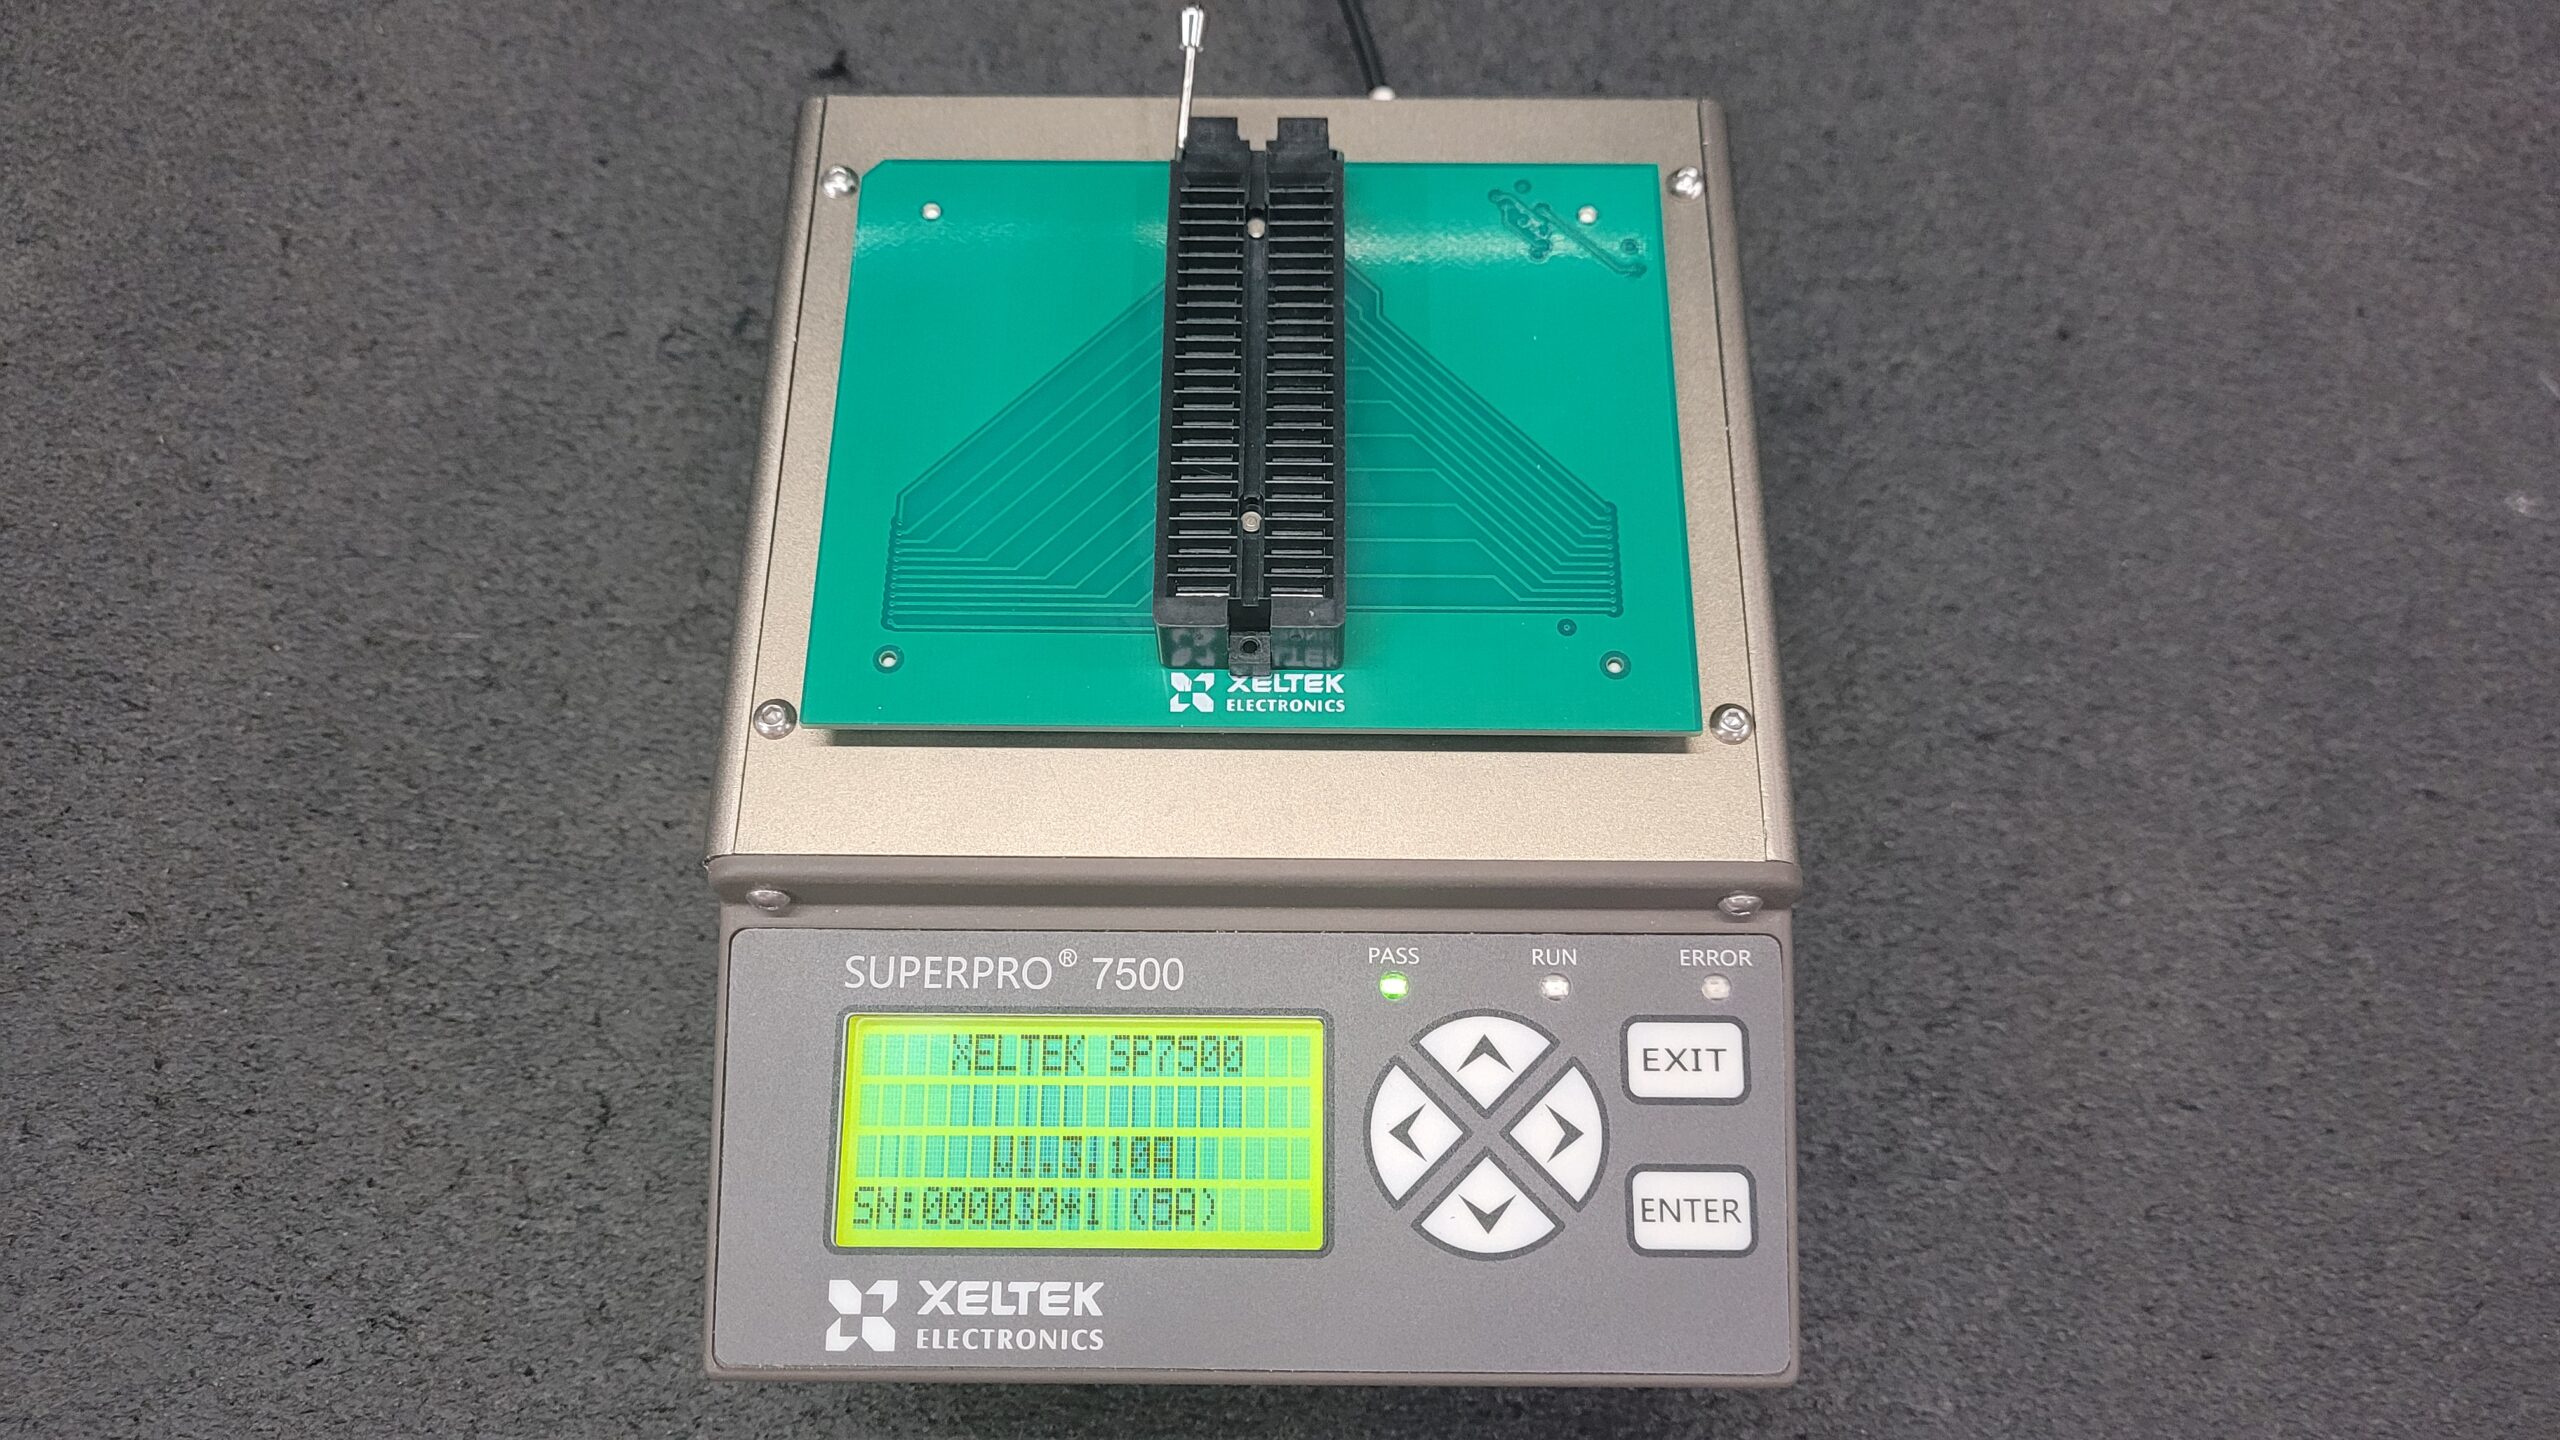
But WIll it Fit? Yep, it Sure Does Drops Right In.
I want to emphasize that this is just the first revision, and I’m open to further modifications and have some great ideas. However, at the moment, my limited 3D modeling skills prevent me from implementing those ideas. Nonetheless, I remain humble and receptive to suggestions for improvement and will continue to learn the 3d modeling.
You Can download the Xeltek Superpro 7500 Socket Cover Protector STL File On My Printables.com Profile and Print Your own.
Xeltek Superpro 7500 7500N Socket Cover Protector
@Xeltek #Xeltek
Last Updated on July 6, 2023 by Steven Rhine