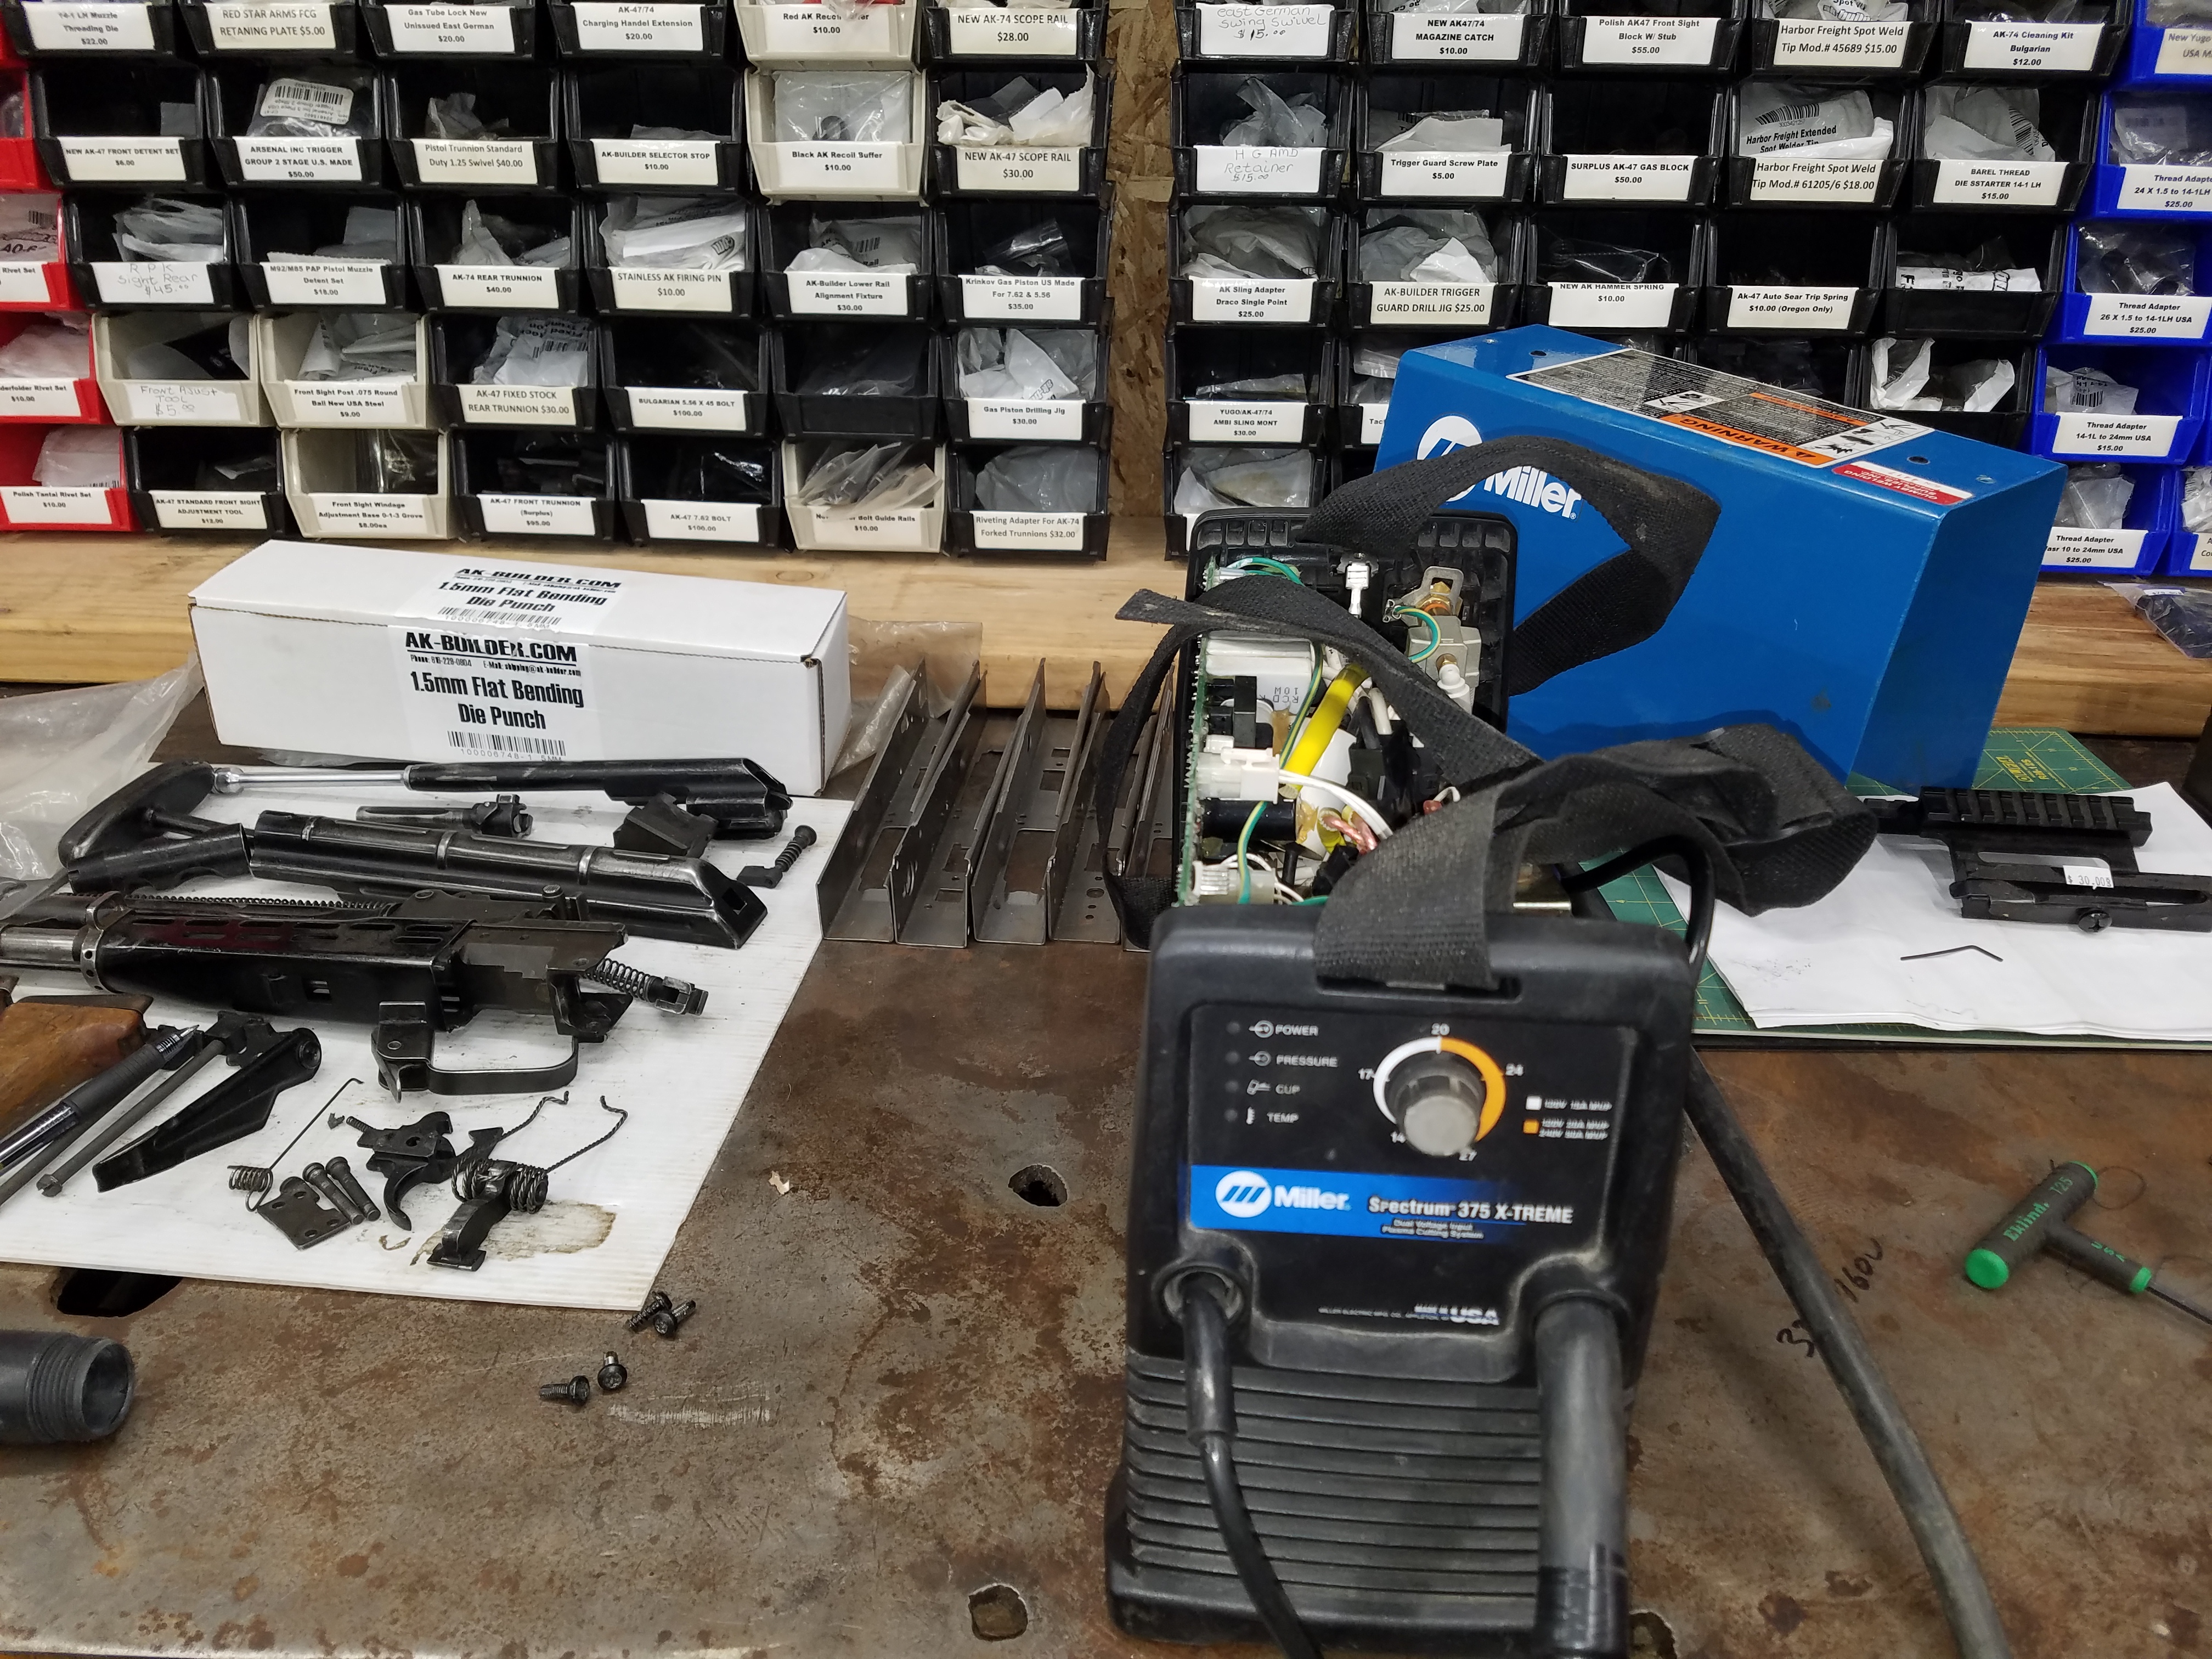
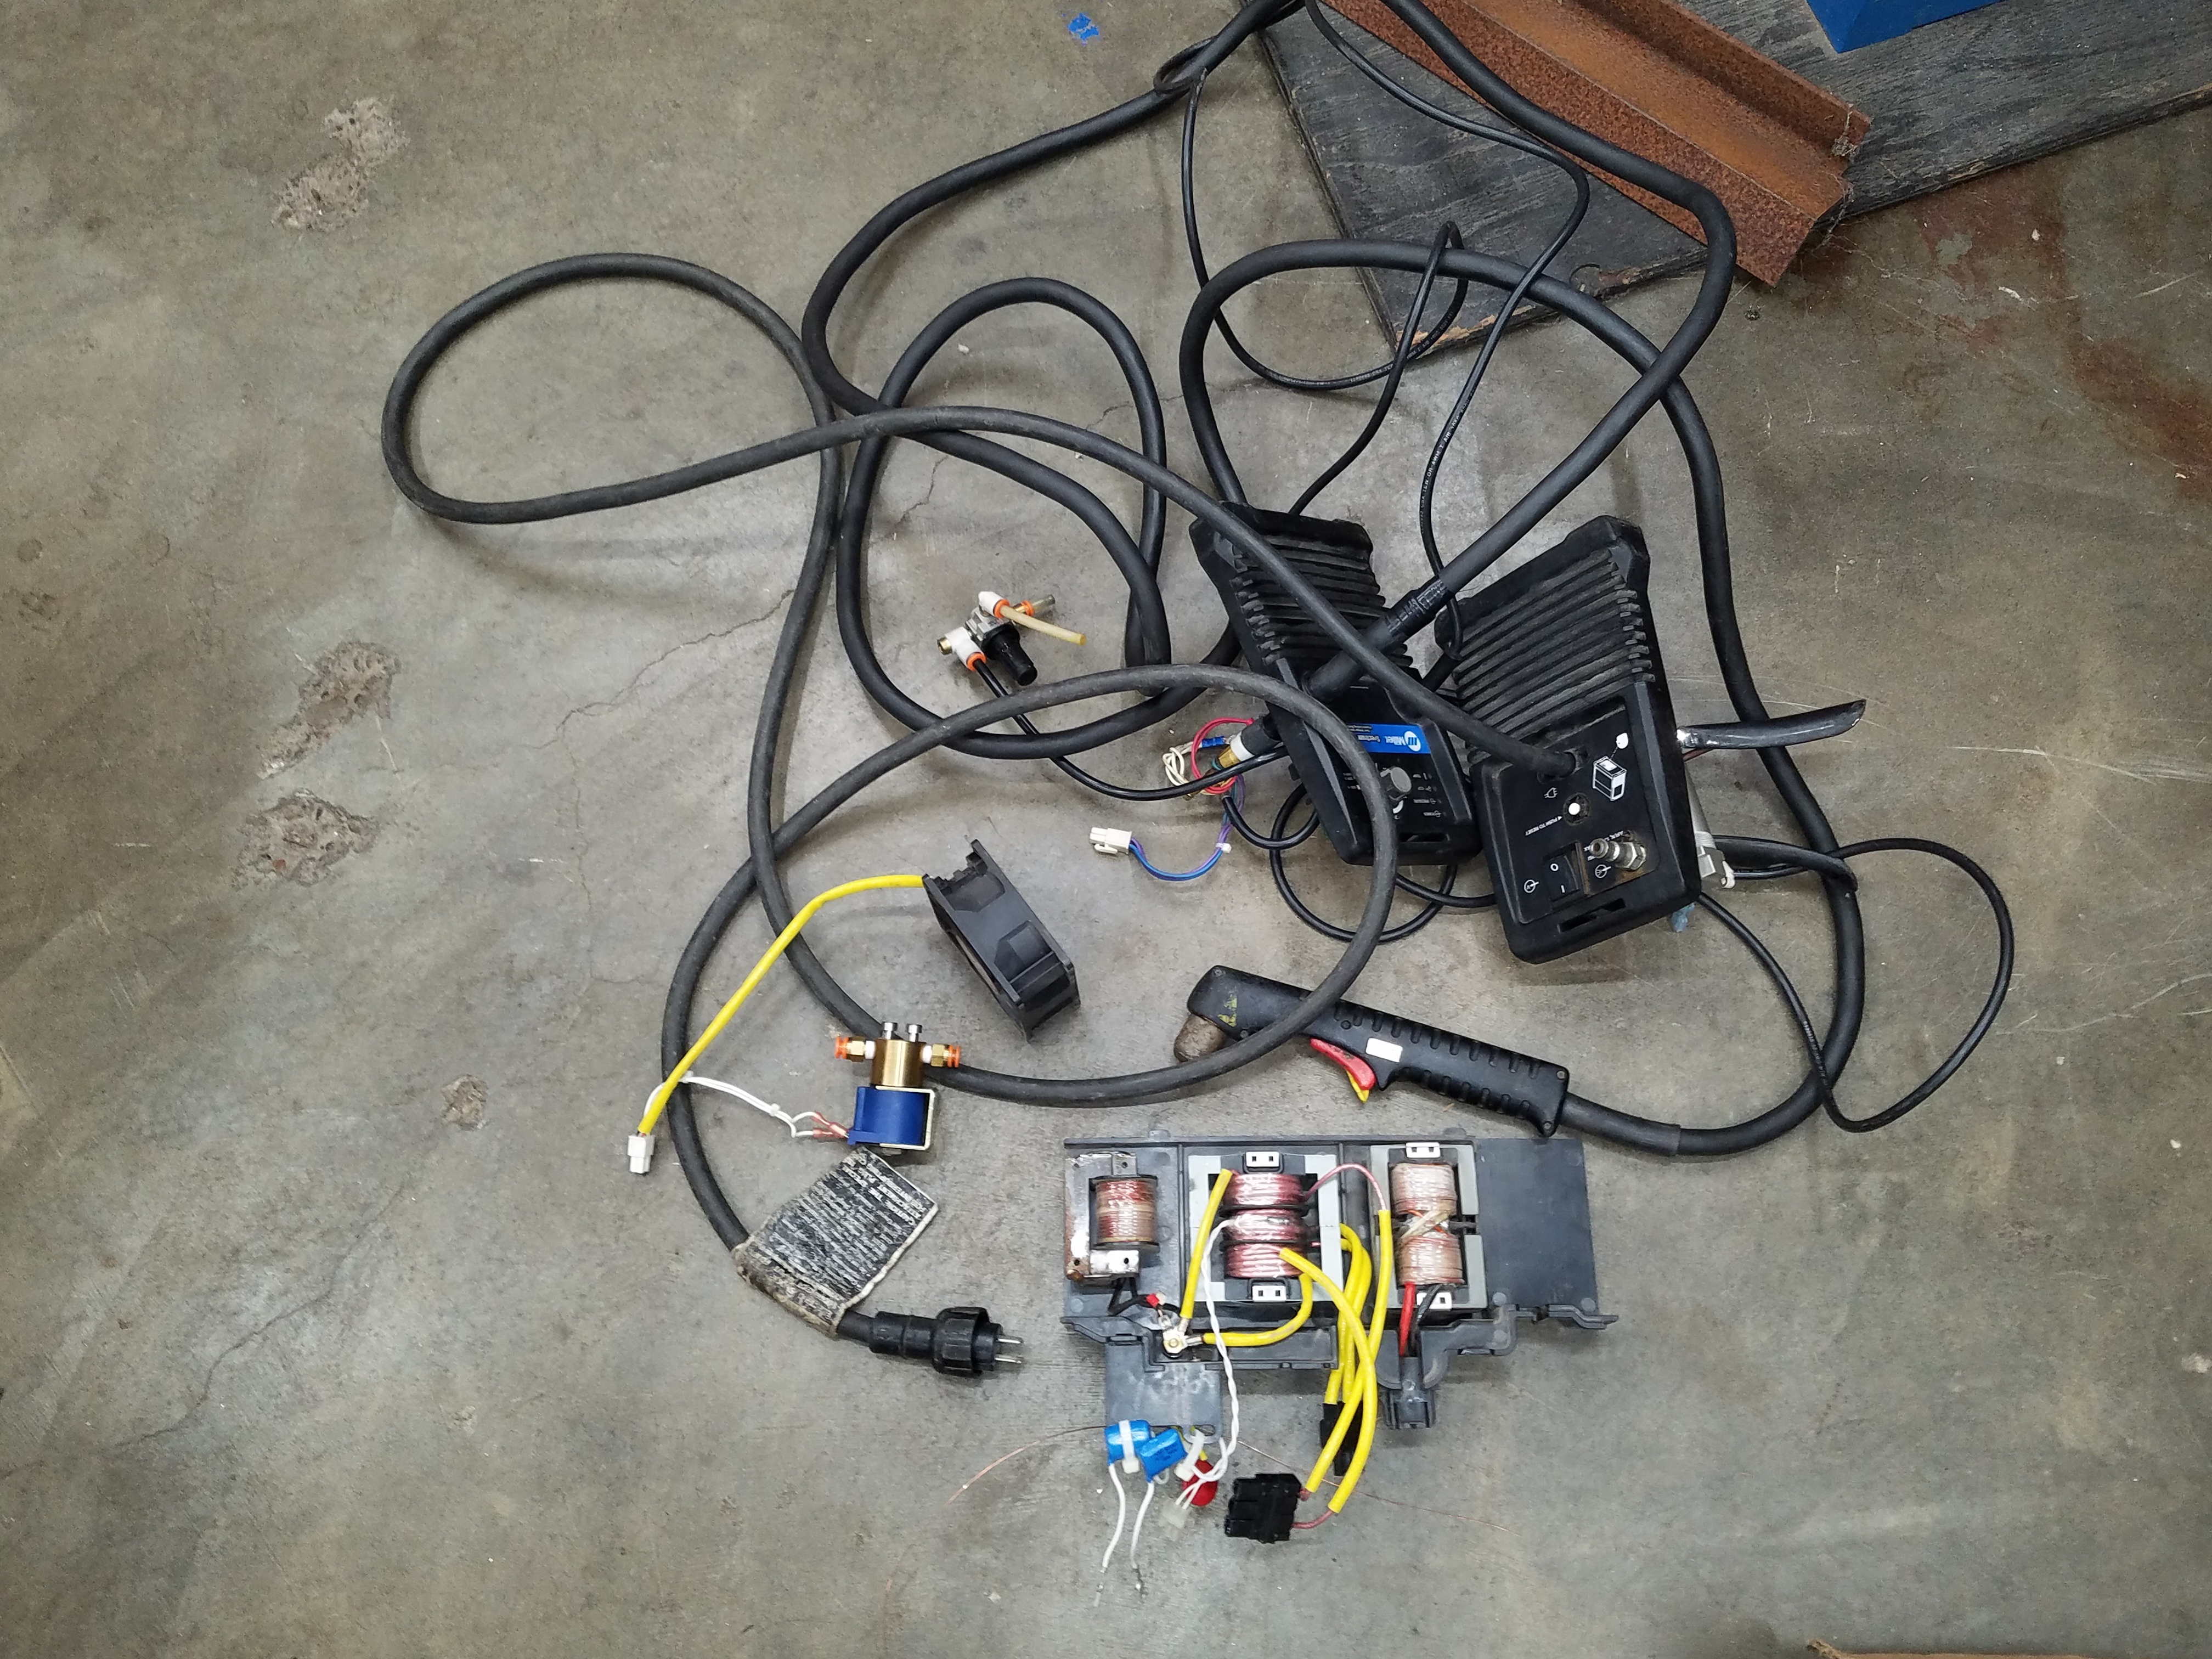
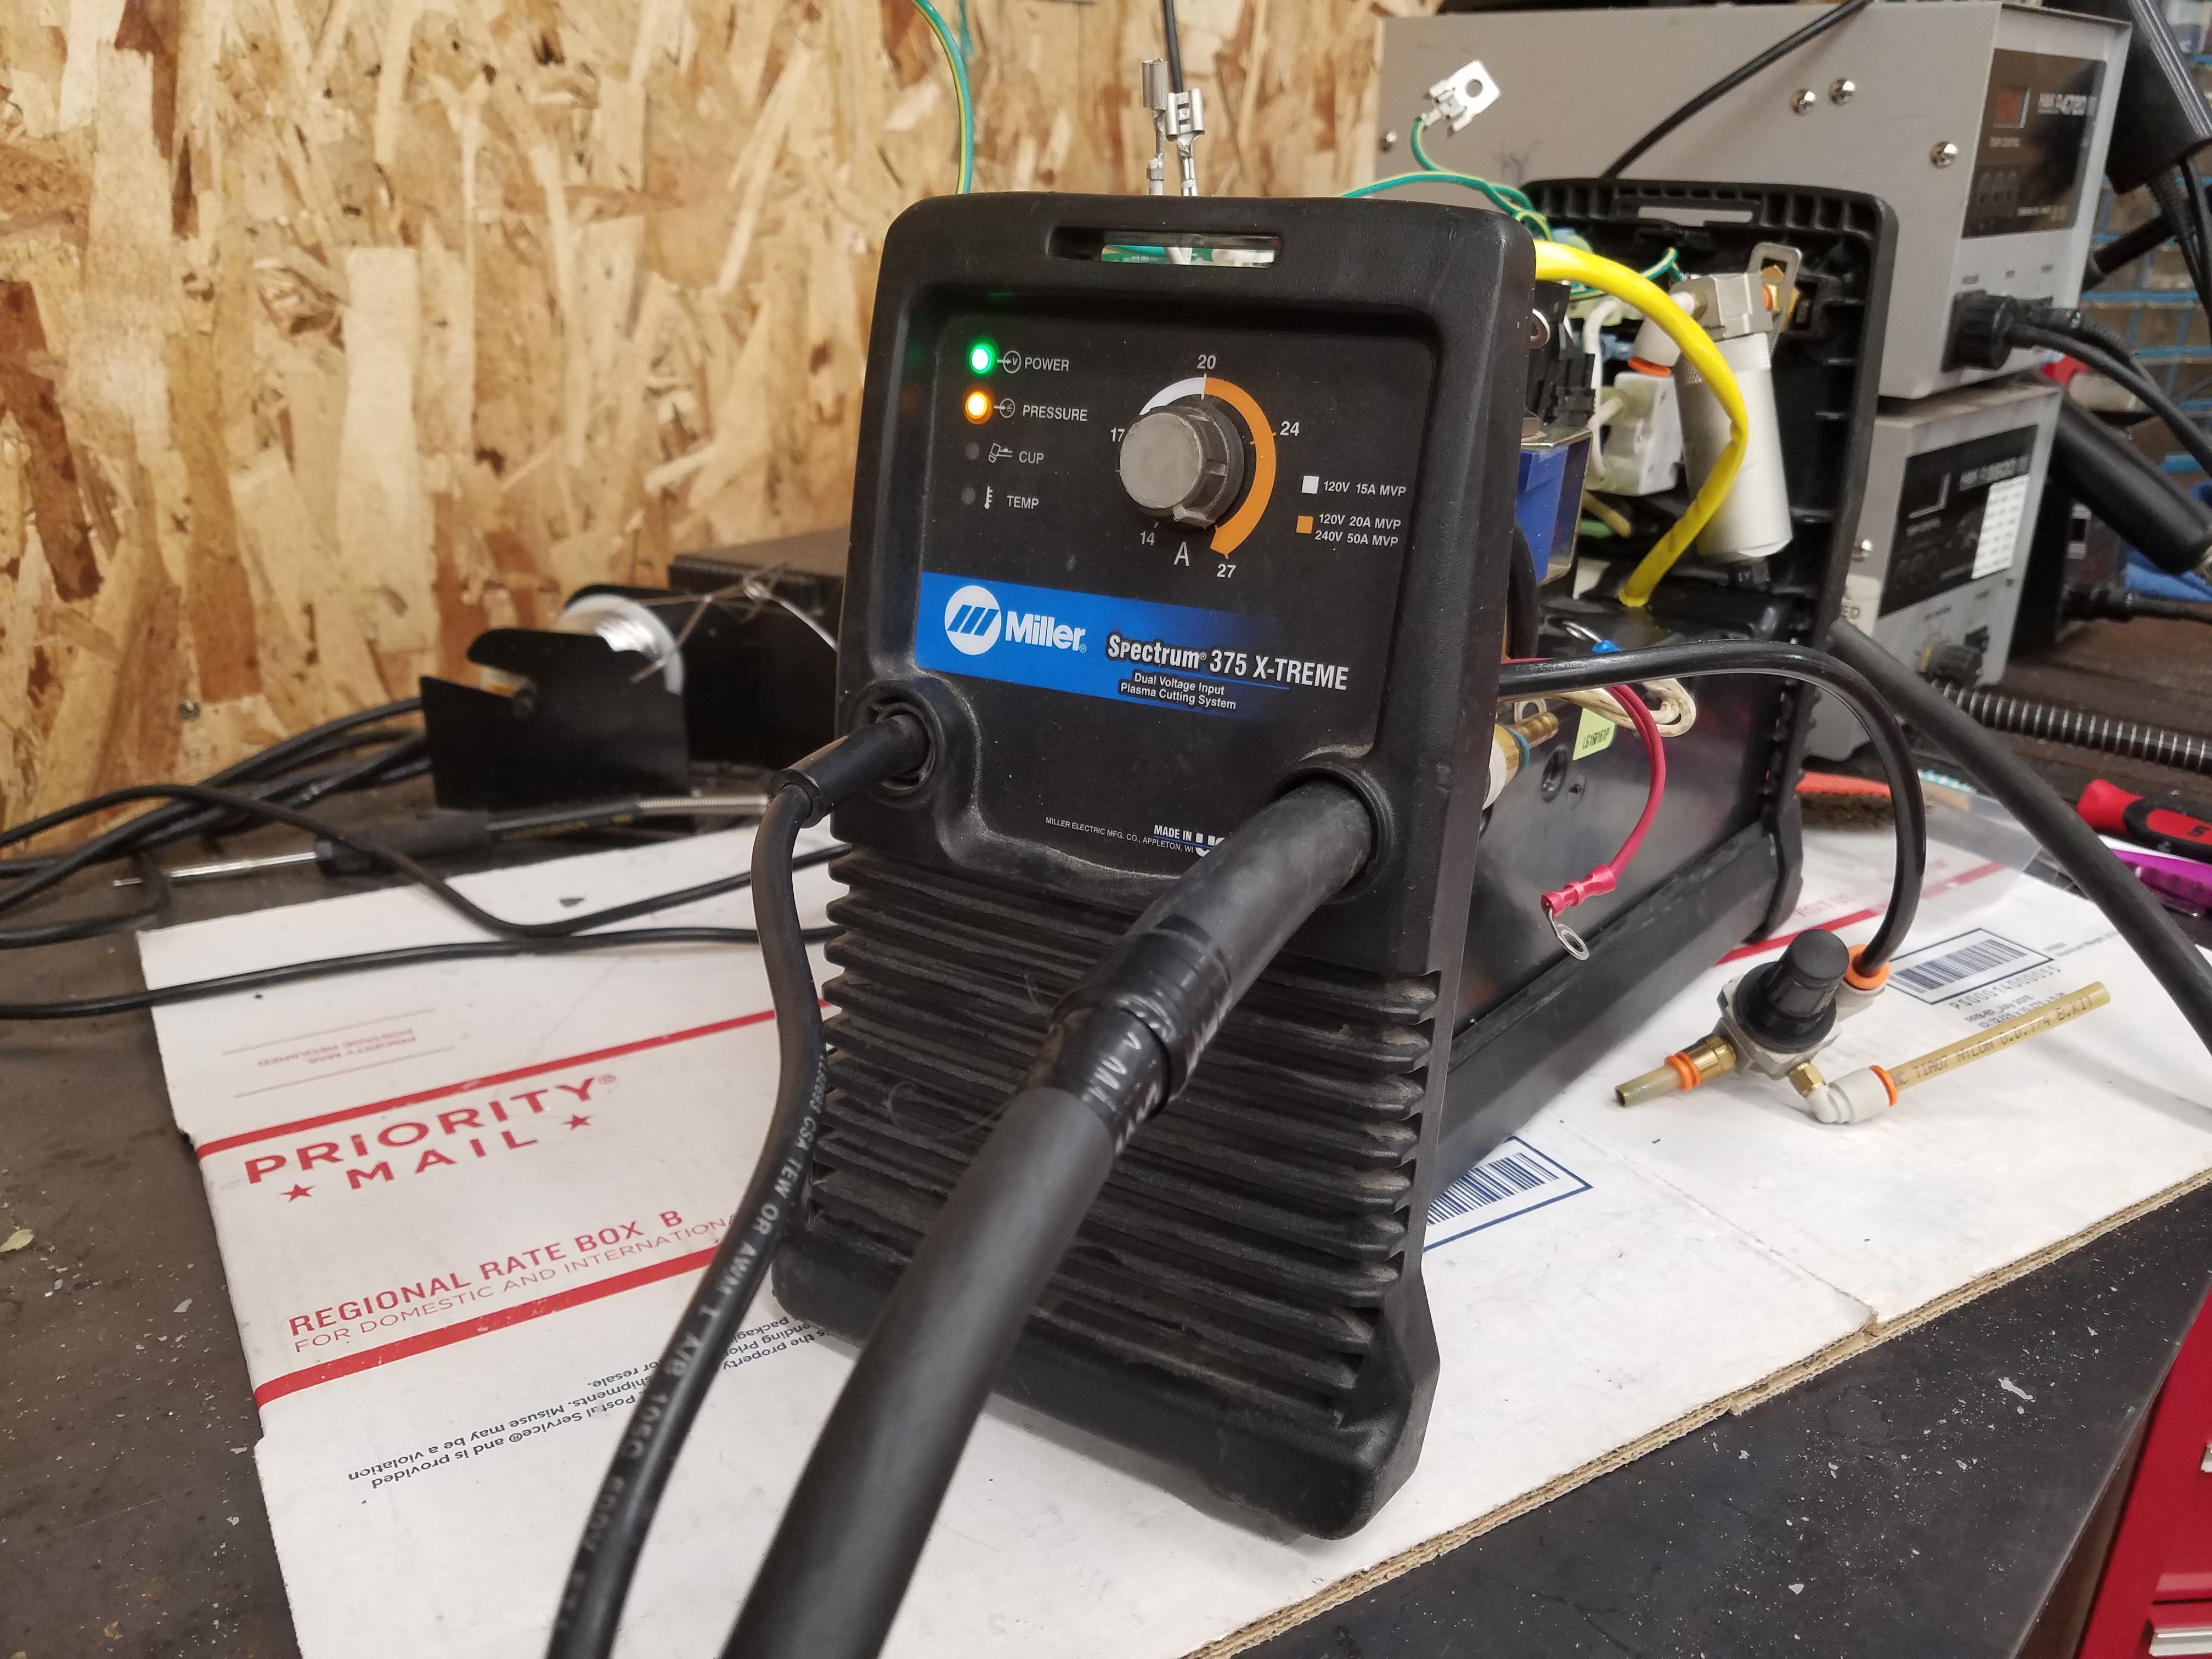
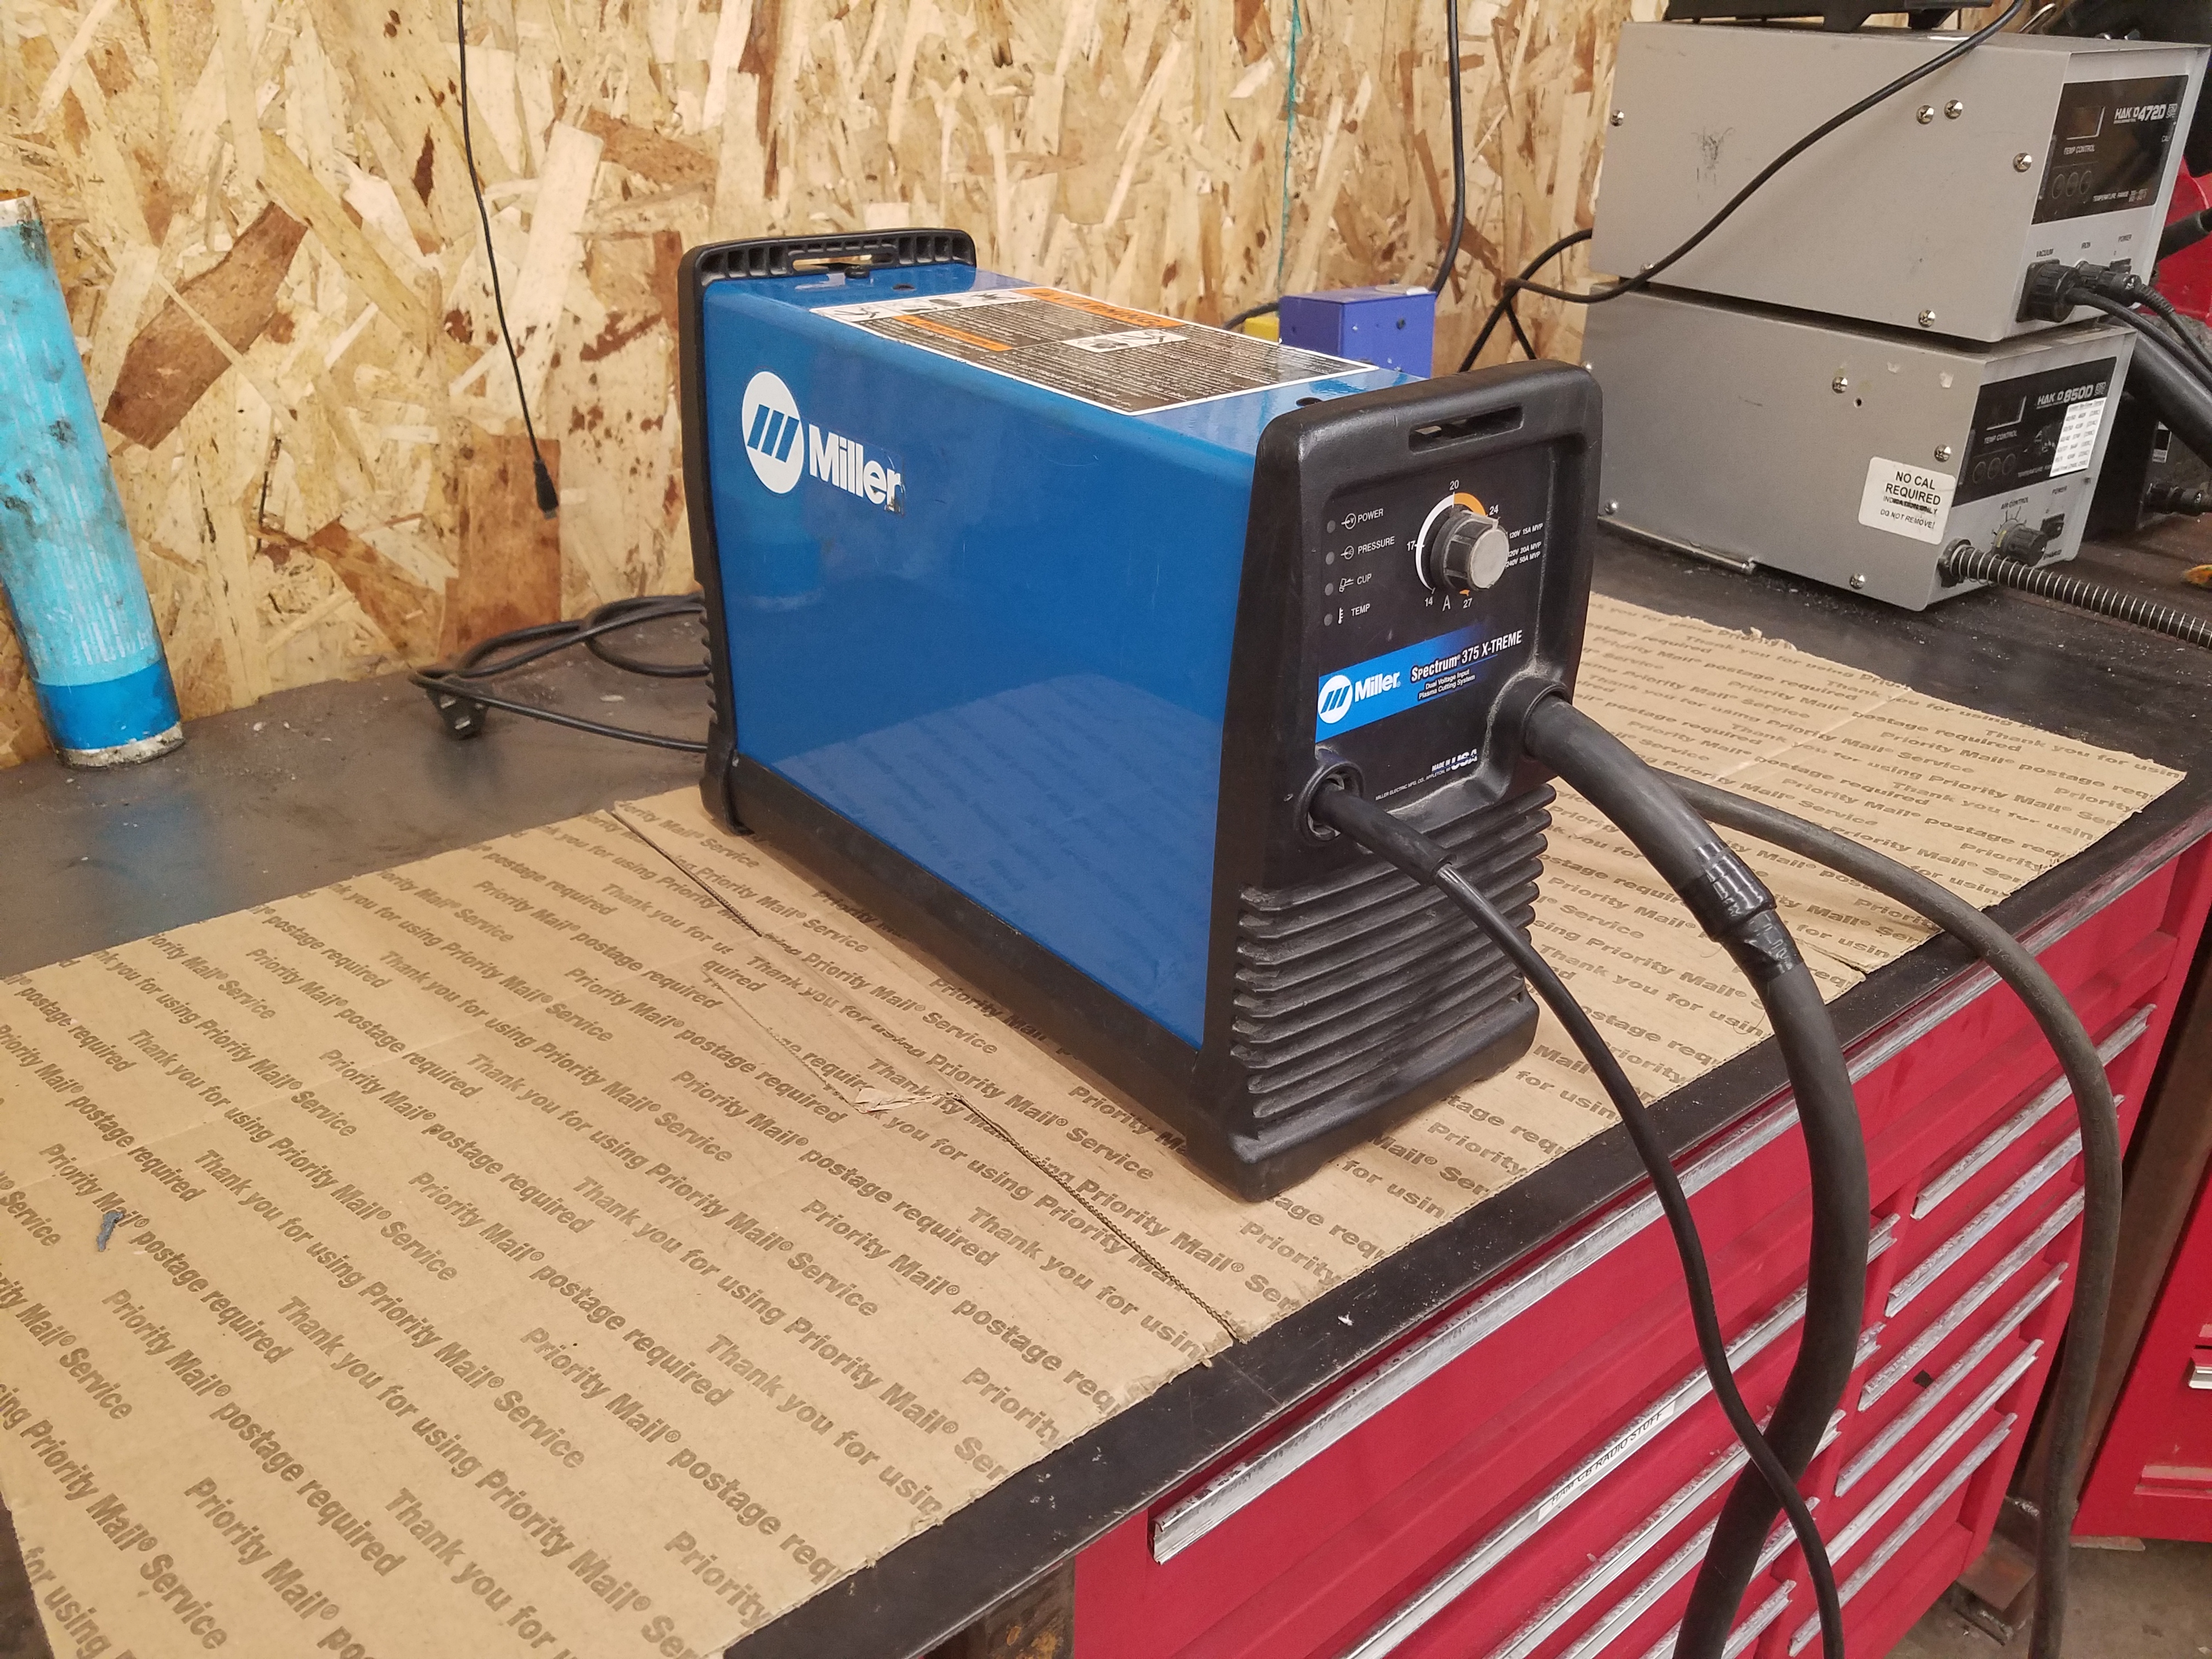
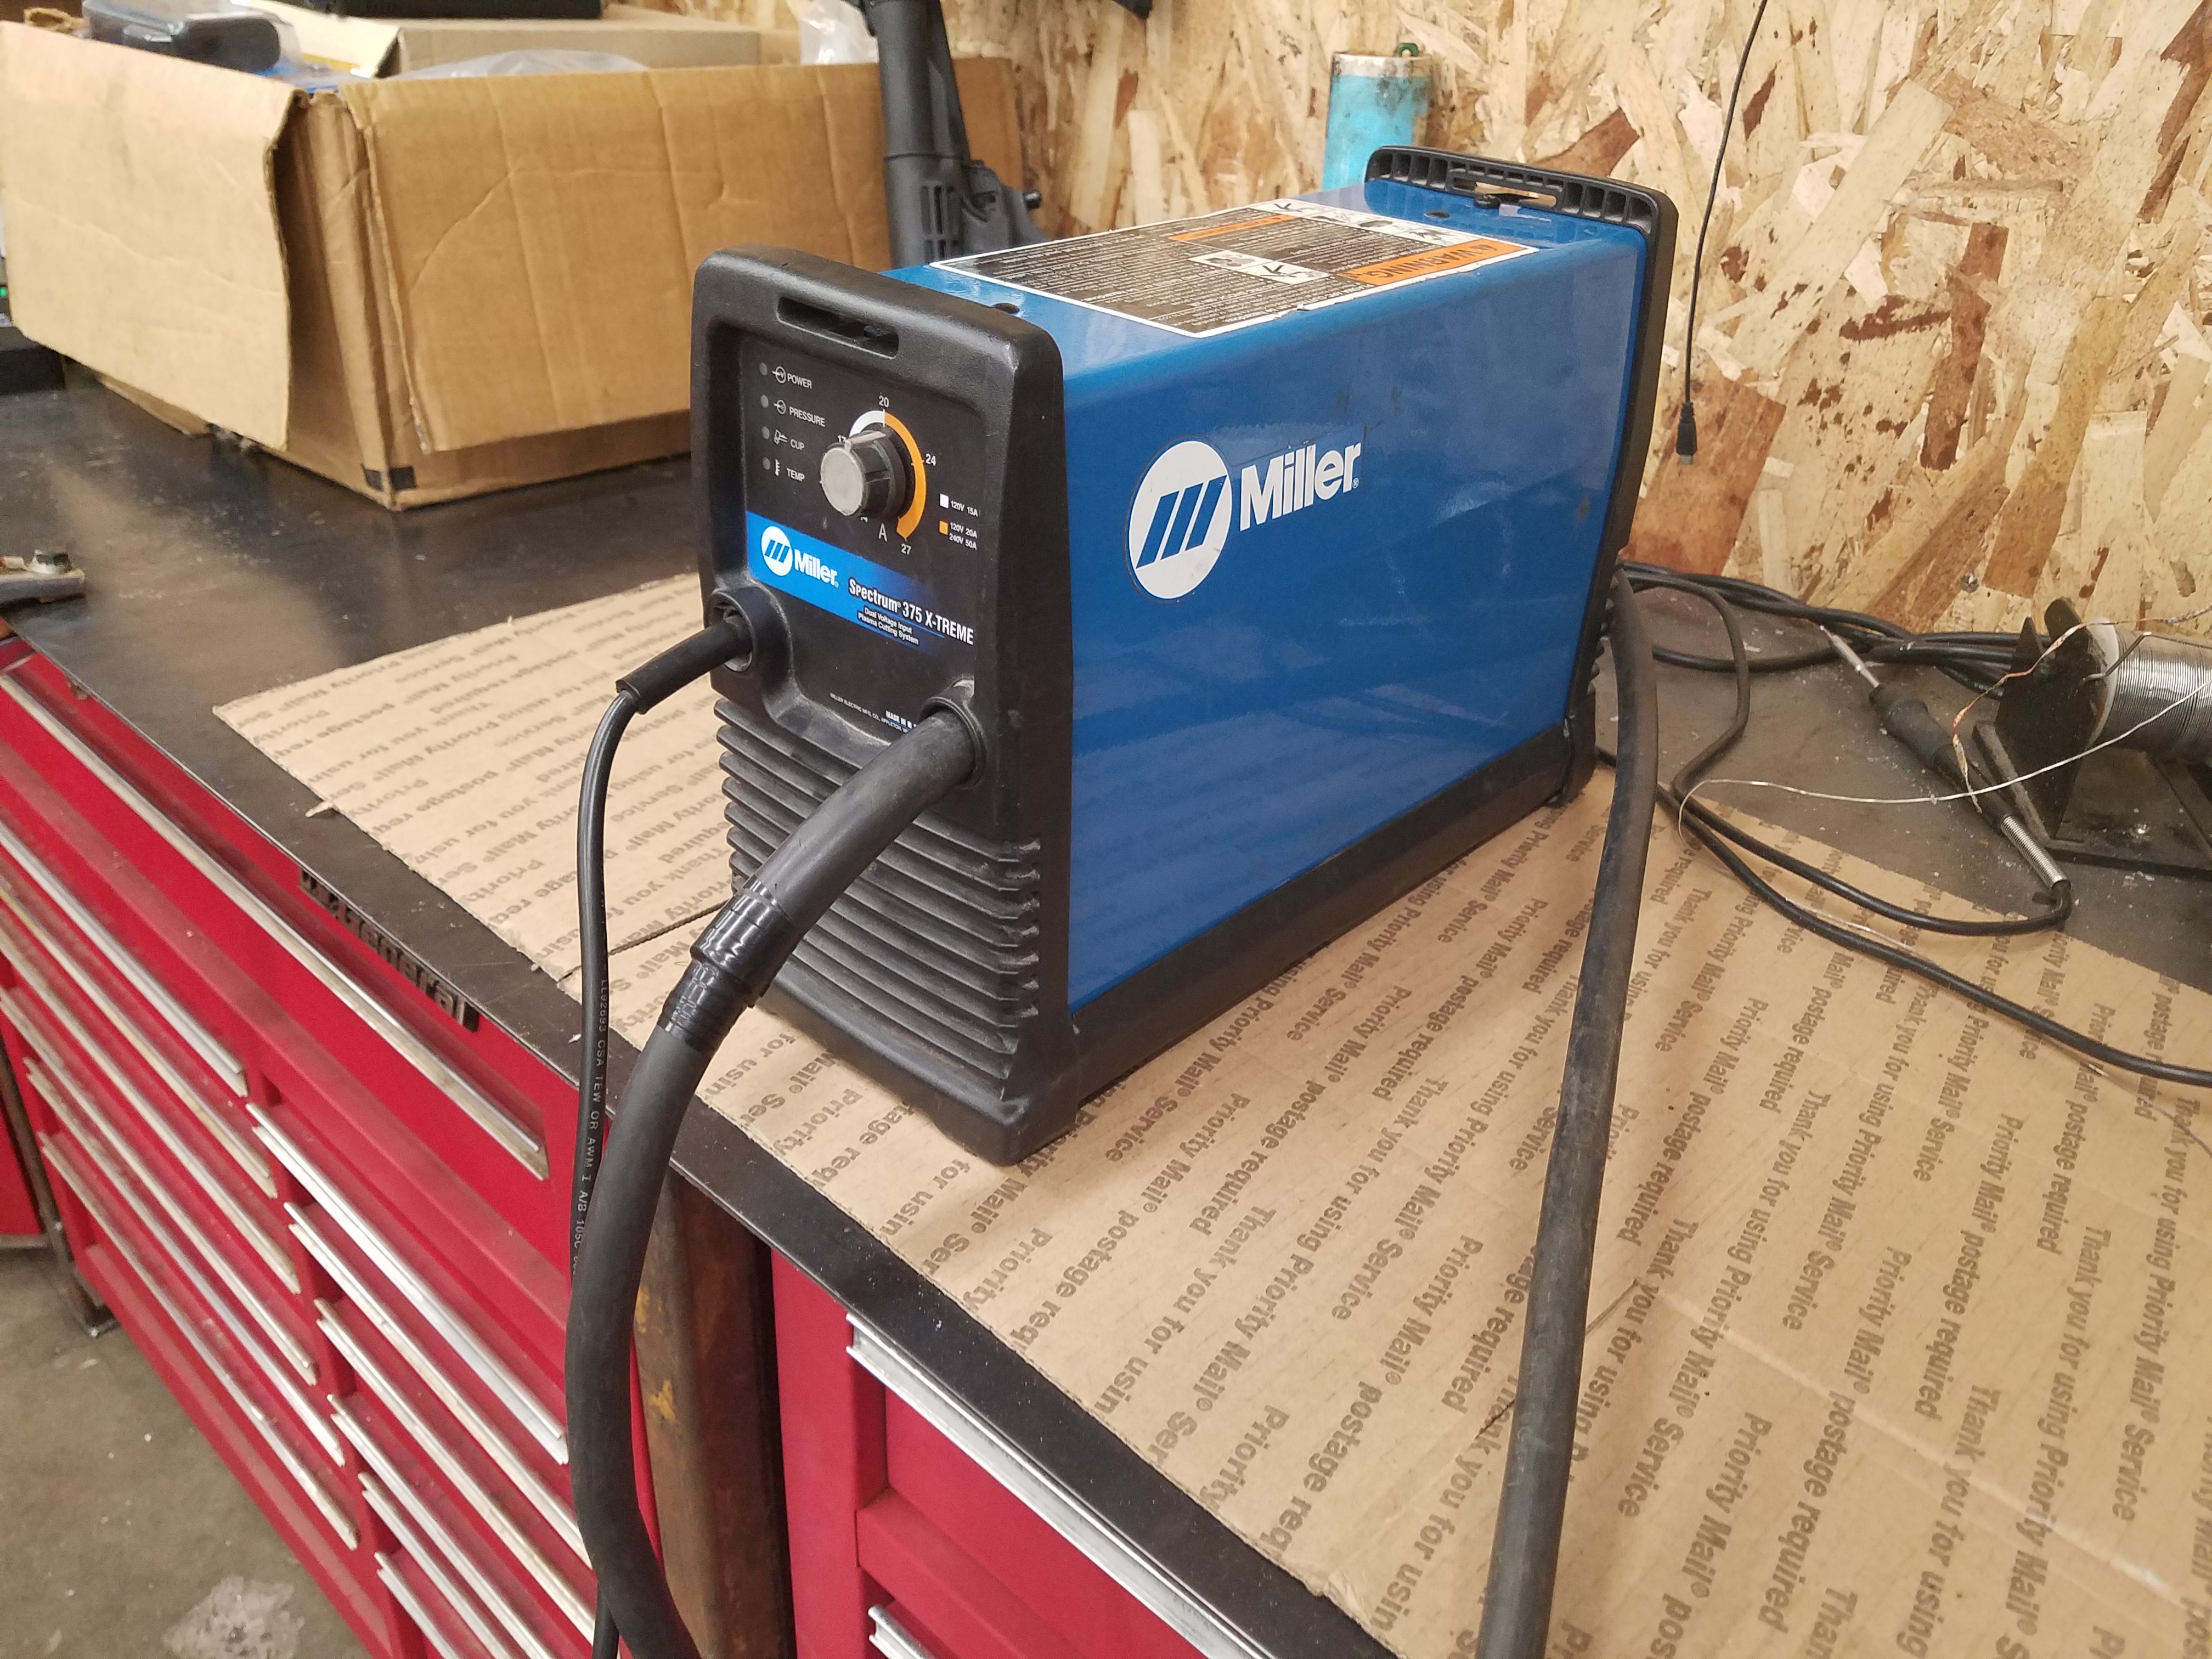
Miller Spectrum 375 X-treme Plasma Cutter.. Teardown / Repair Complete!! & Schematics!!
Yep, this one Let The Smoke Out.. Link To Miller Product Page This one is a bit older it has the ICE-27C/T Torch.
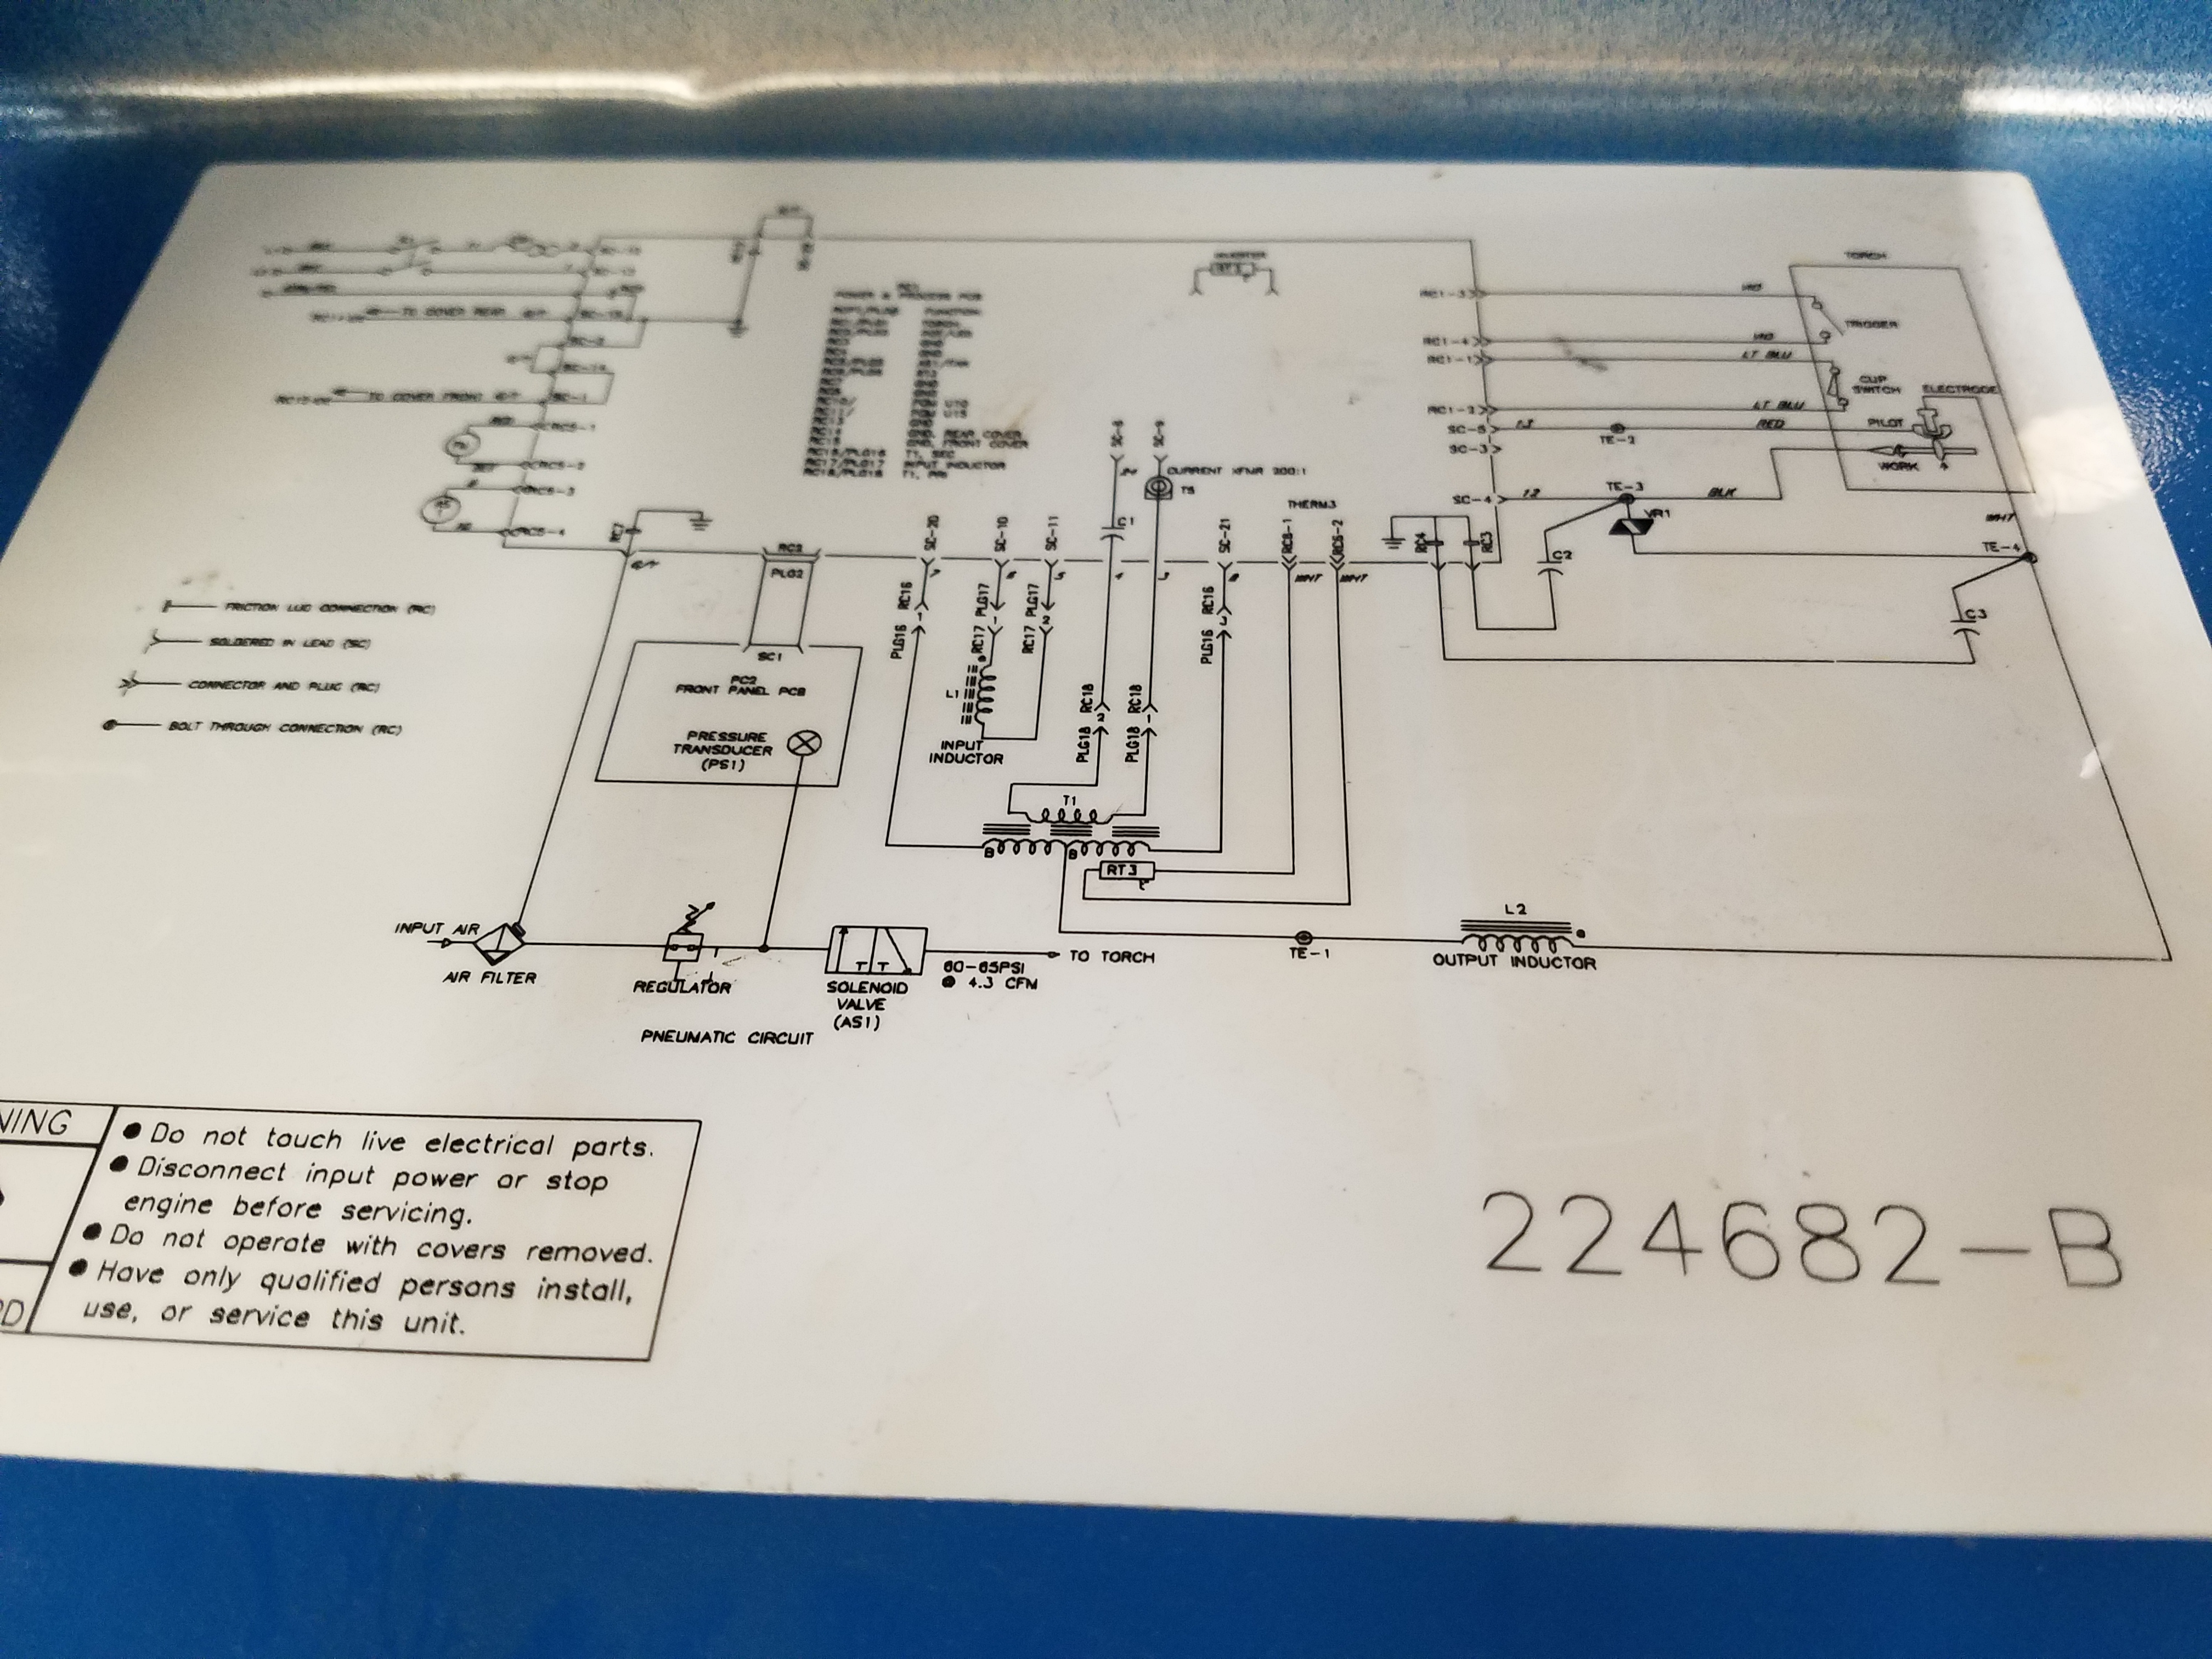
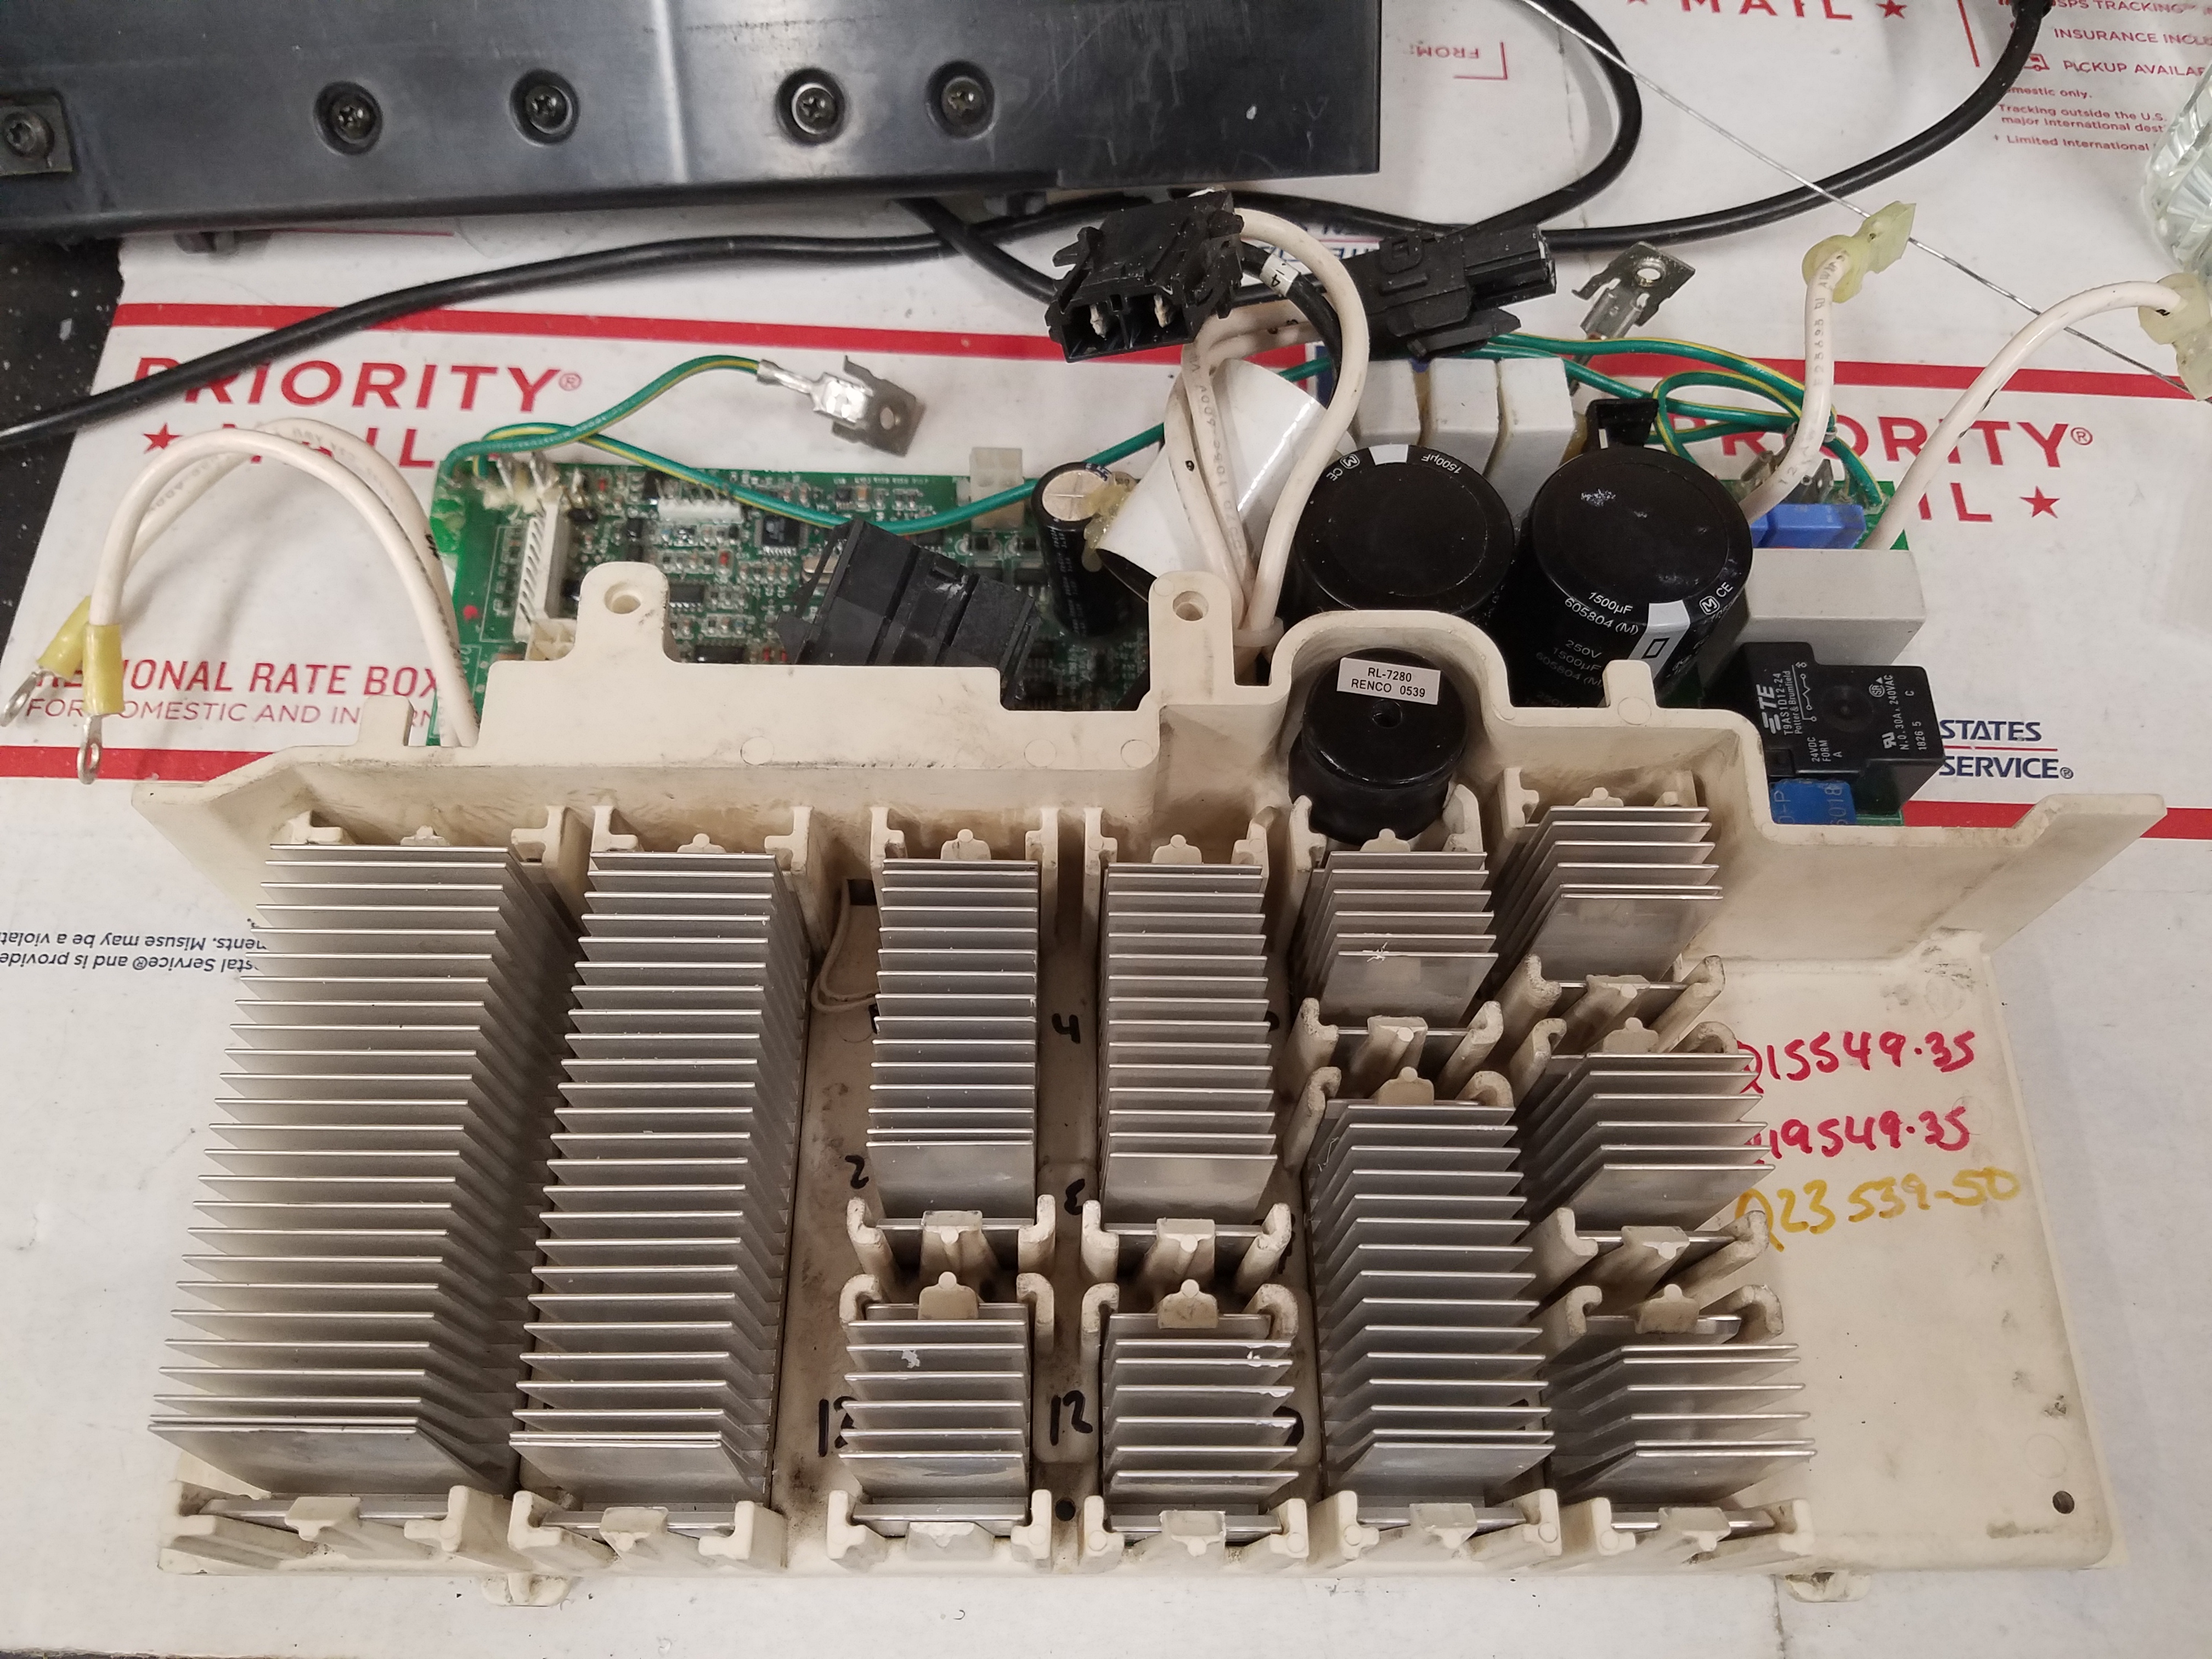
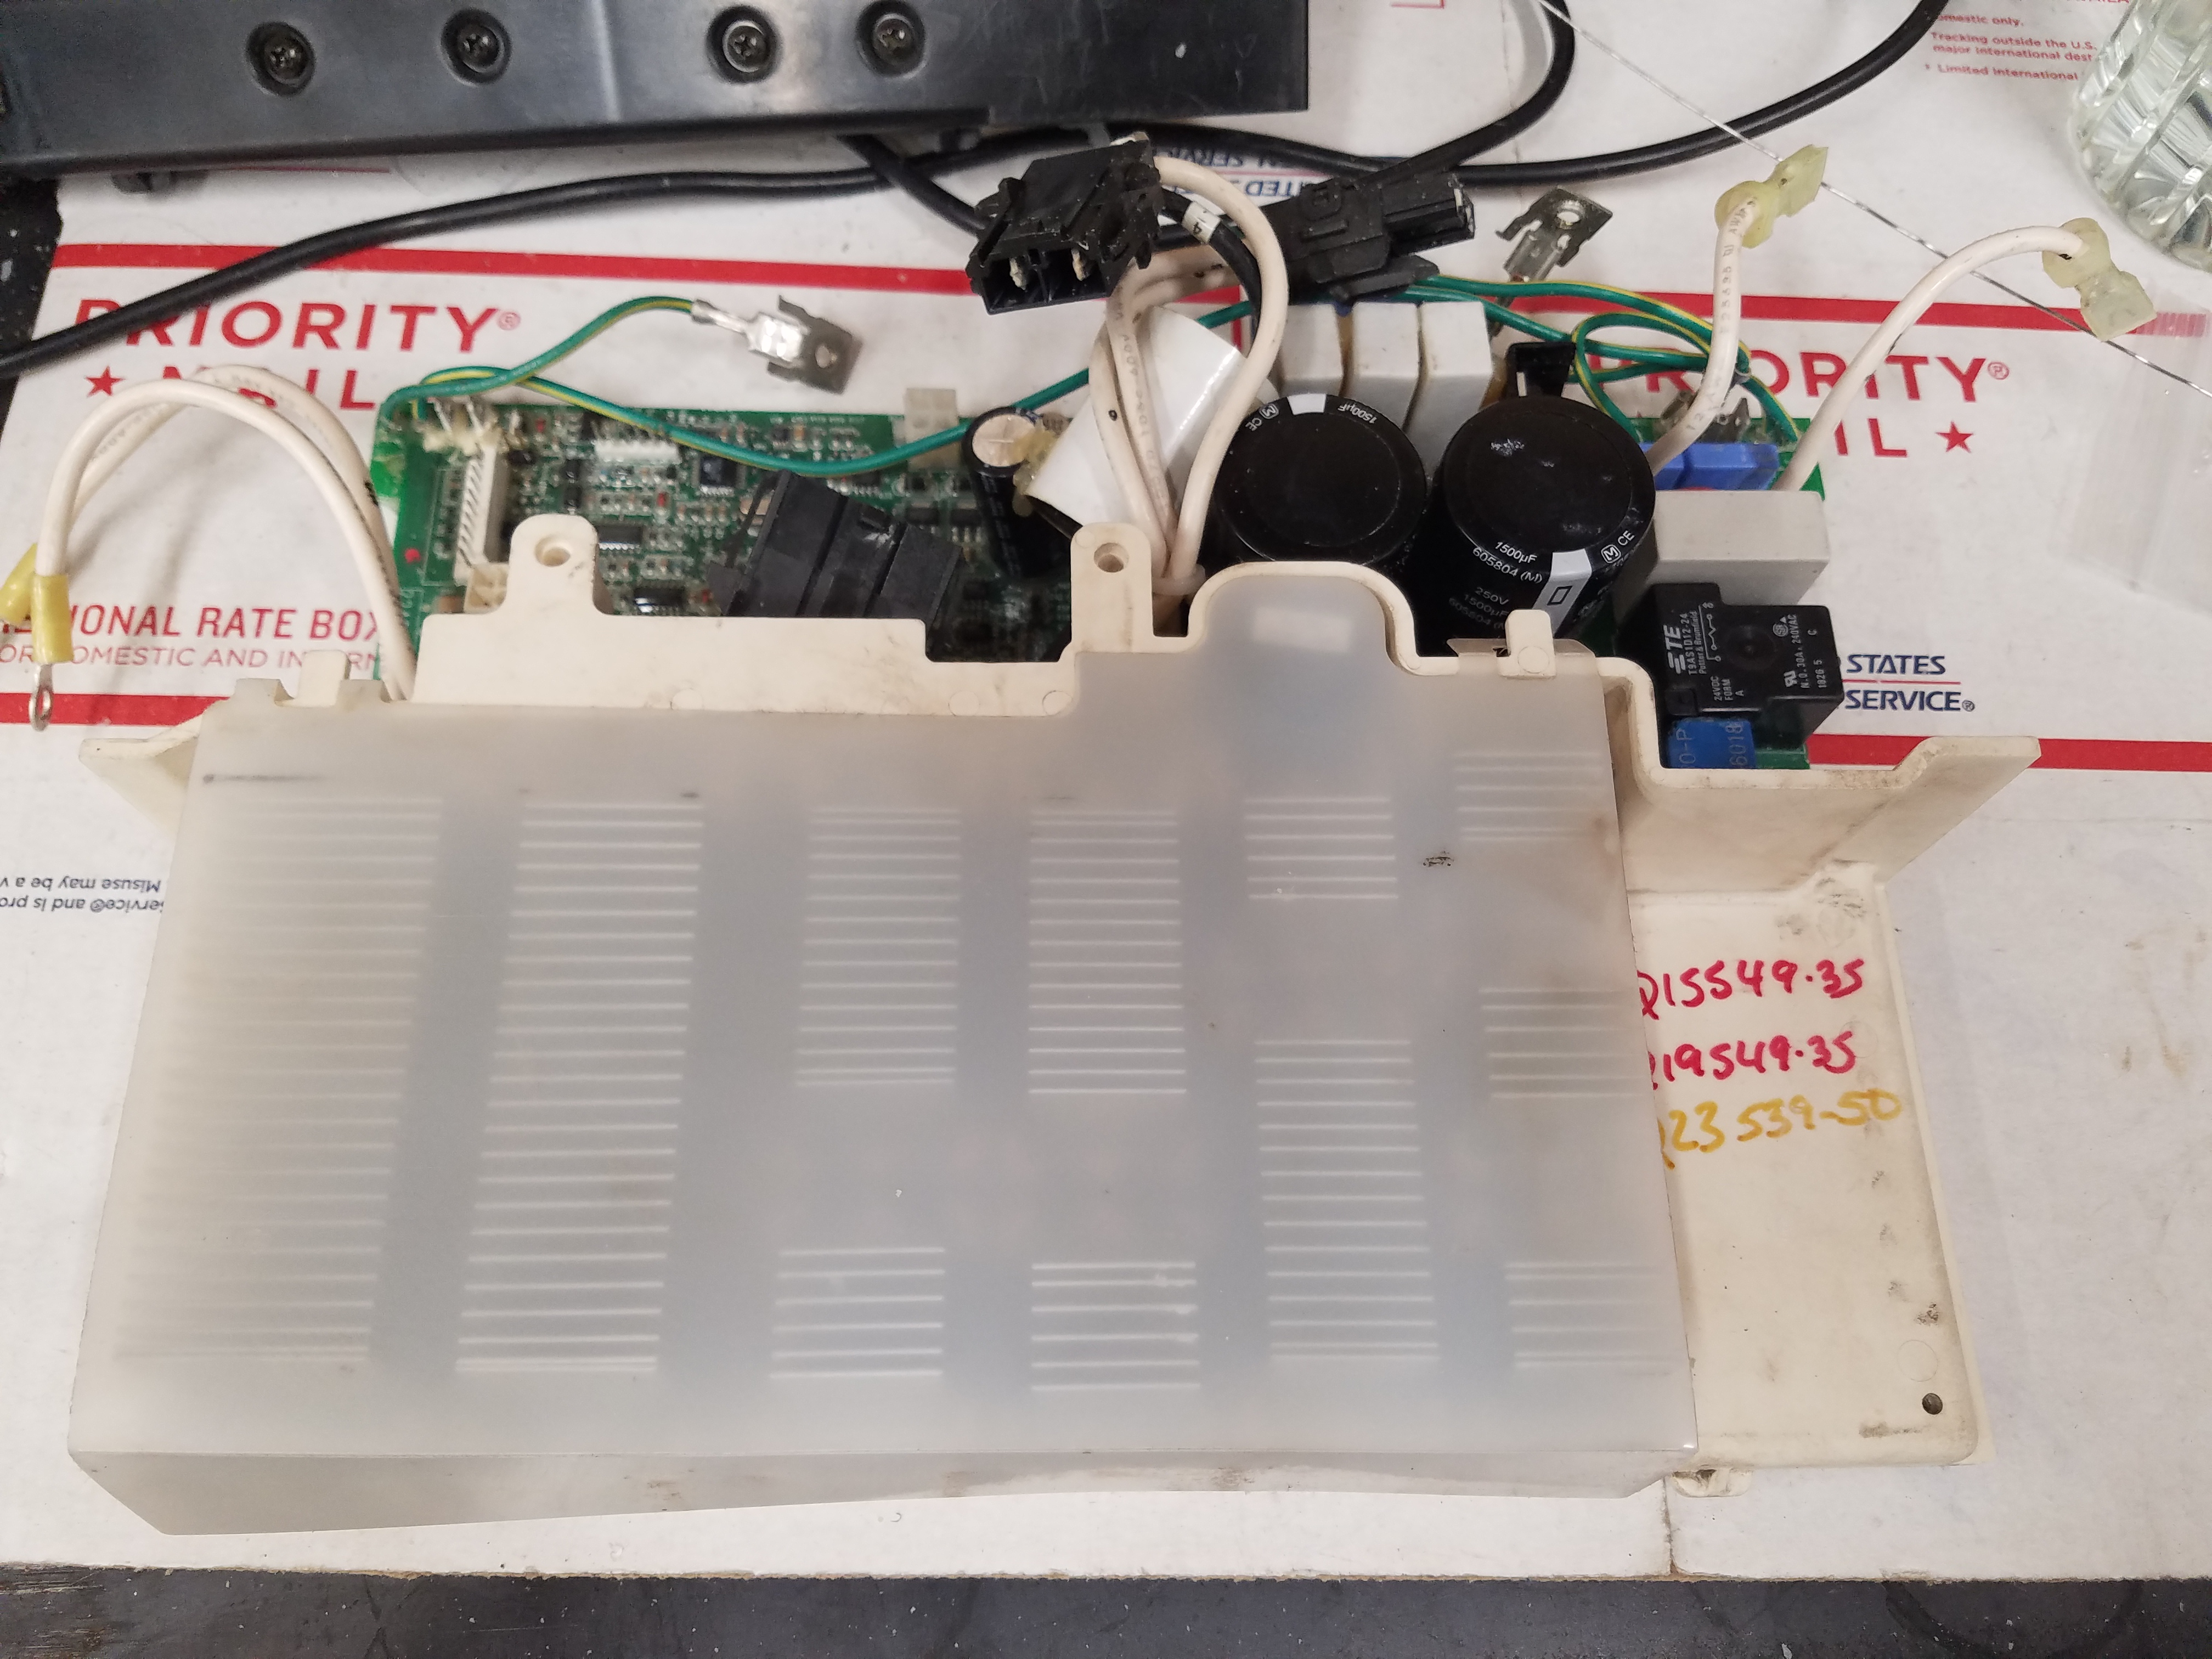
Basic Wiring Schematic Under The Cover..
I Support The Right To Repair https://repair.org/stand-up/ #RightToRepair
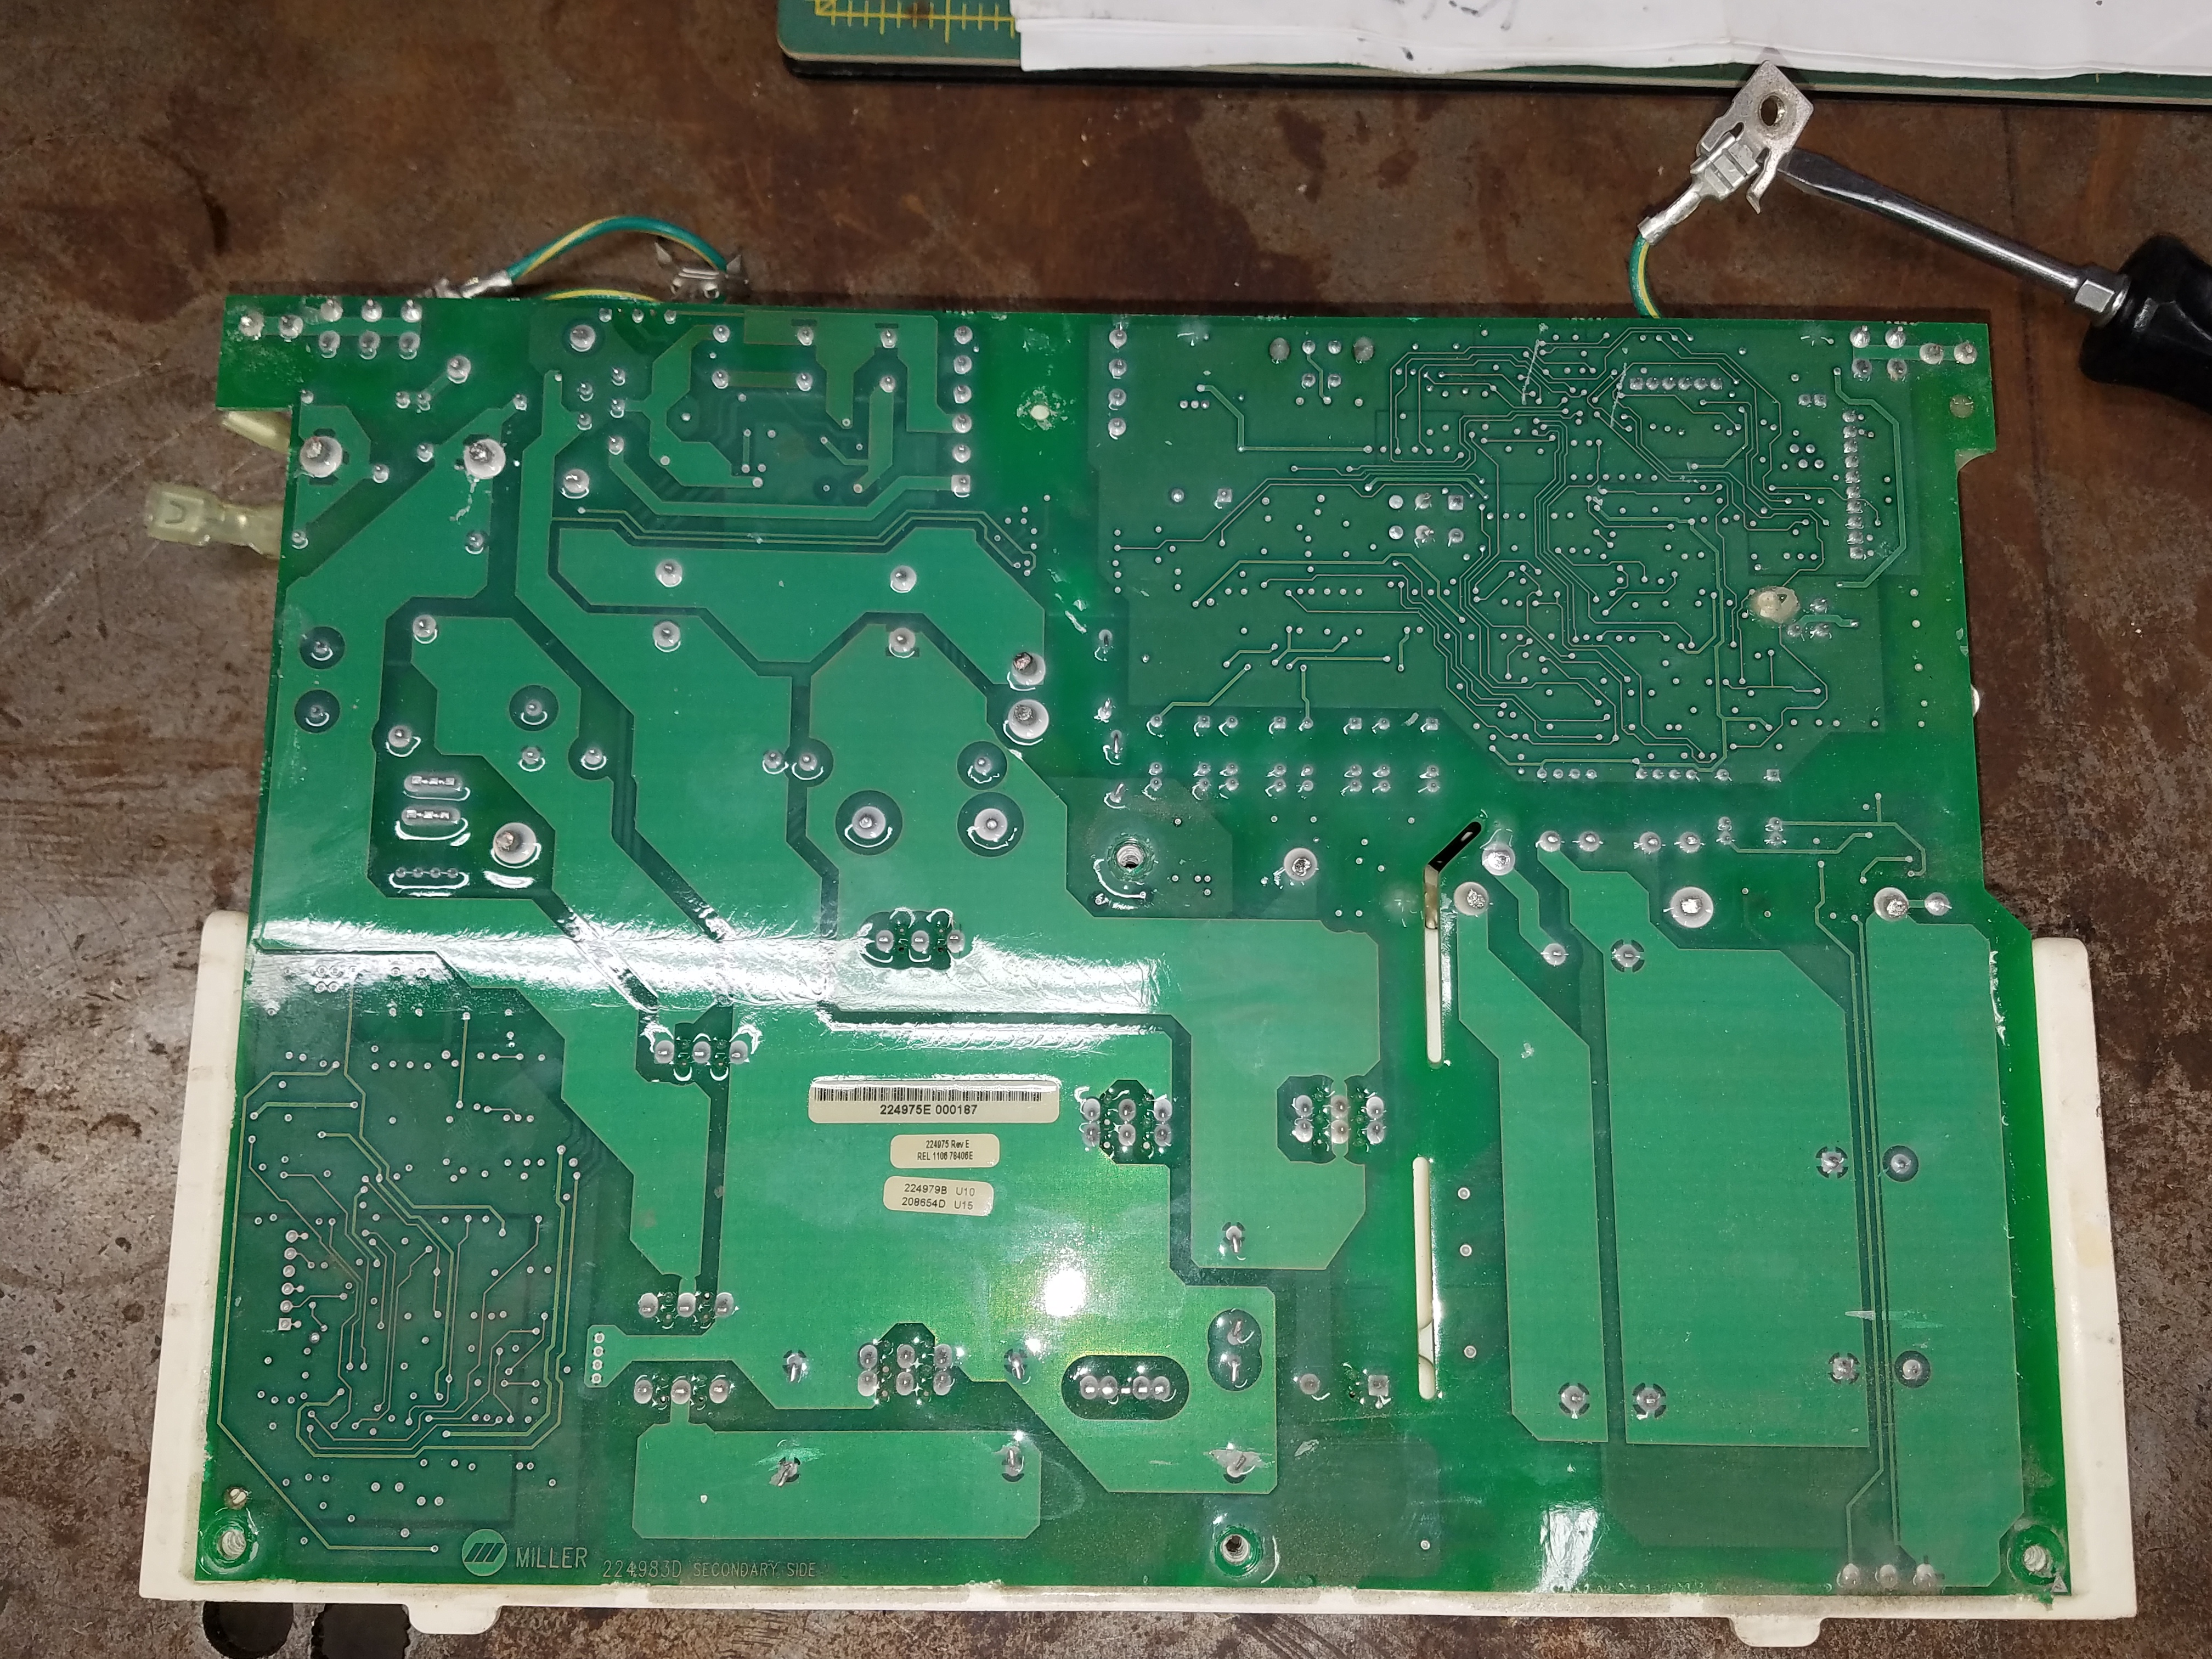
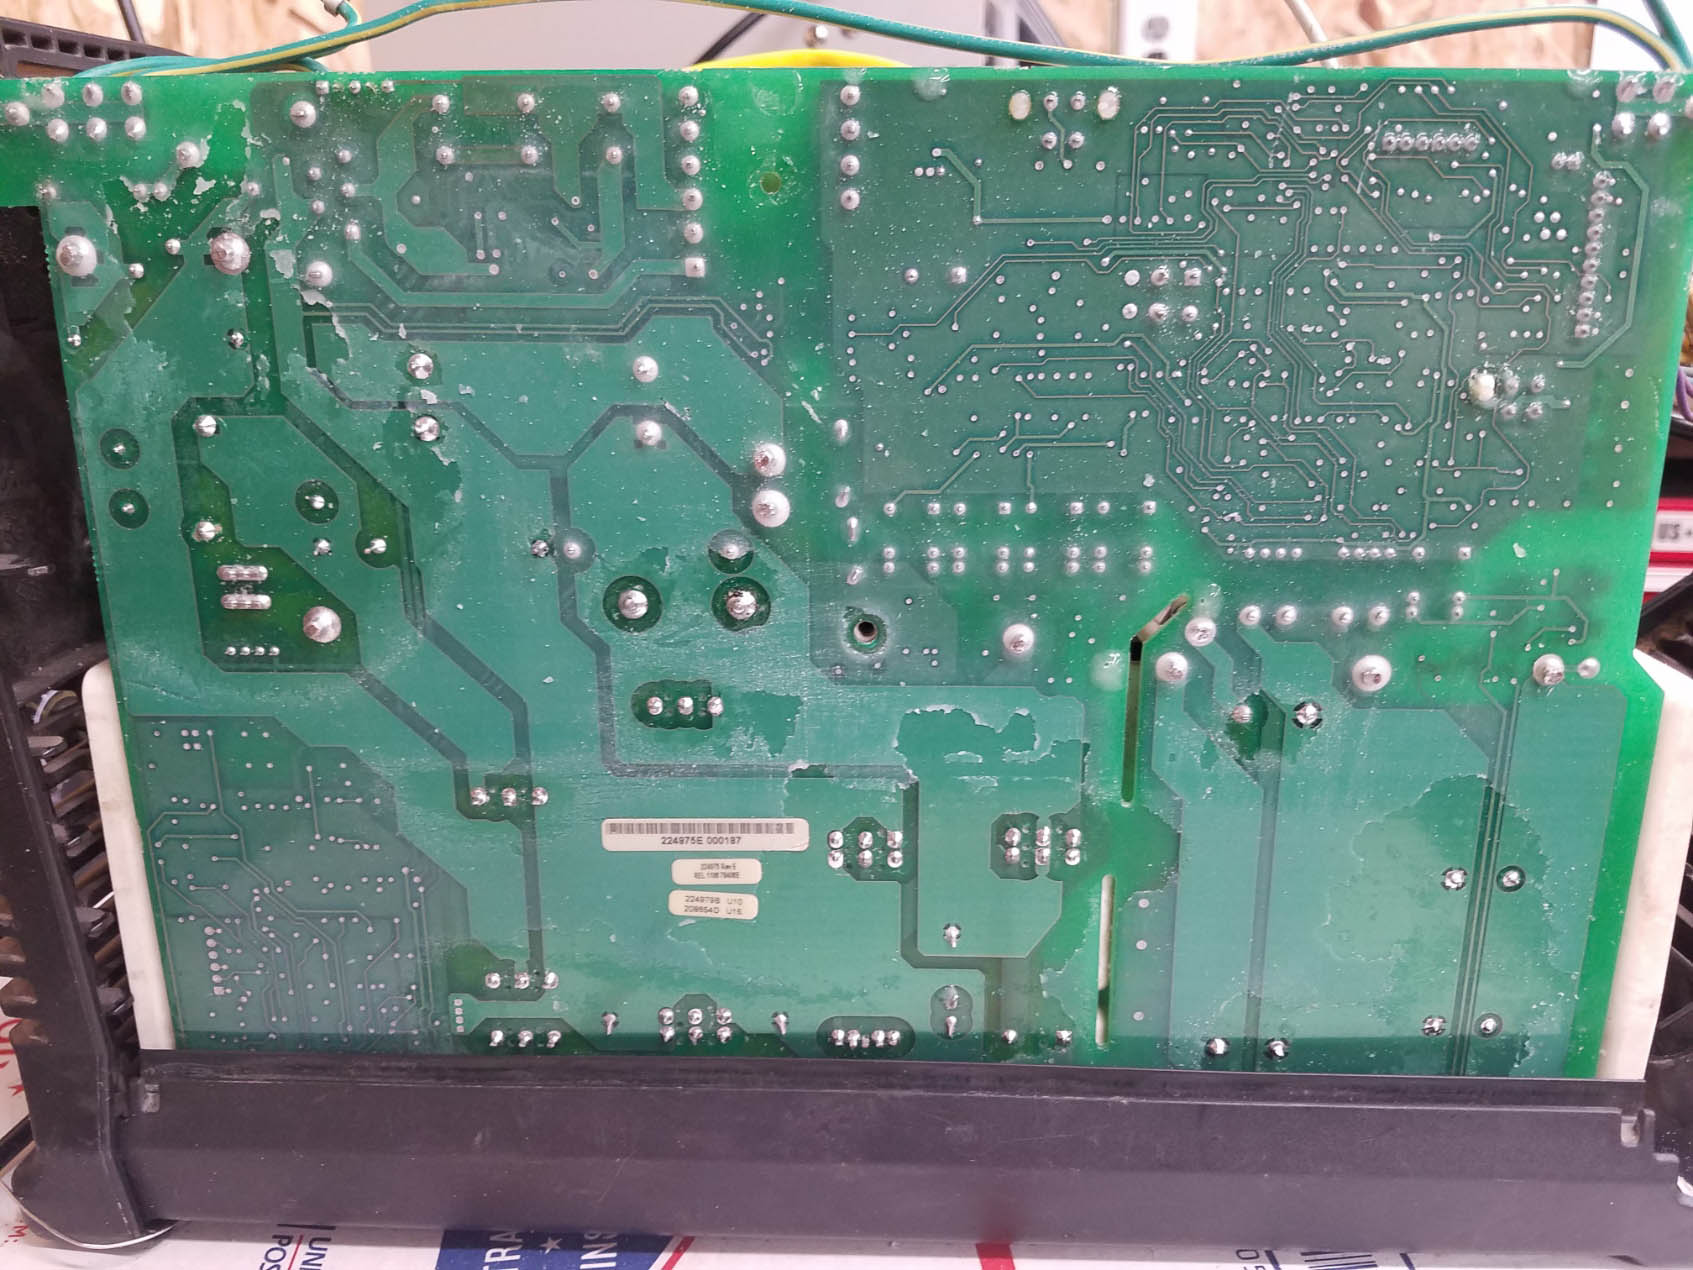
Your PCB Revision Will Be On The Secondary Side Of The PCB at The Bottom..
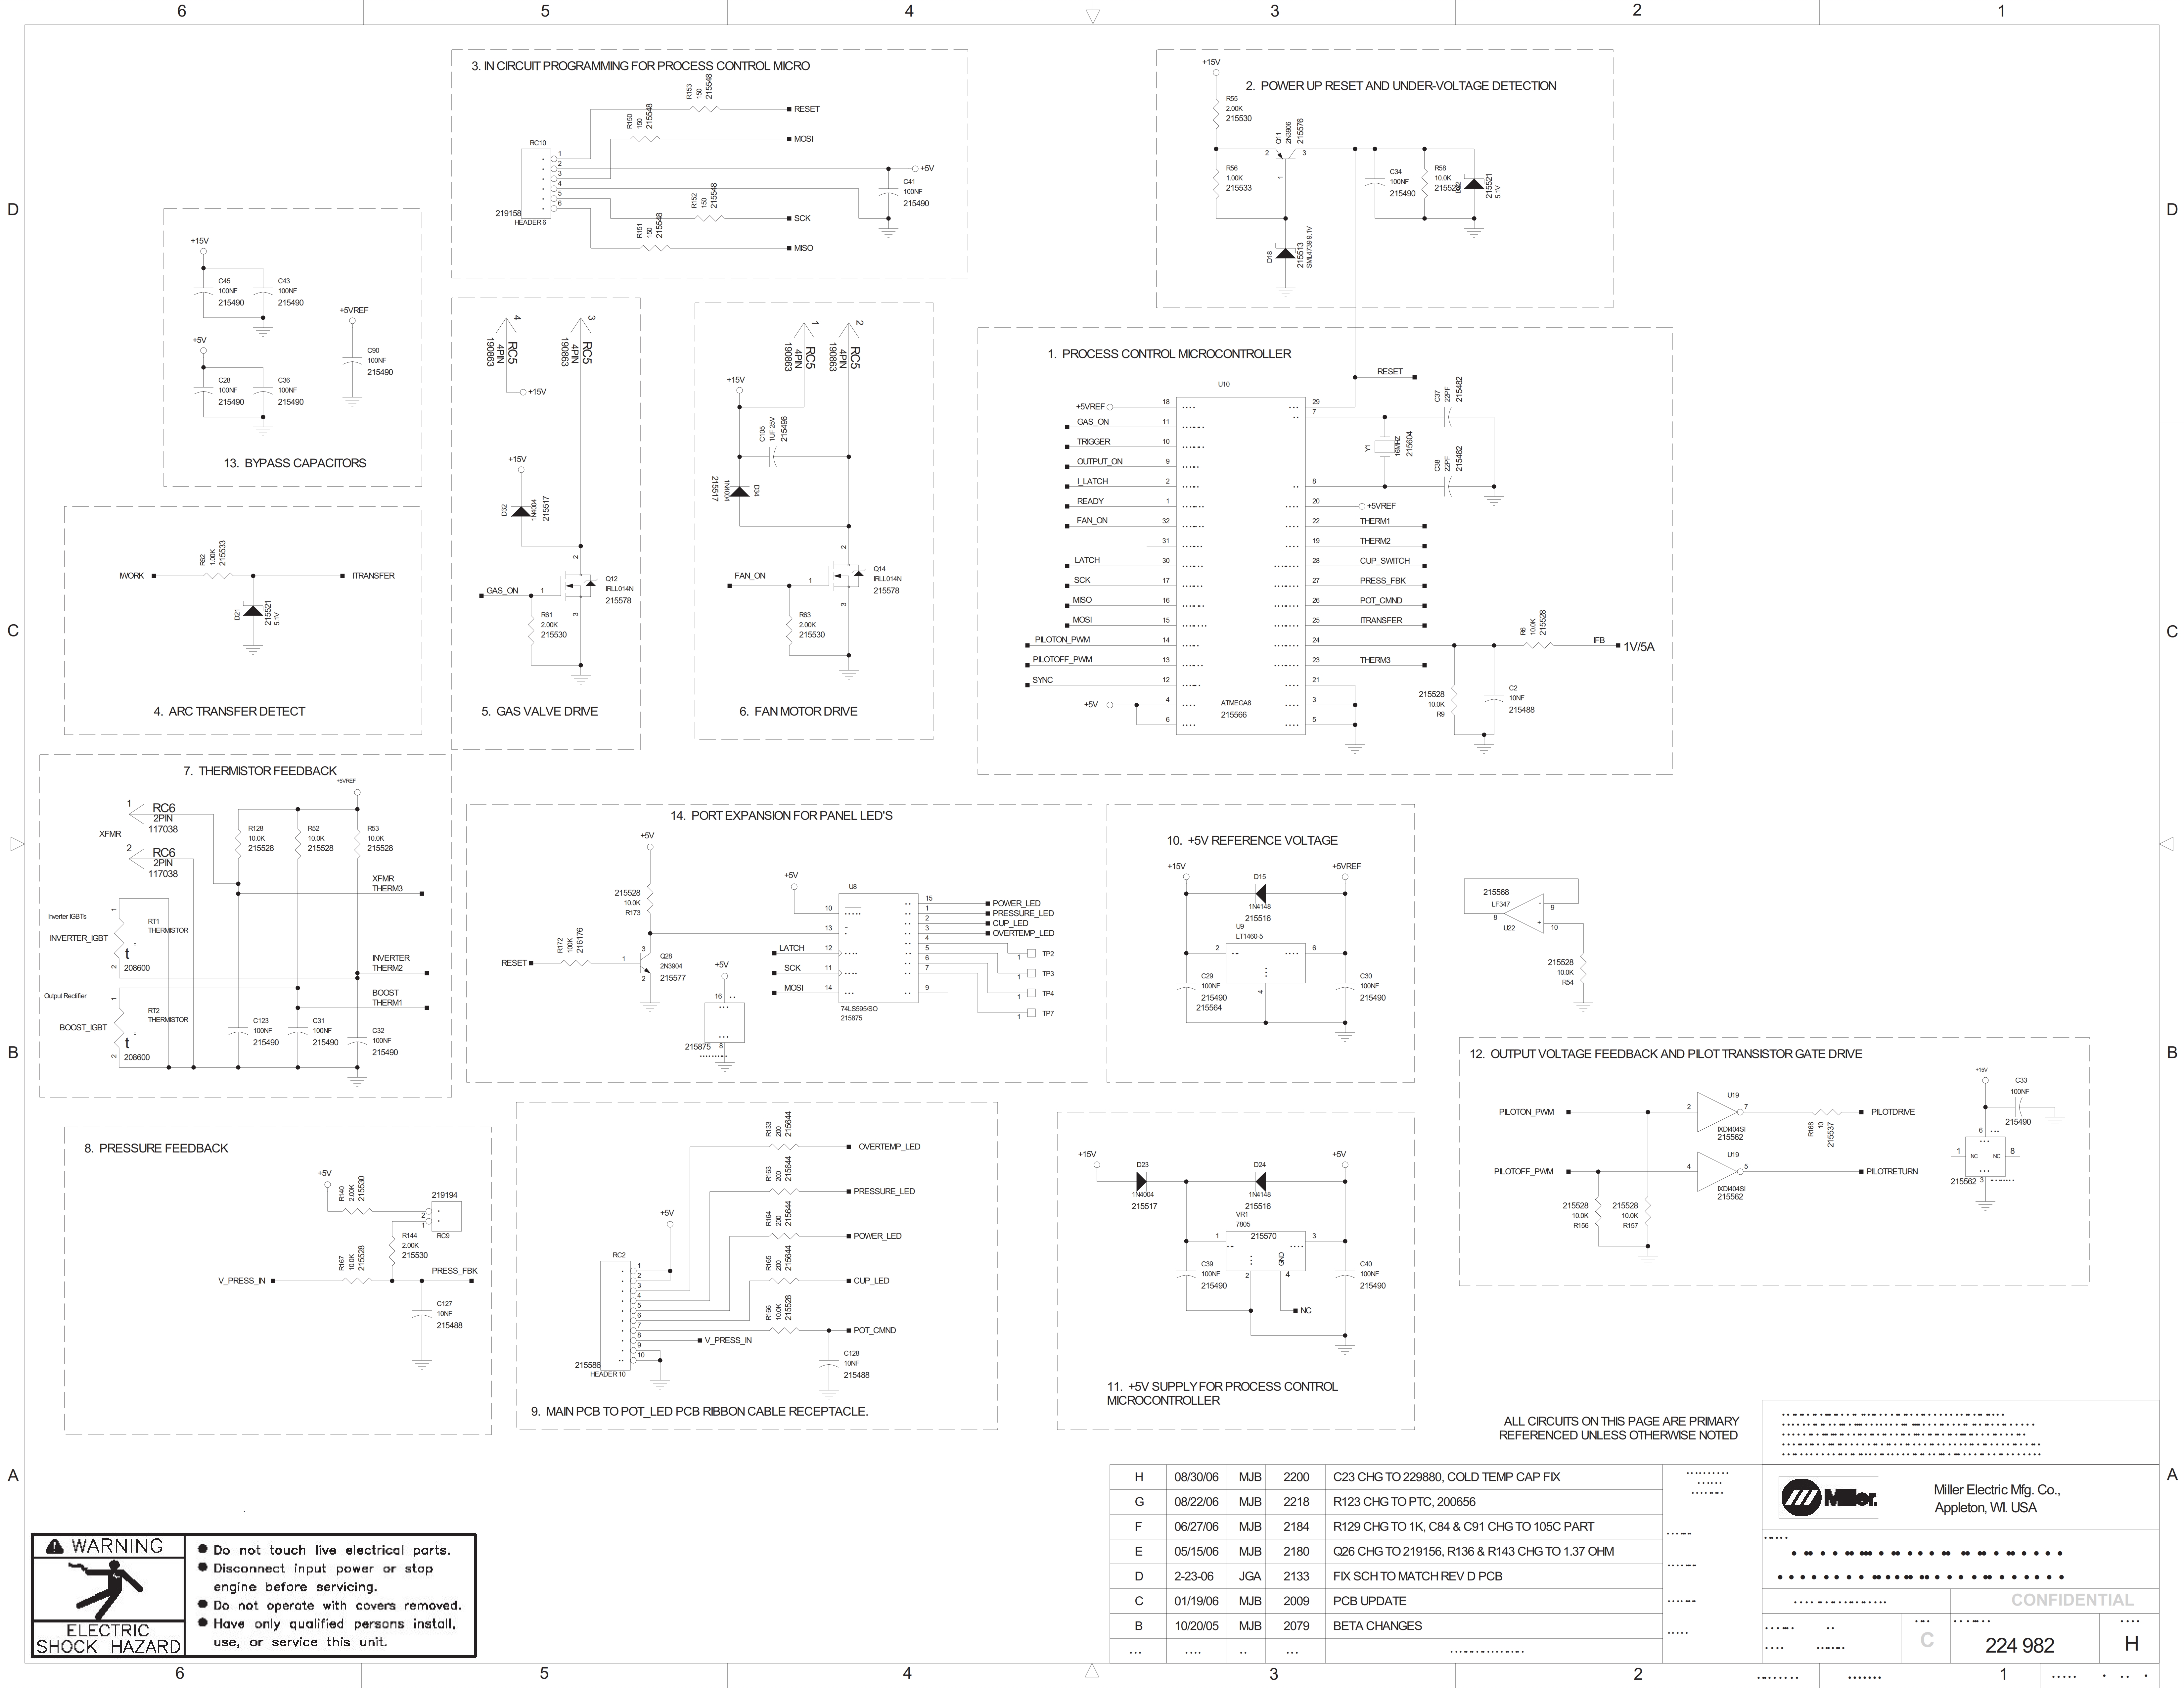
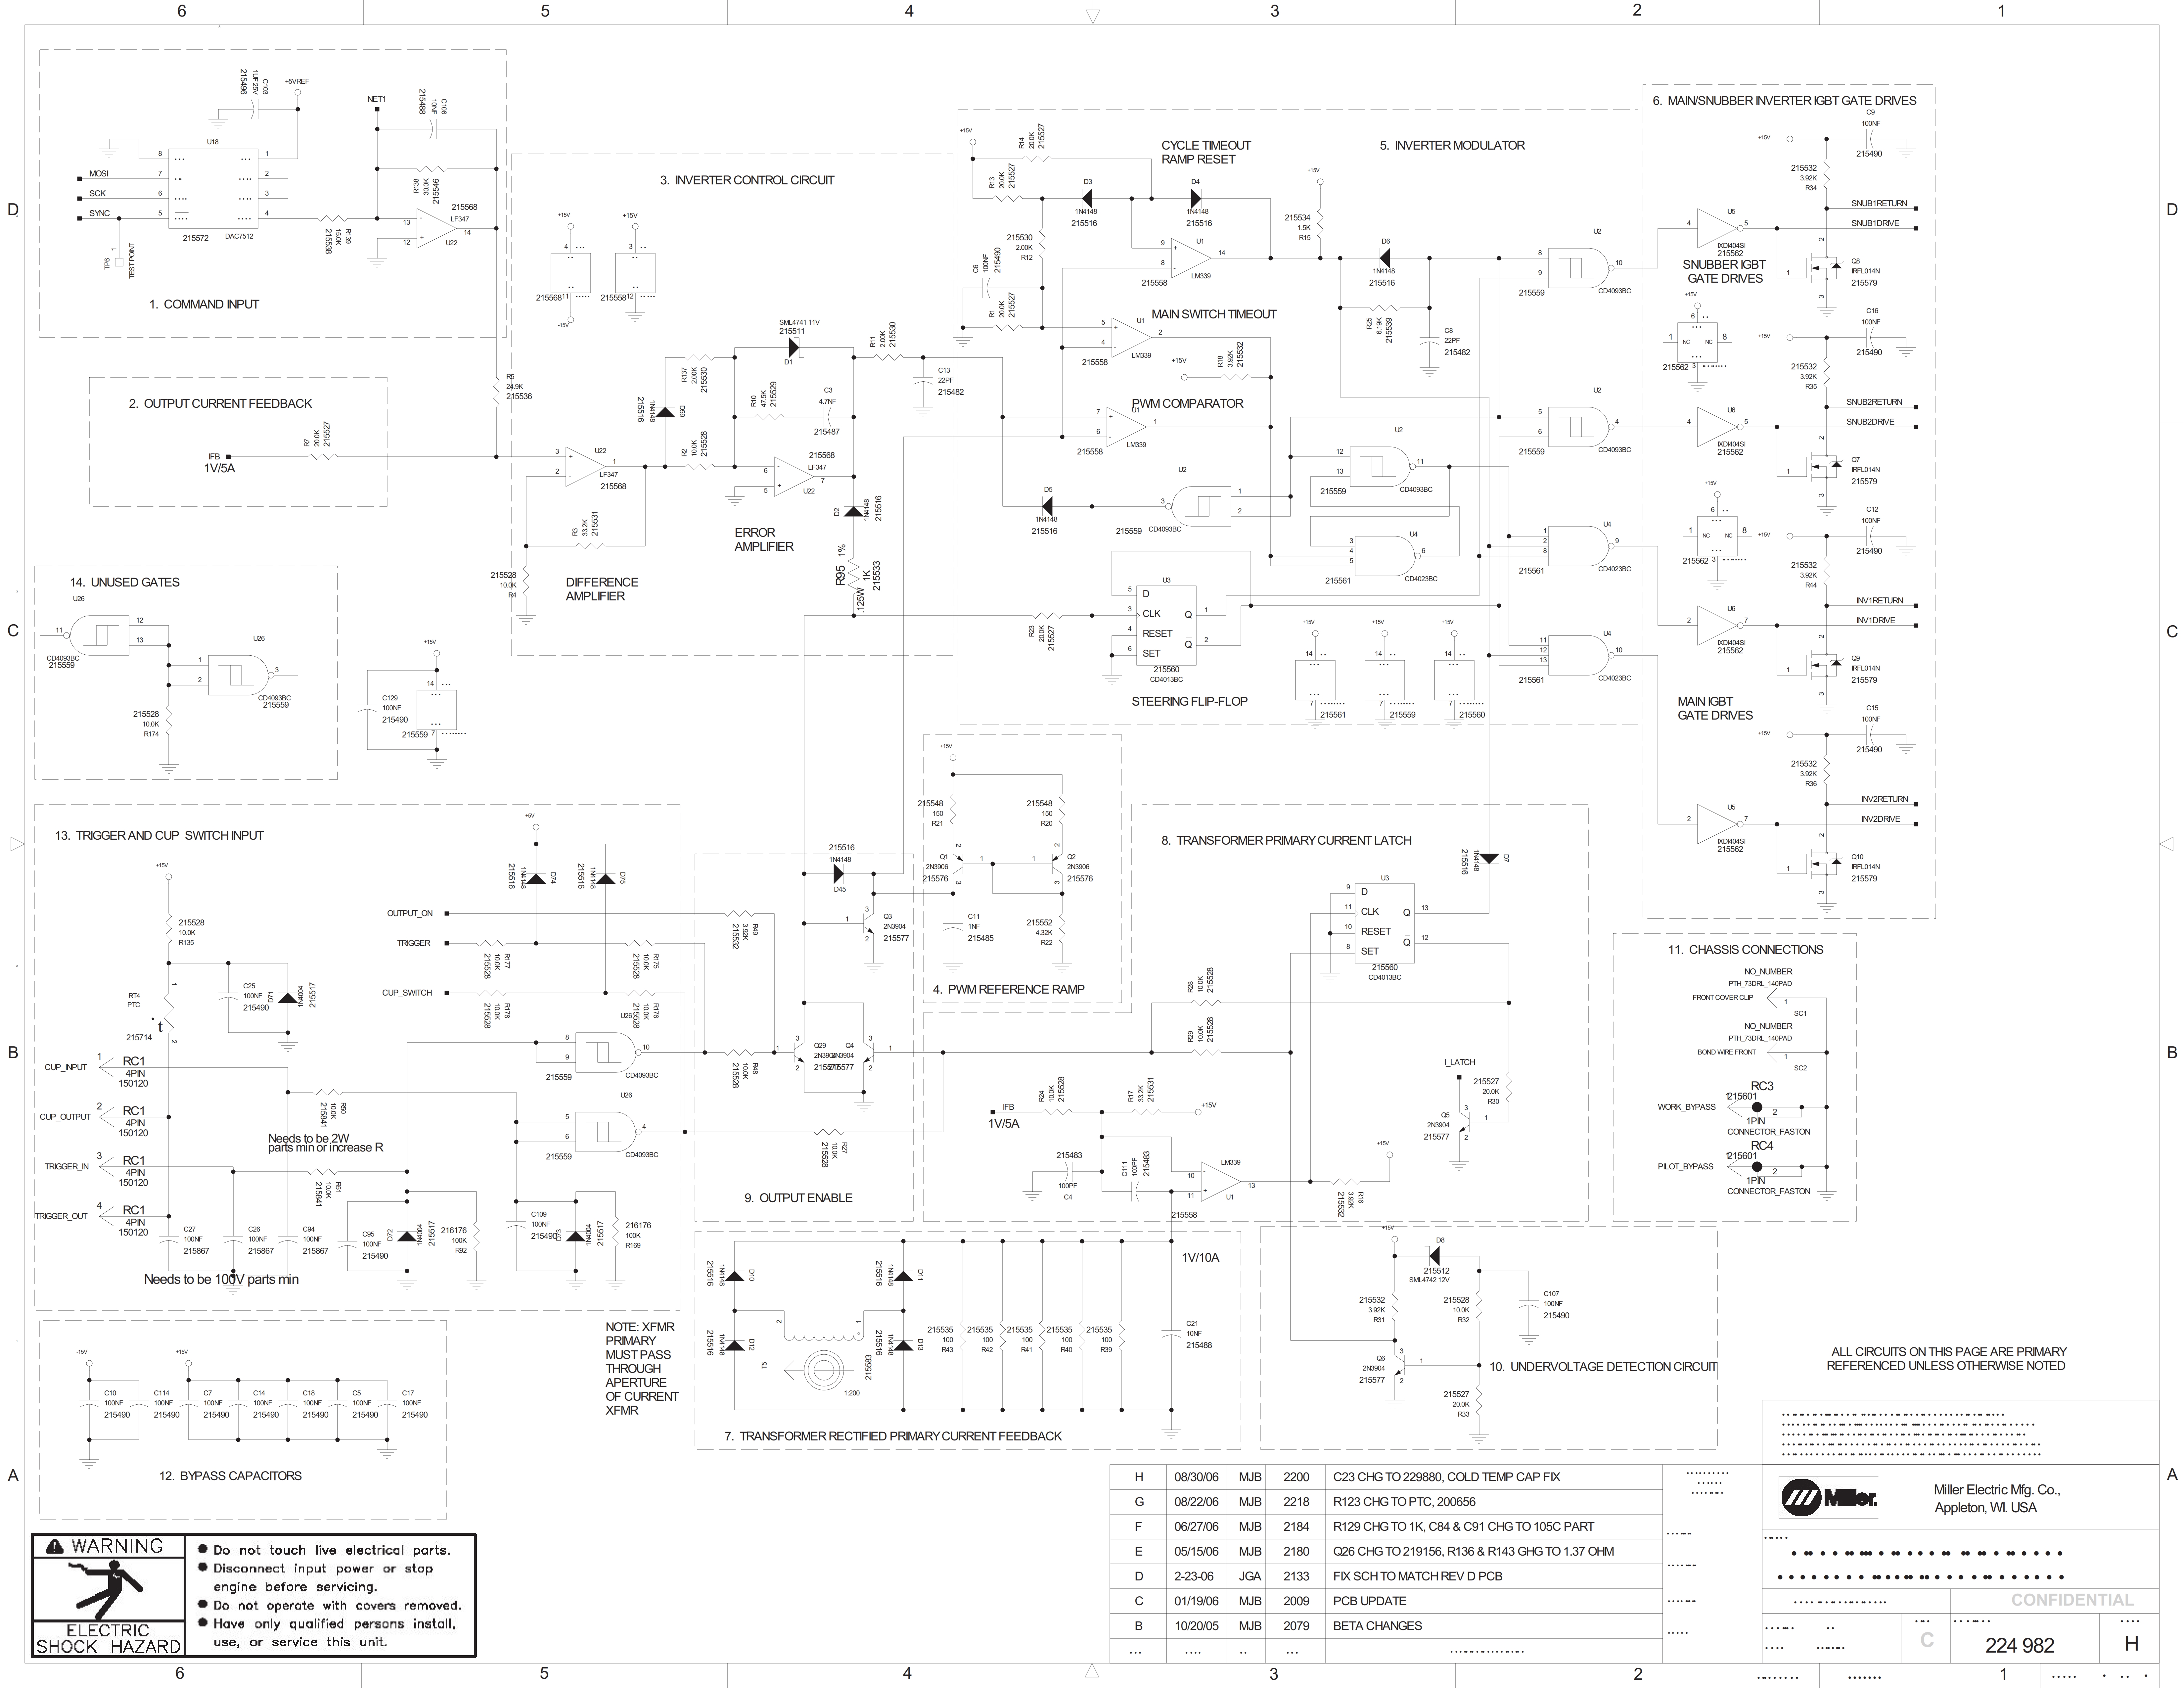
Download the Miller 375 Plasma Cutter Schematic For Board # 224975 rev 224982H With 24V Relay
Download the Miller 375 Plasma Cutter Schematic For Board # 224975 rev 231540B With 18V Relay
Miller 375 Schematic Images Extracted Form PDF. (Edited For Rotation Only) Click to Enlarge, Then Right Click Save As to Save!!


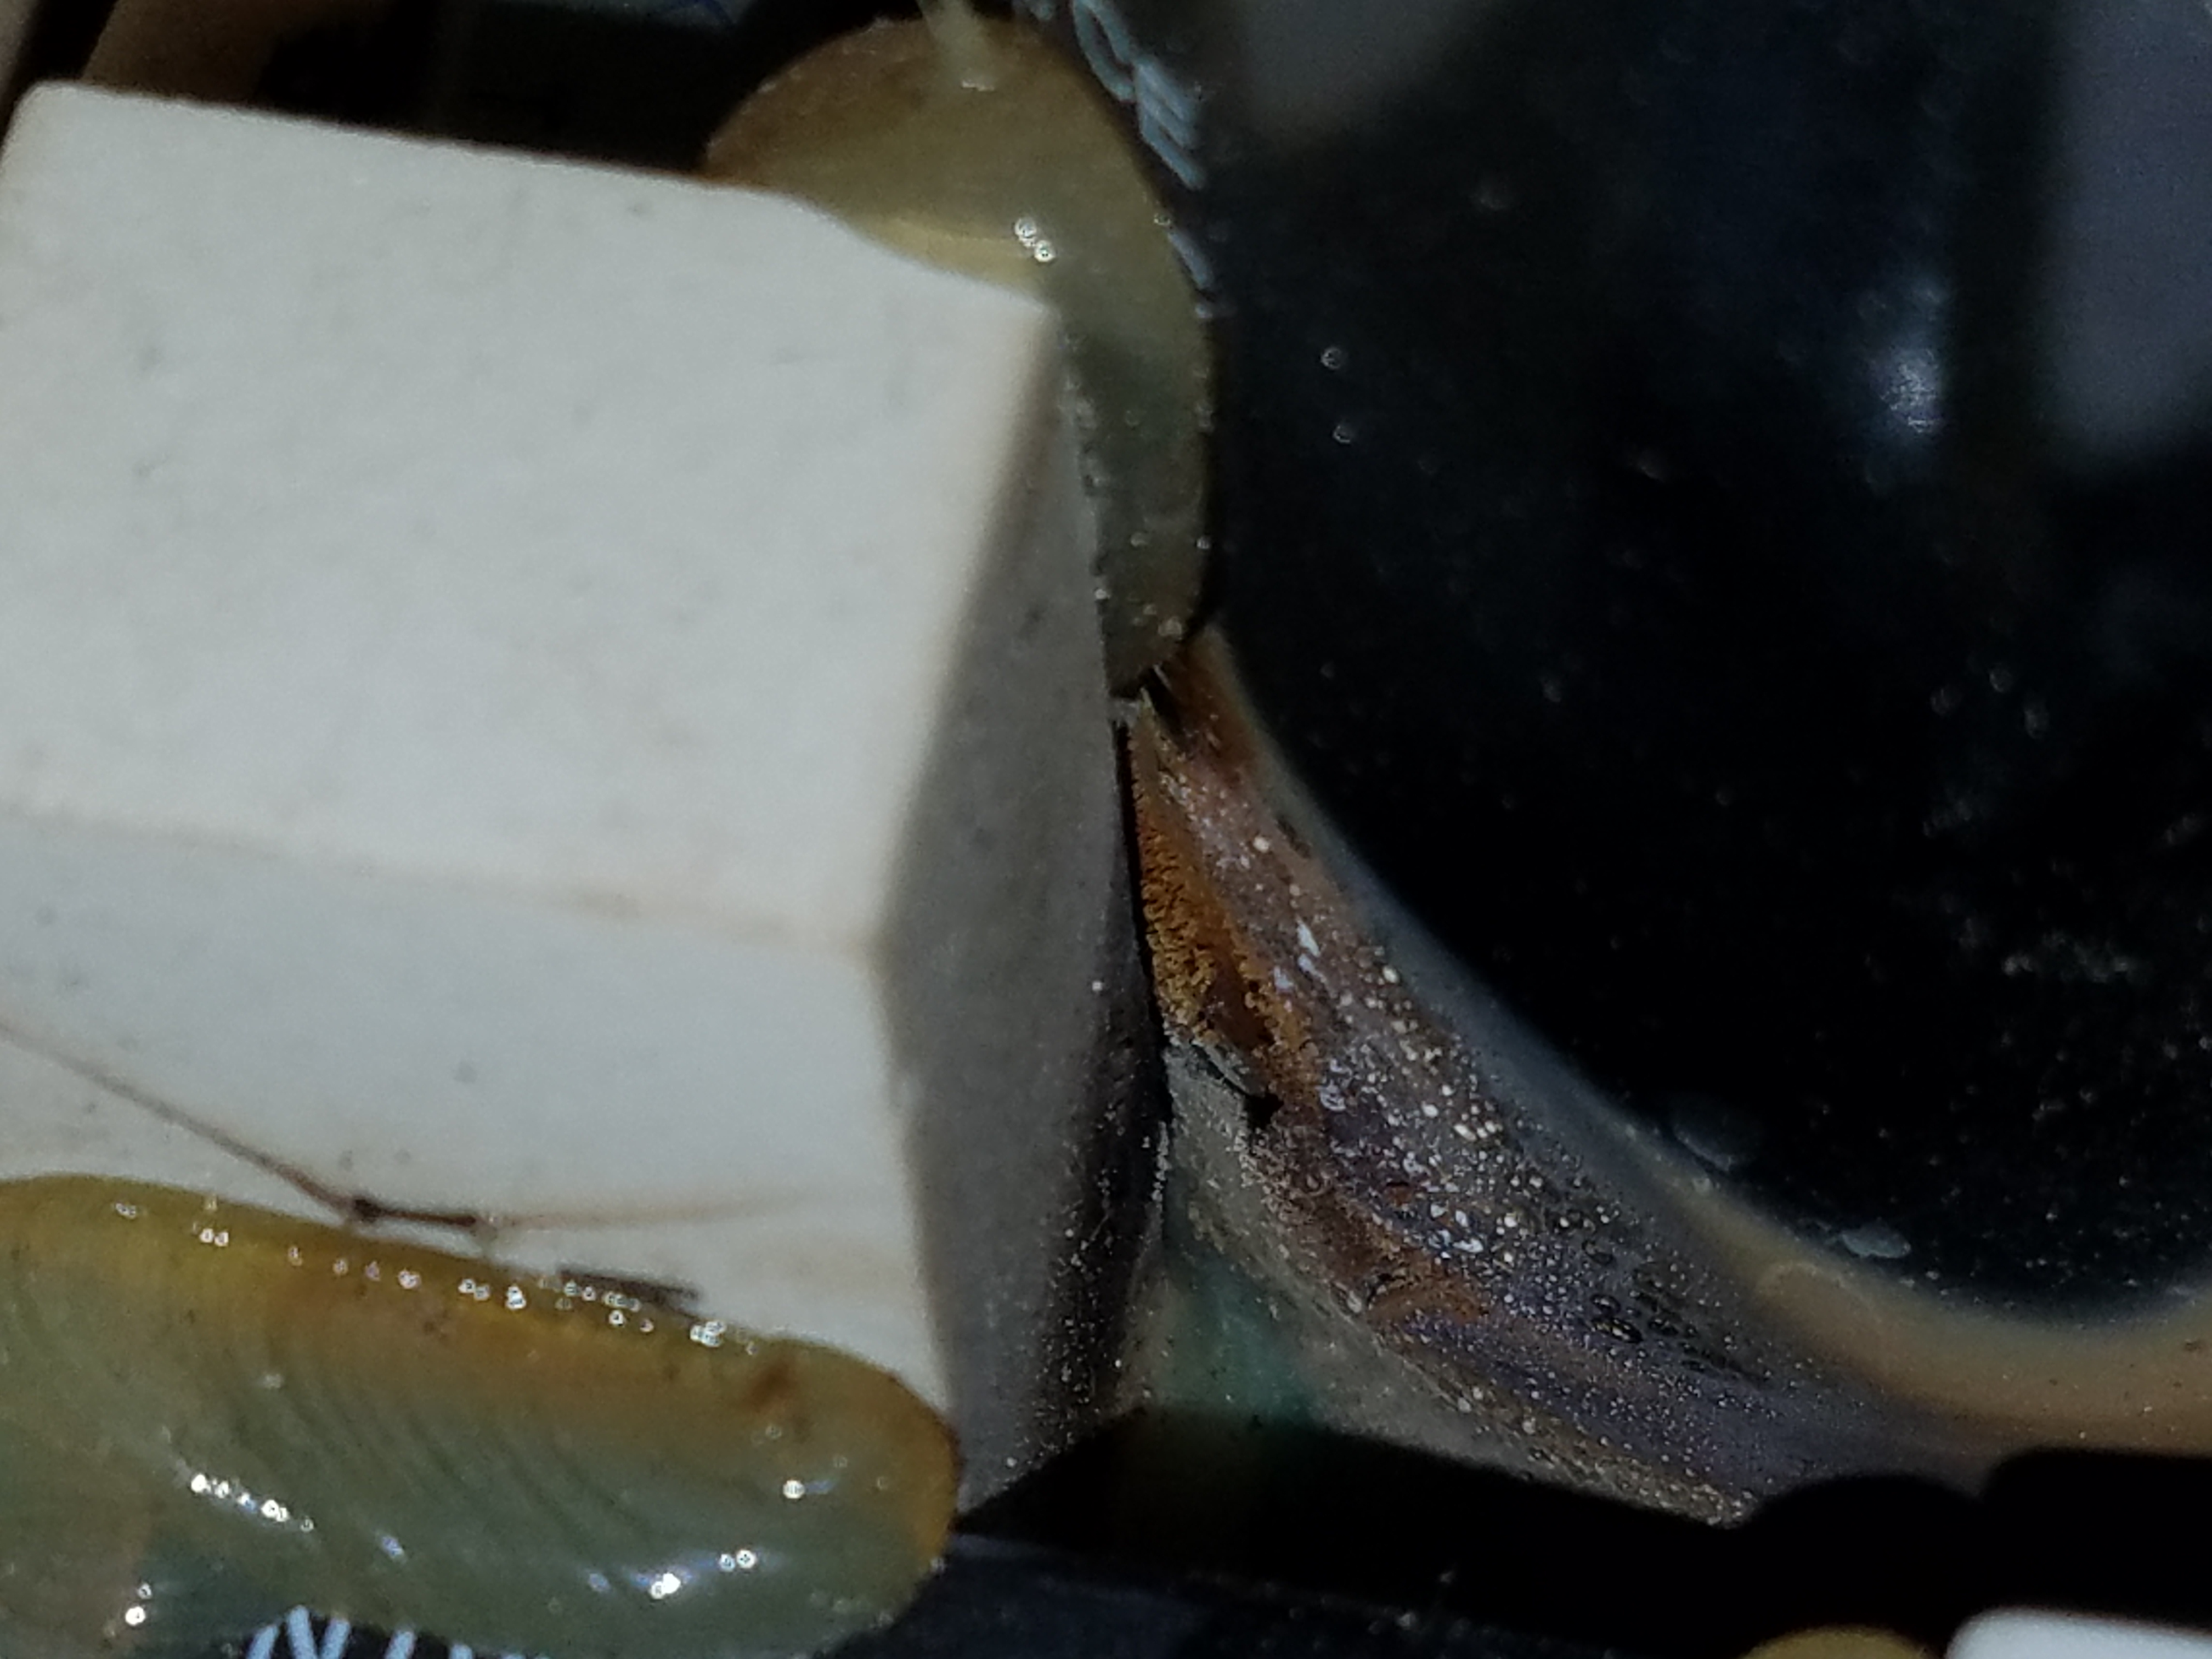
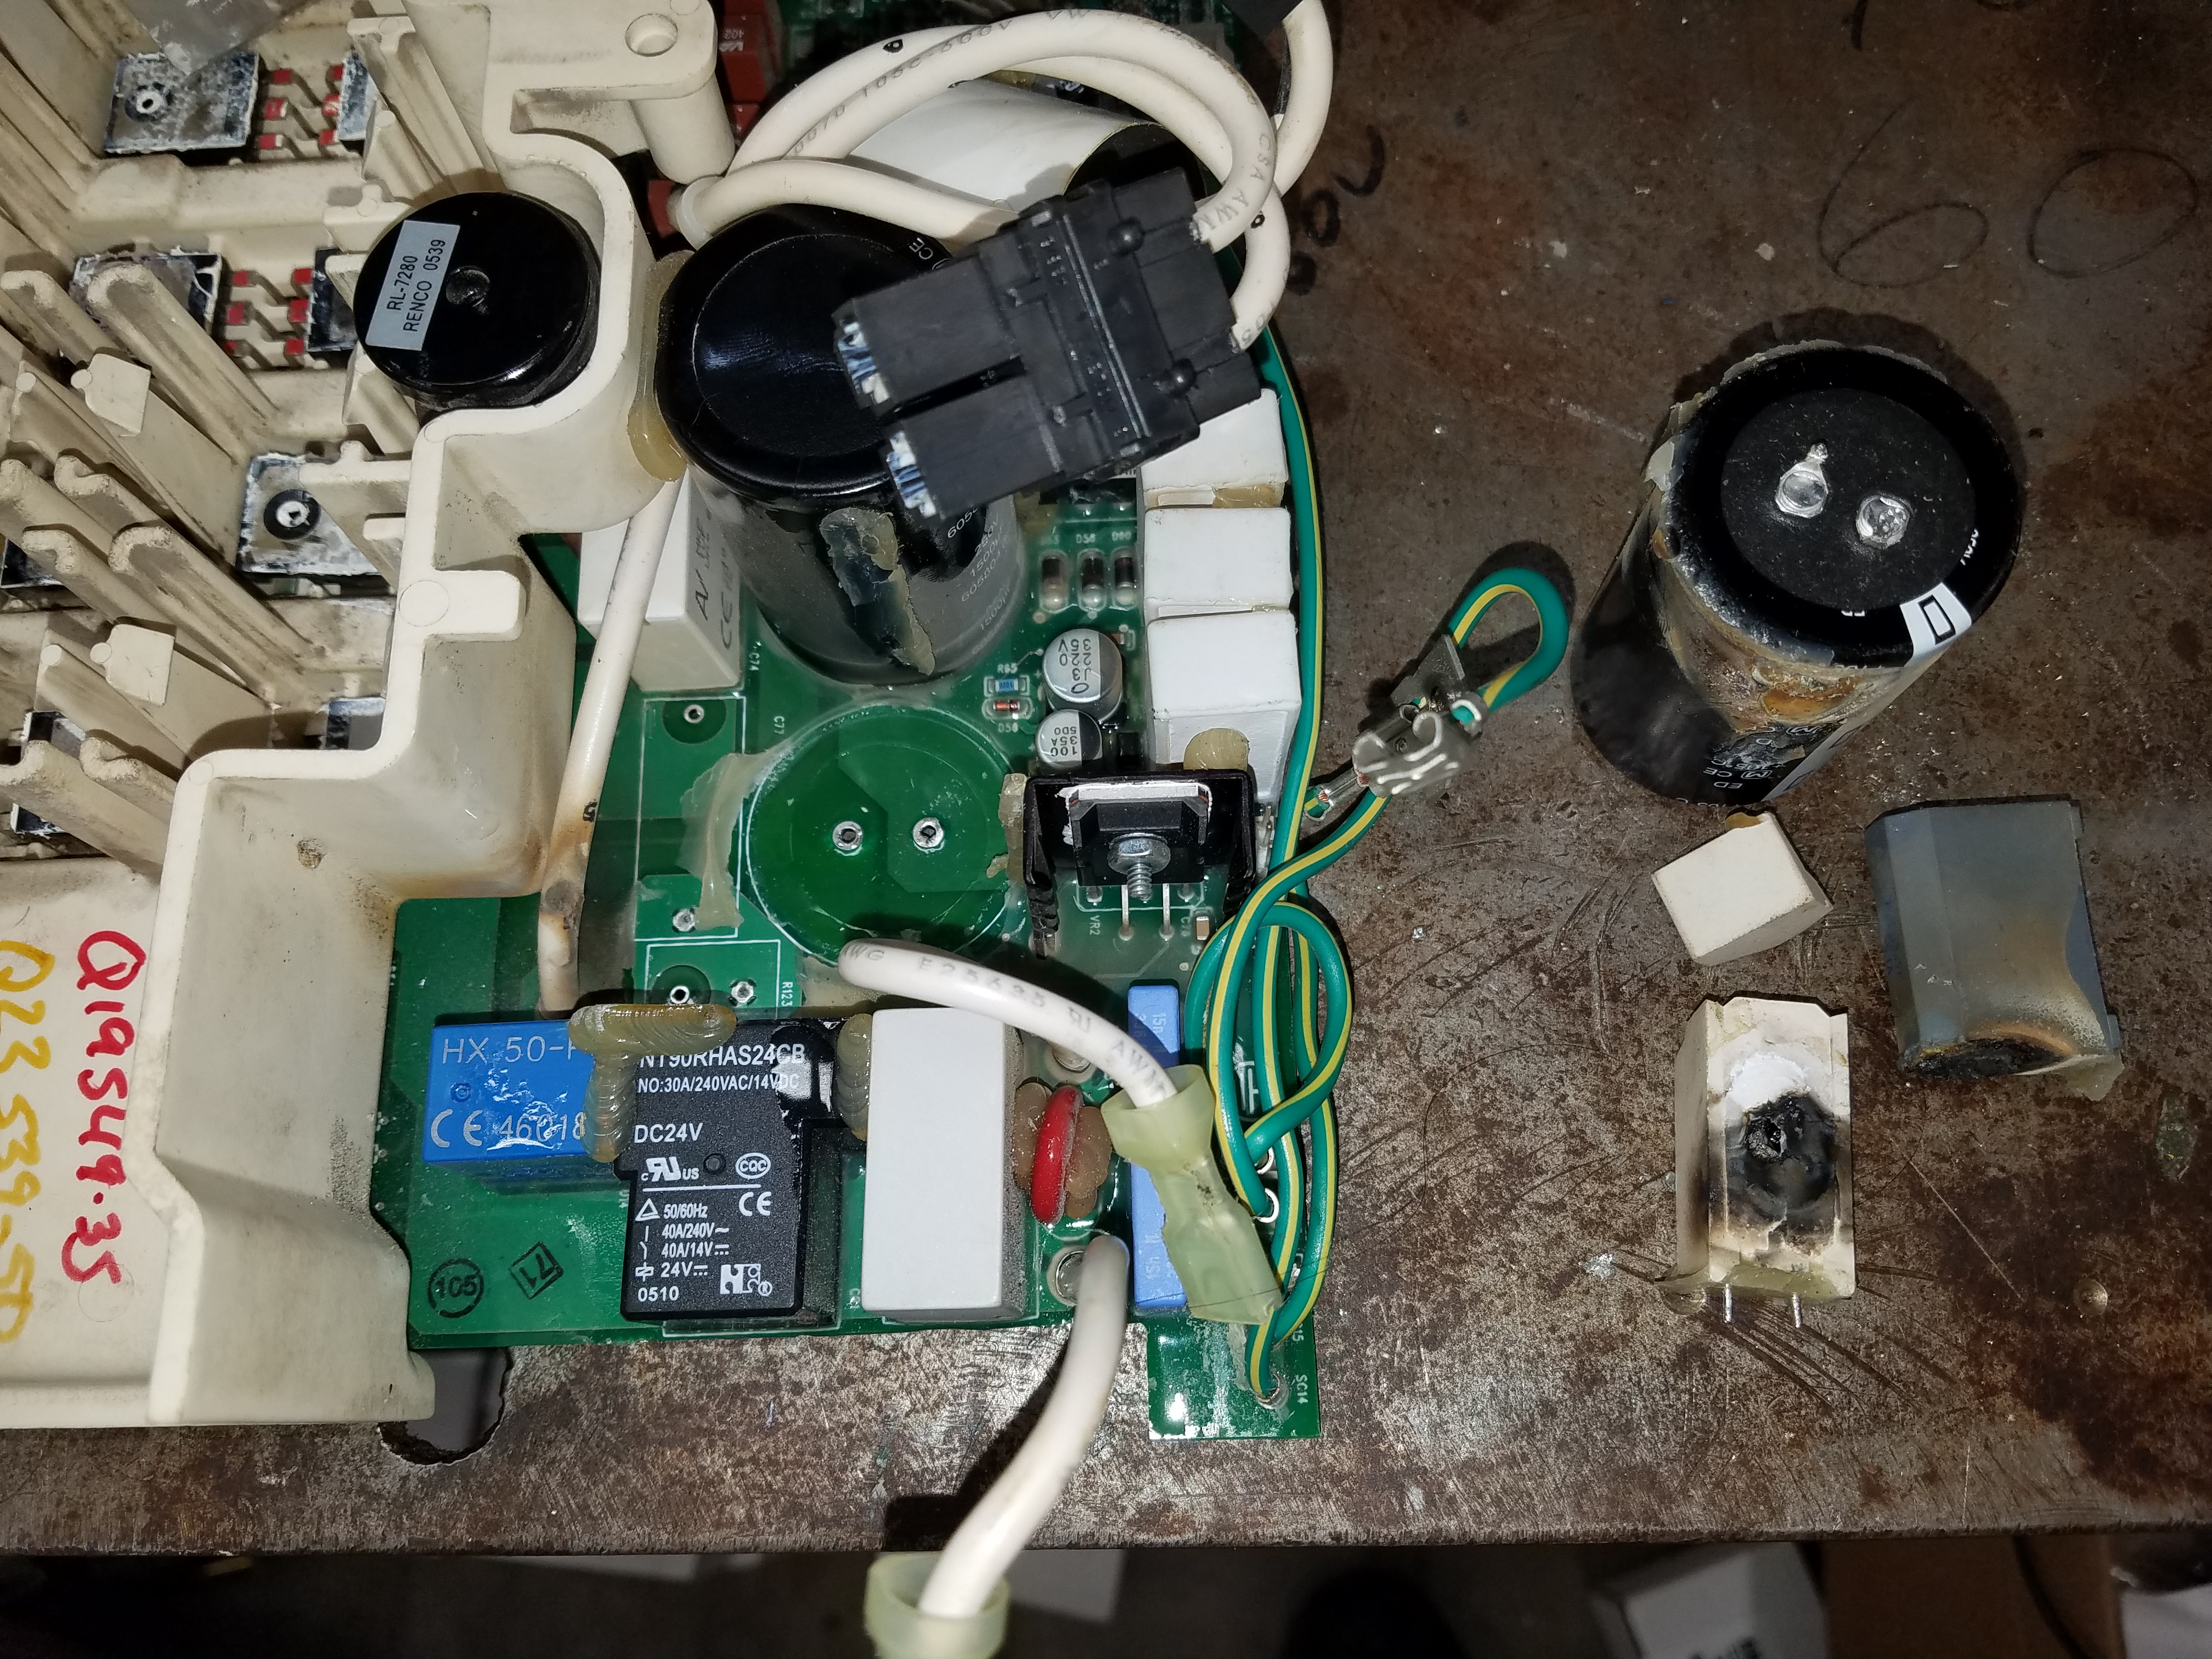
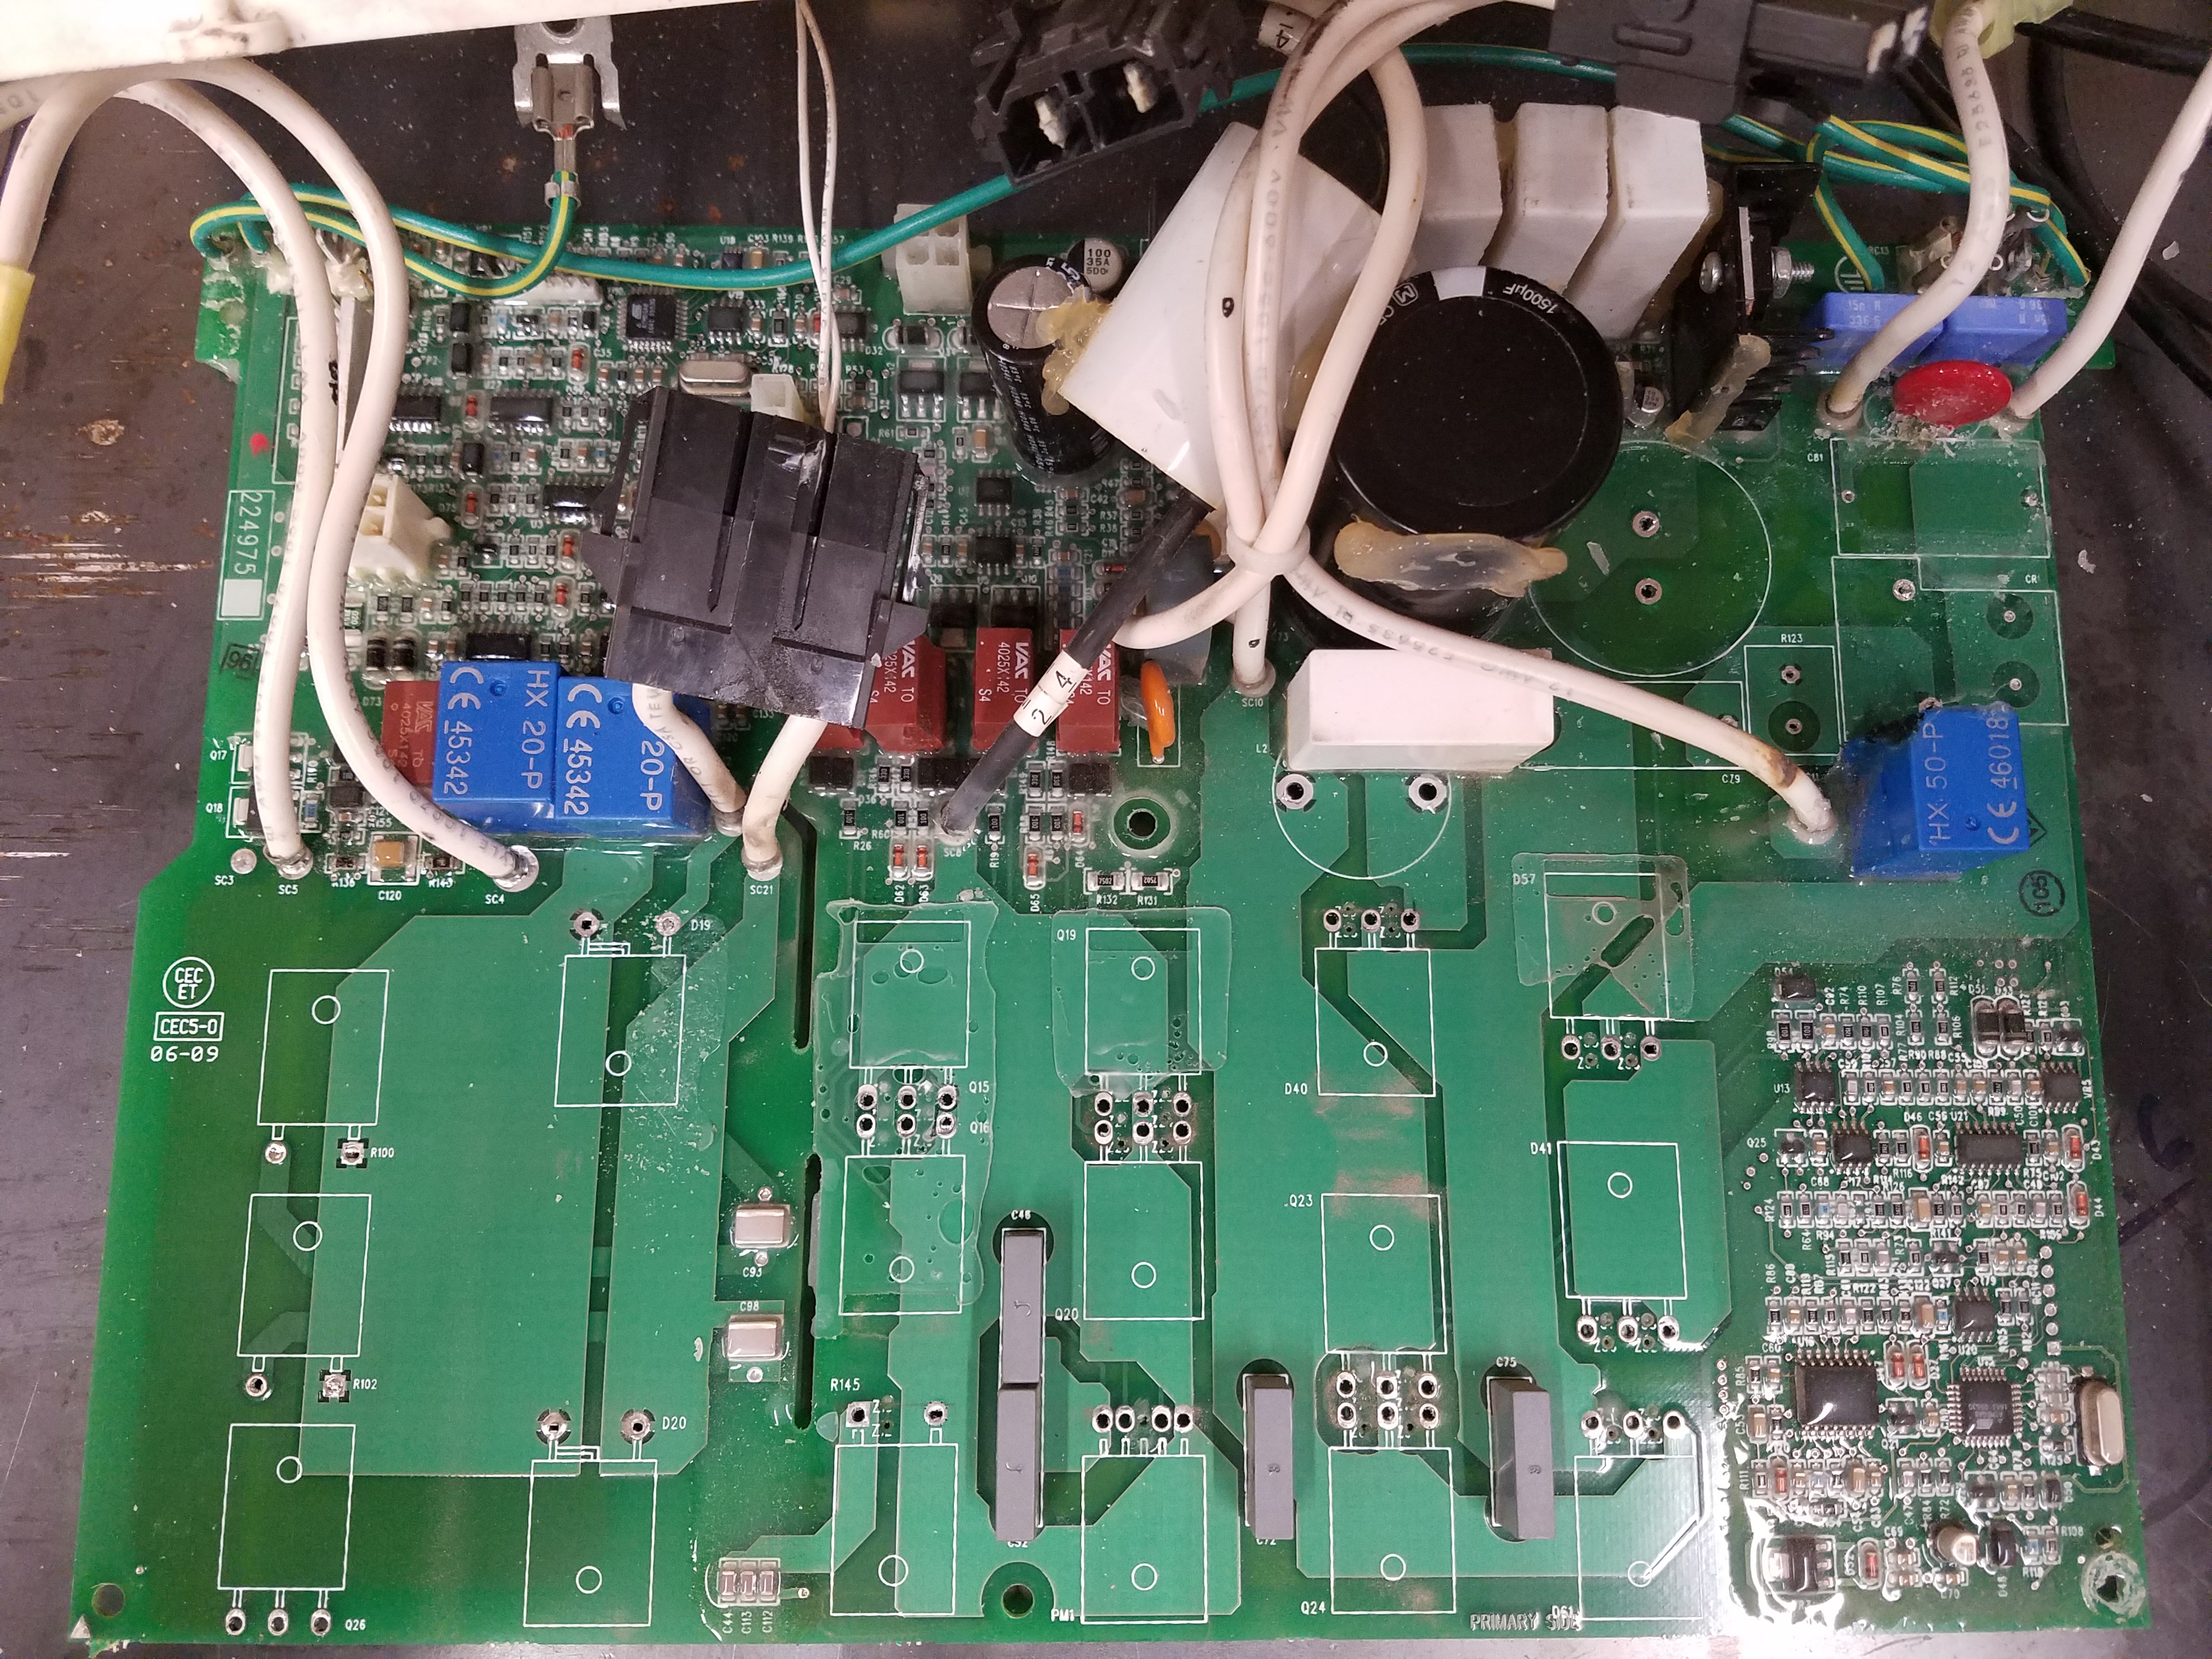
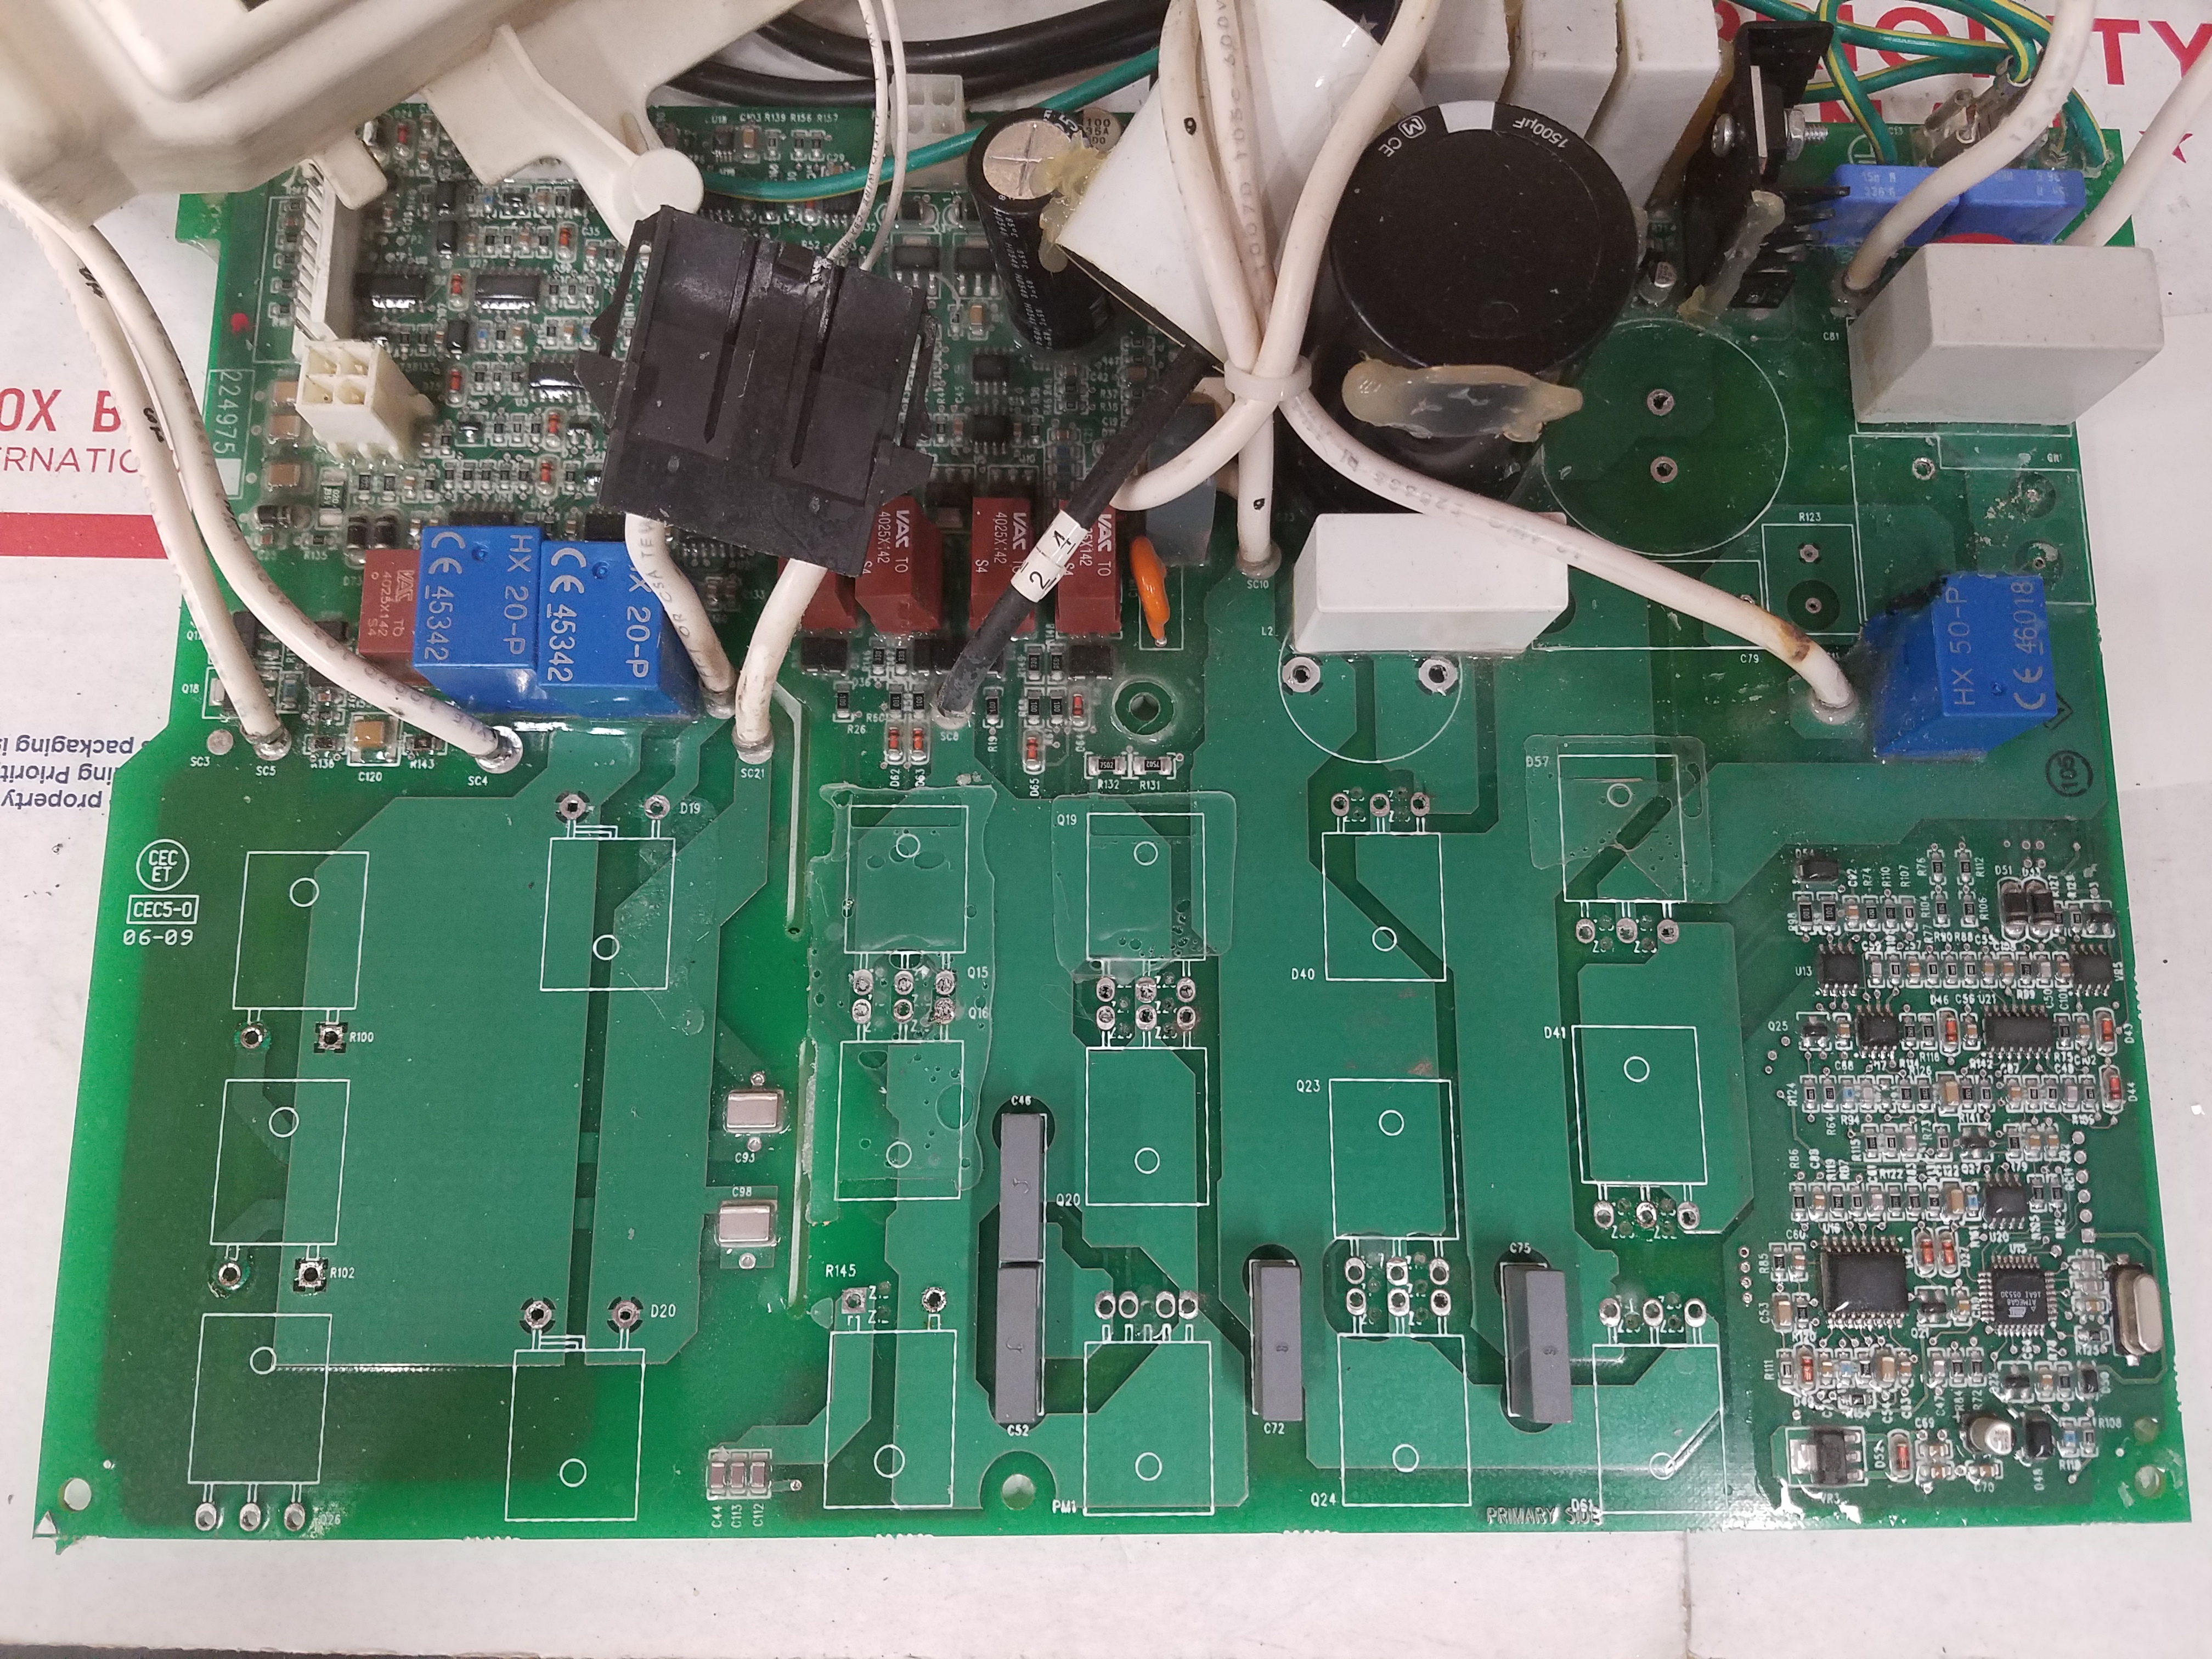
Visual Where the Smoke Got Released From.
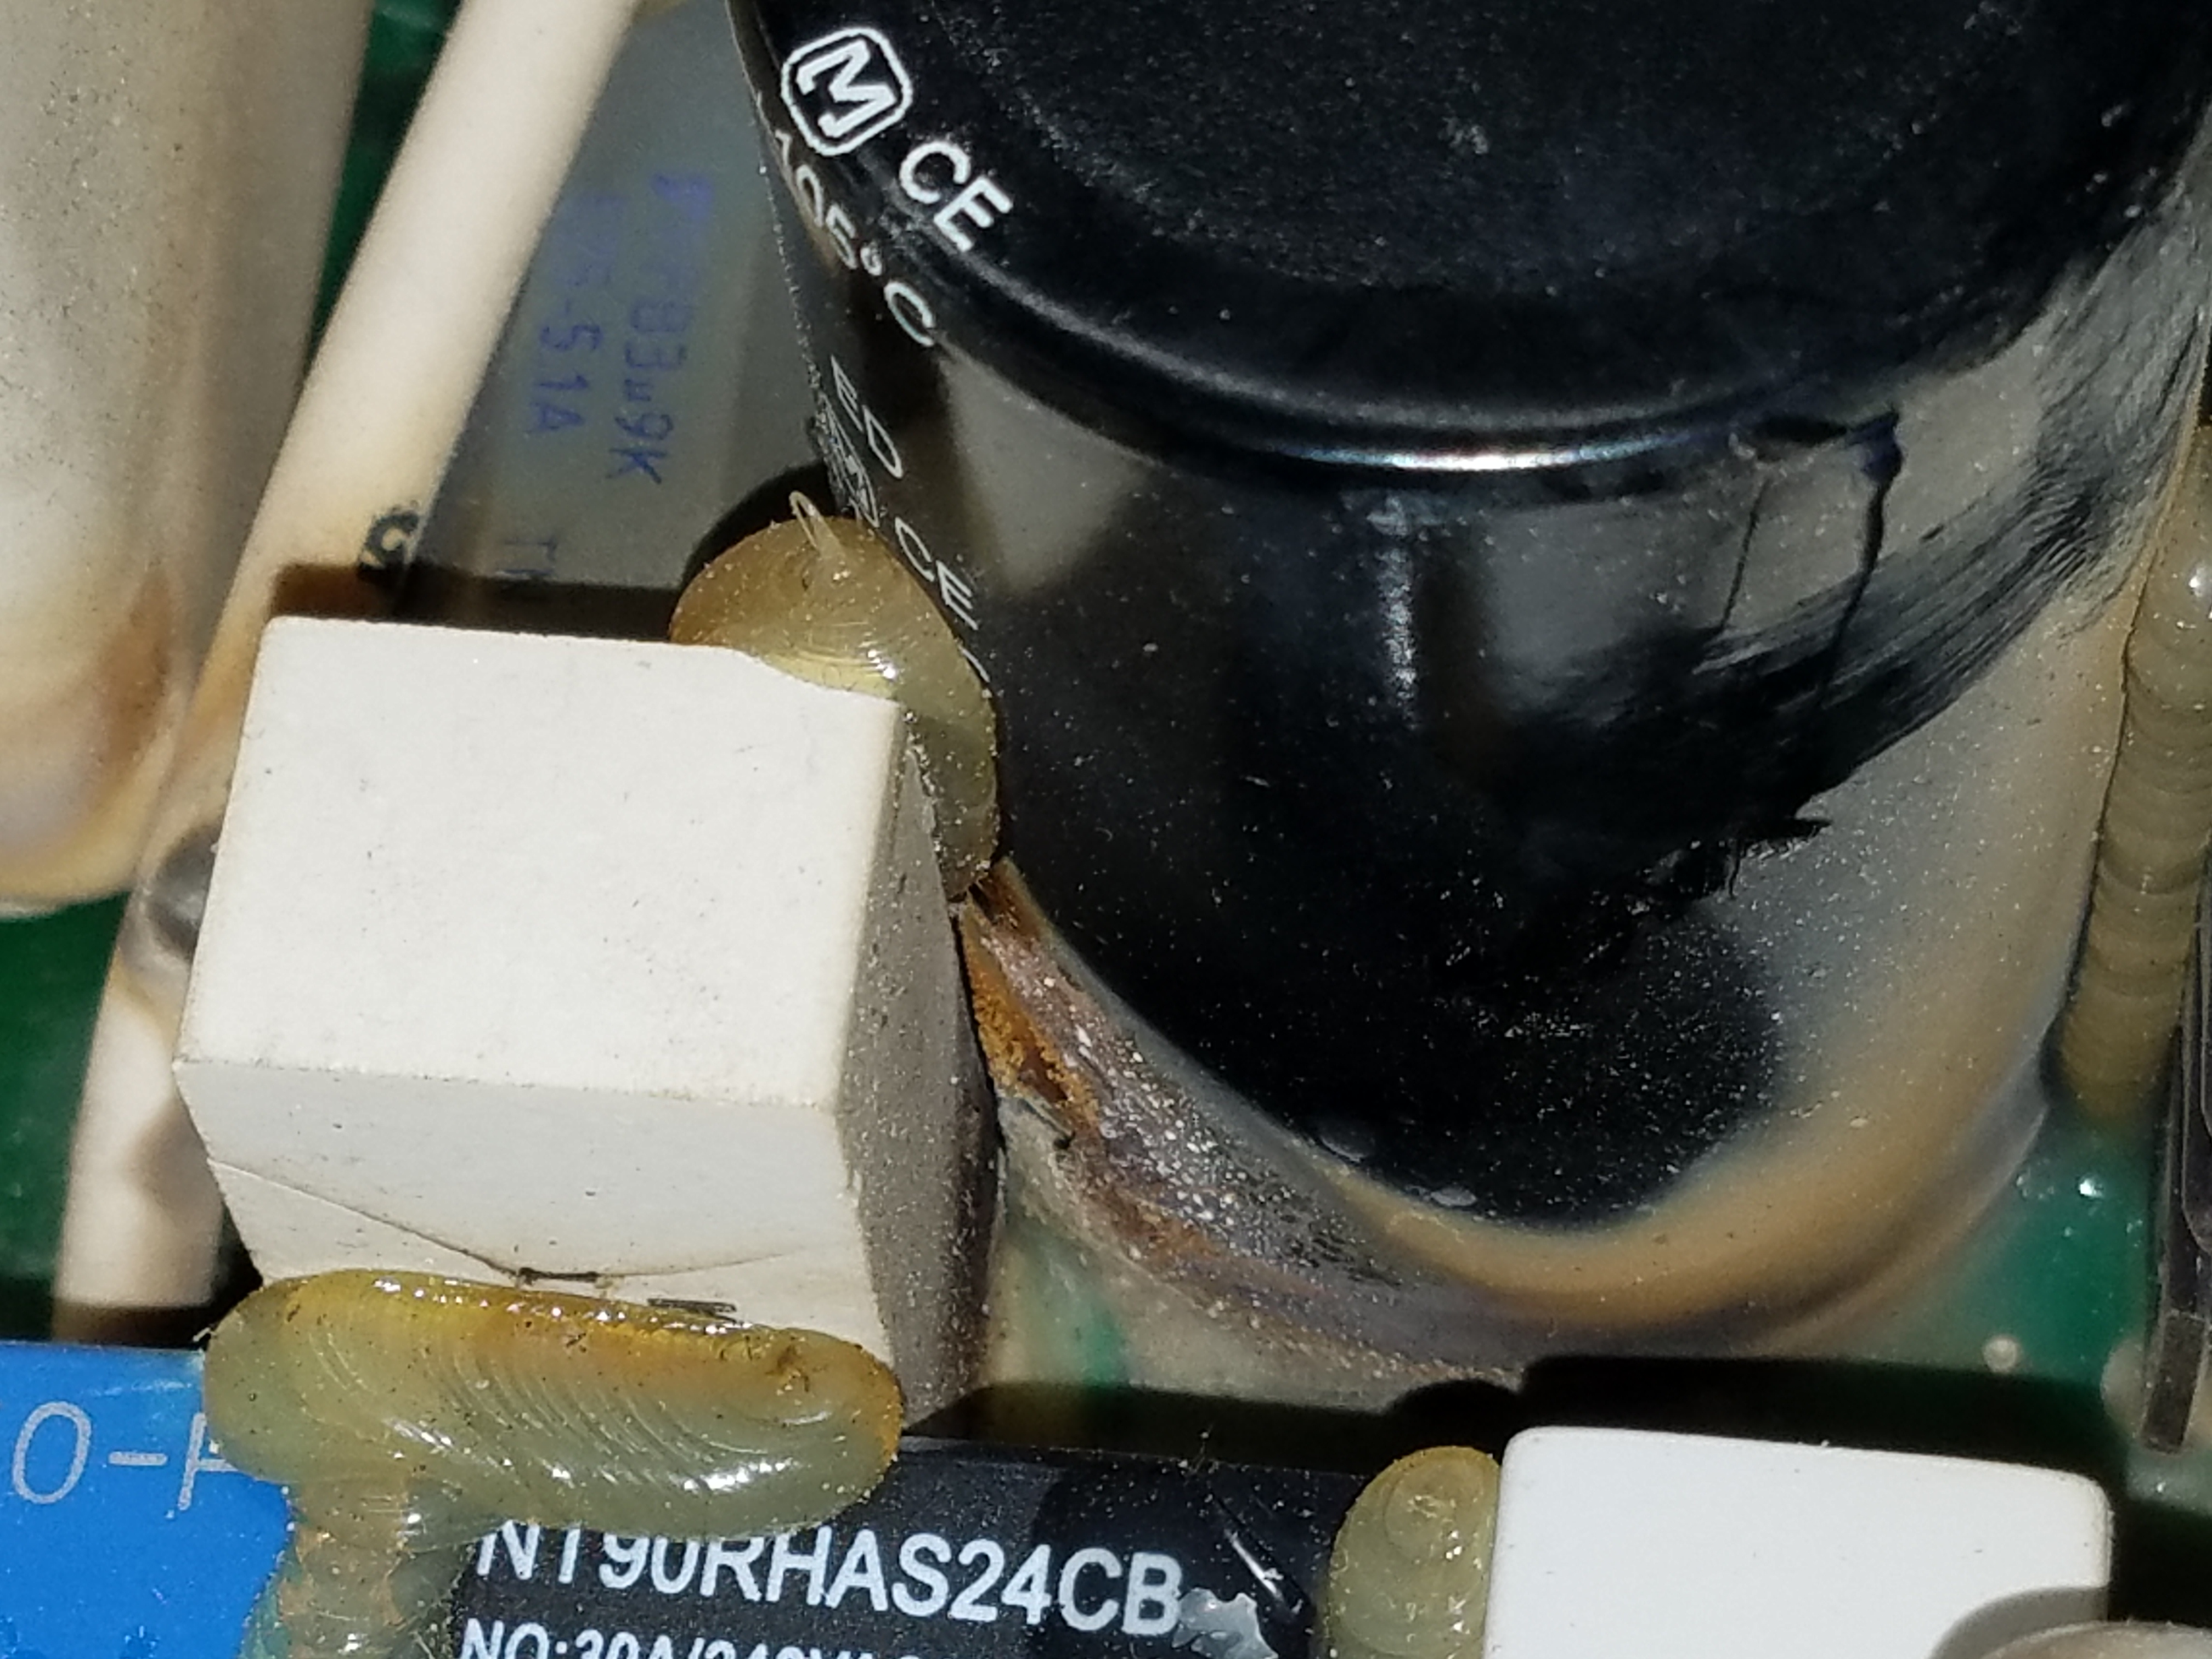
Rest looks OK..
Big Mess..
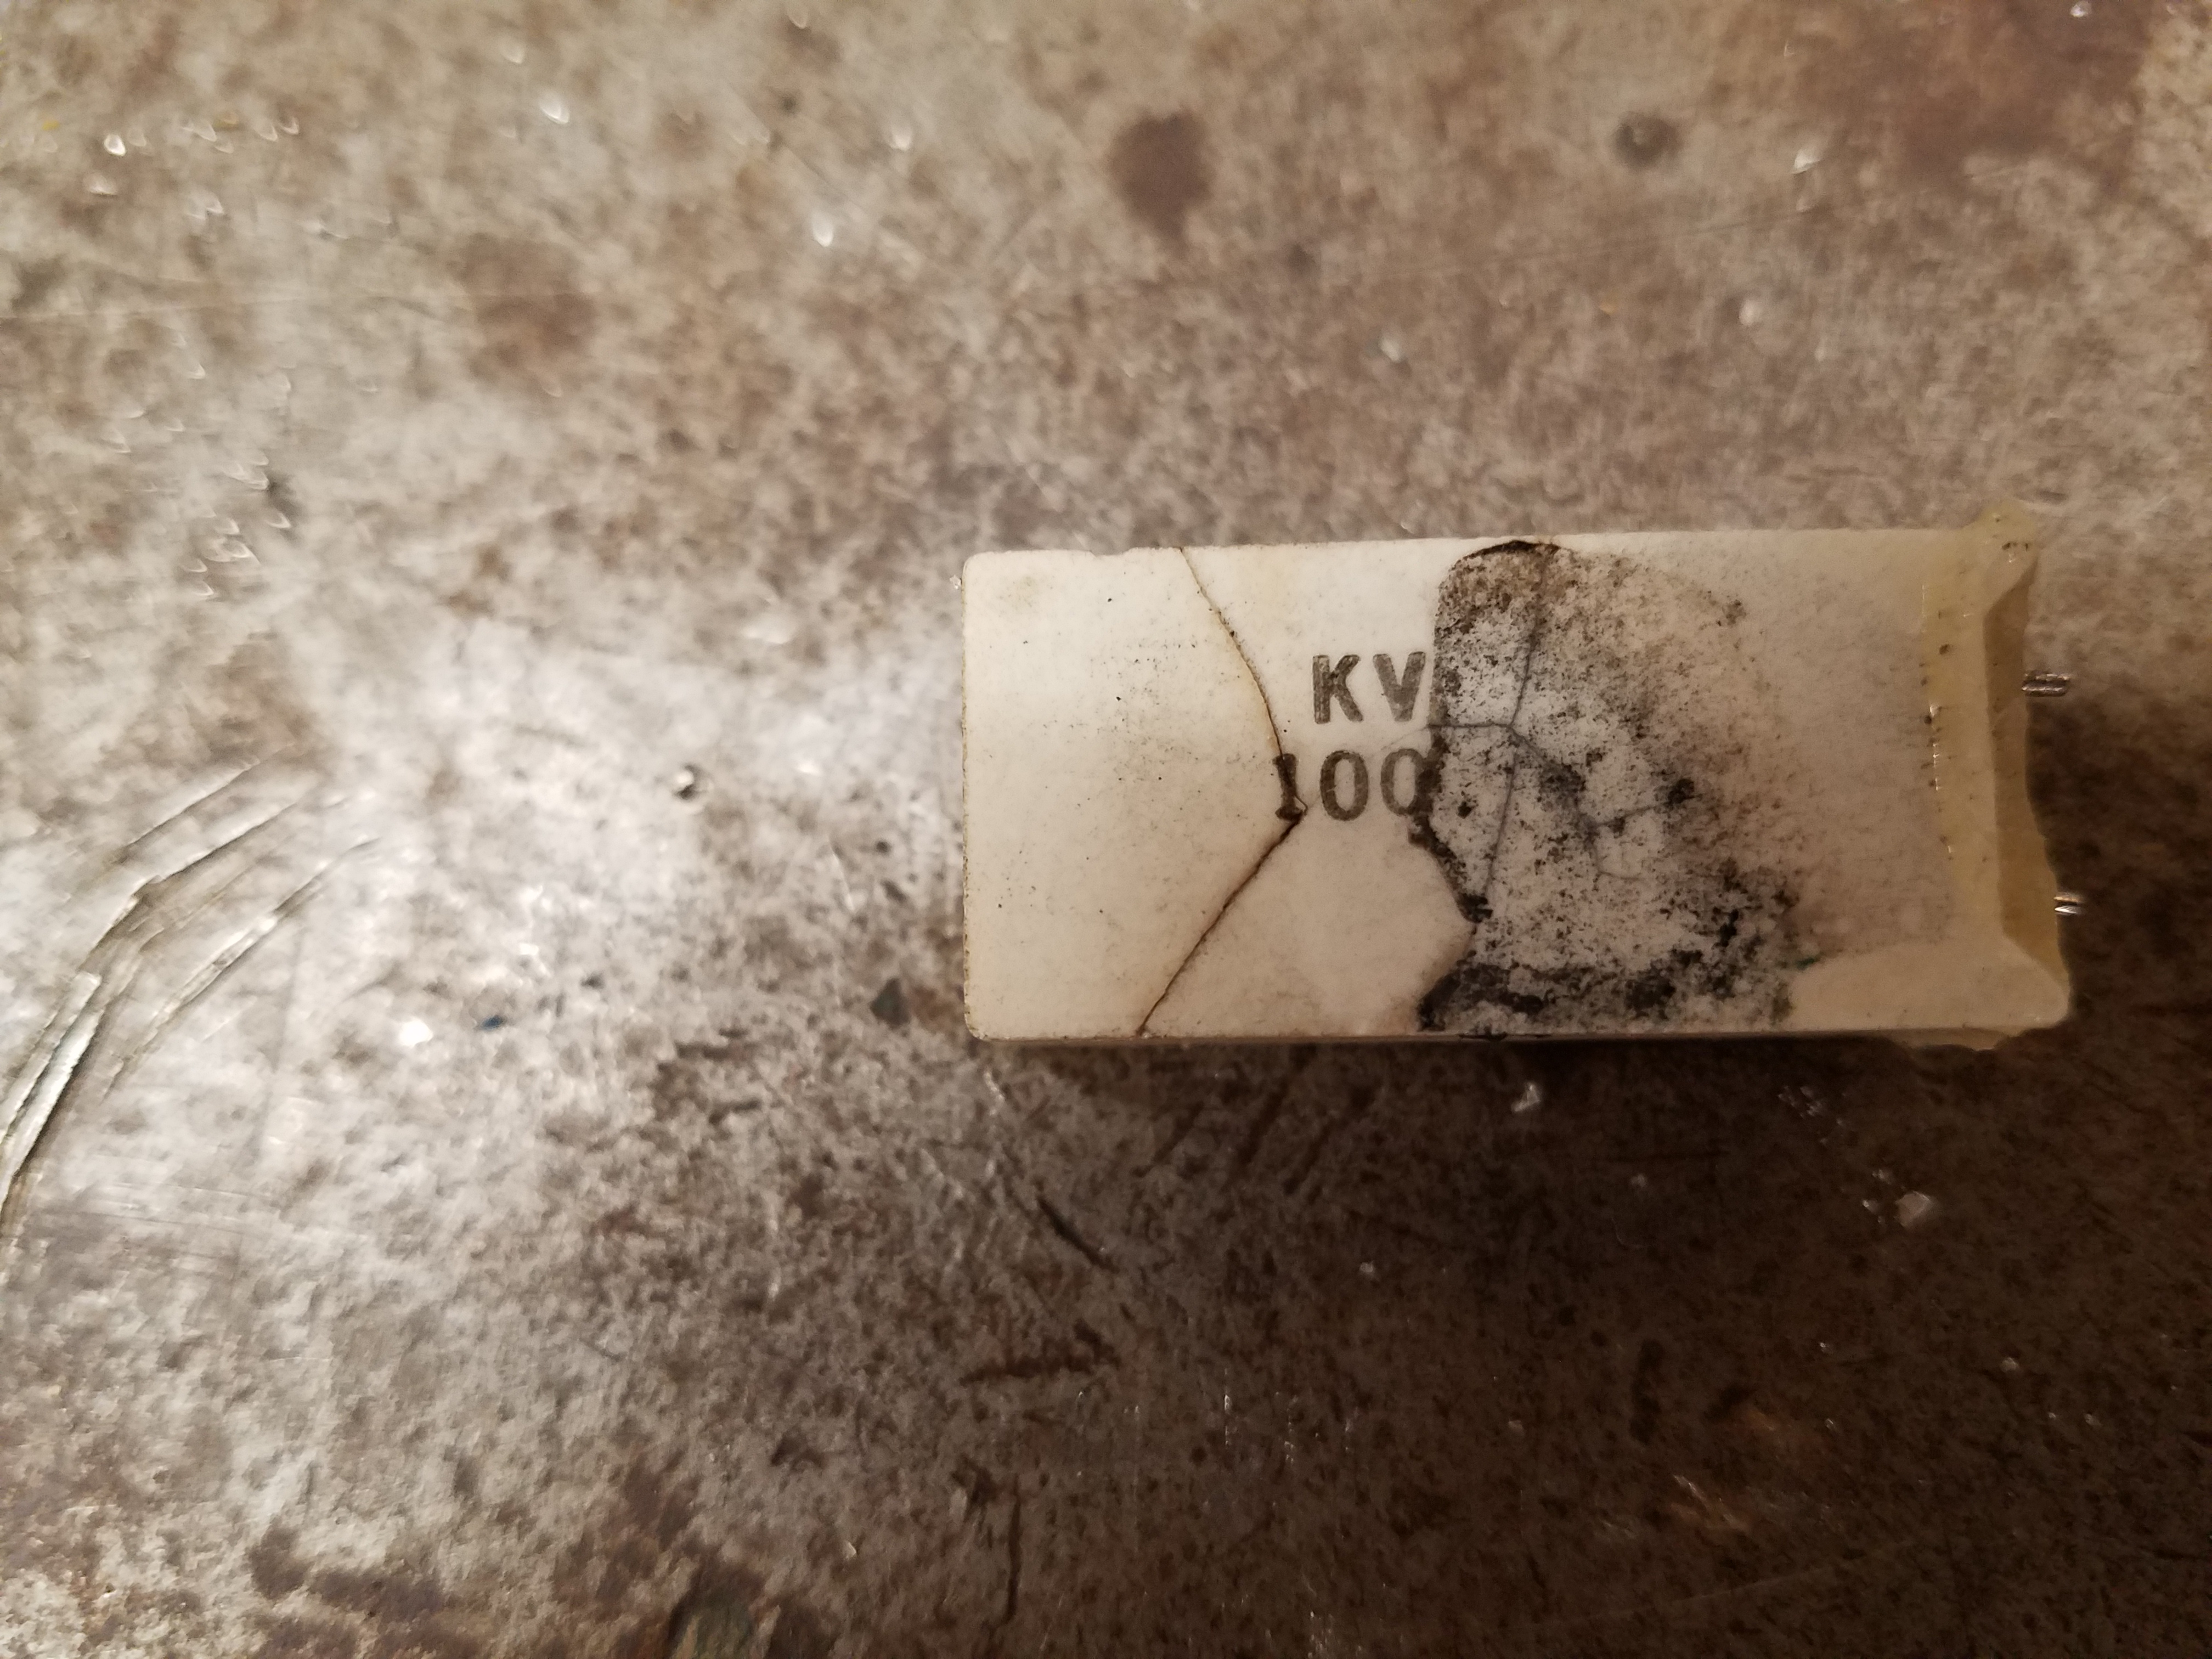
Need to Get the Value of R123 a Ceramic Power Resistor.
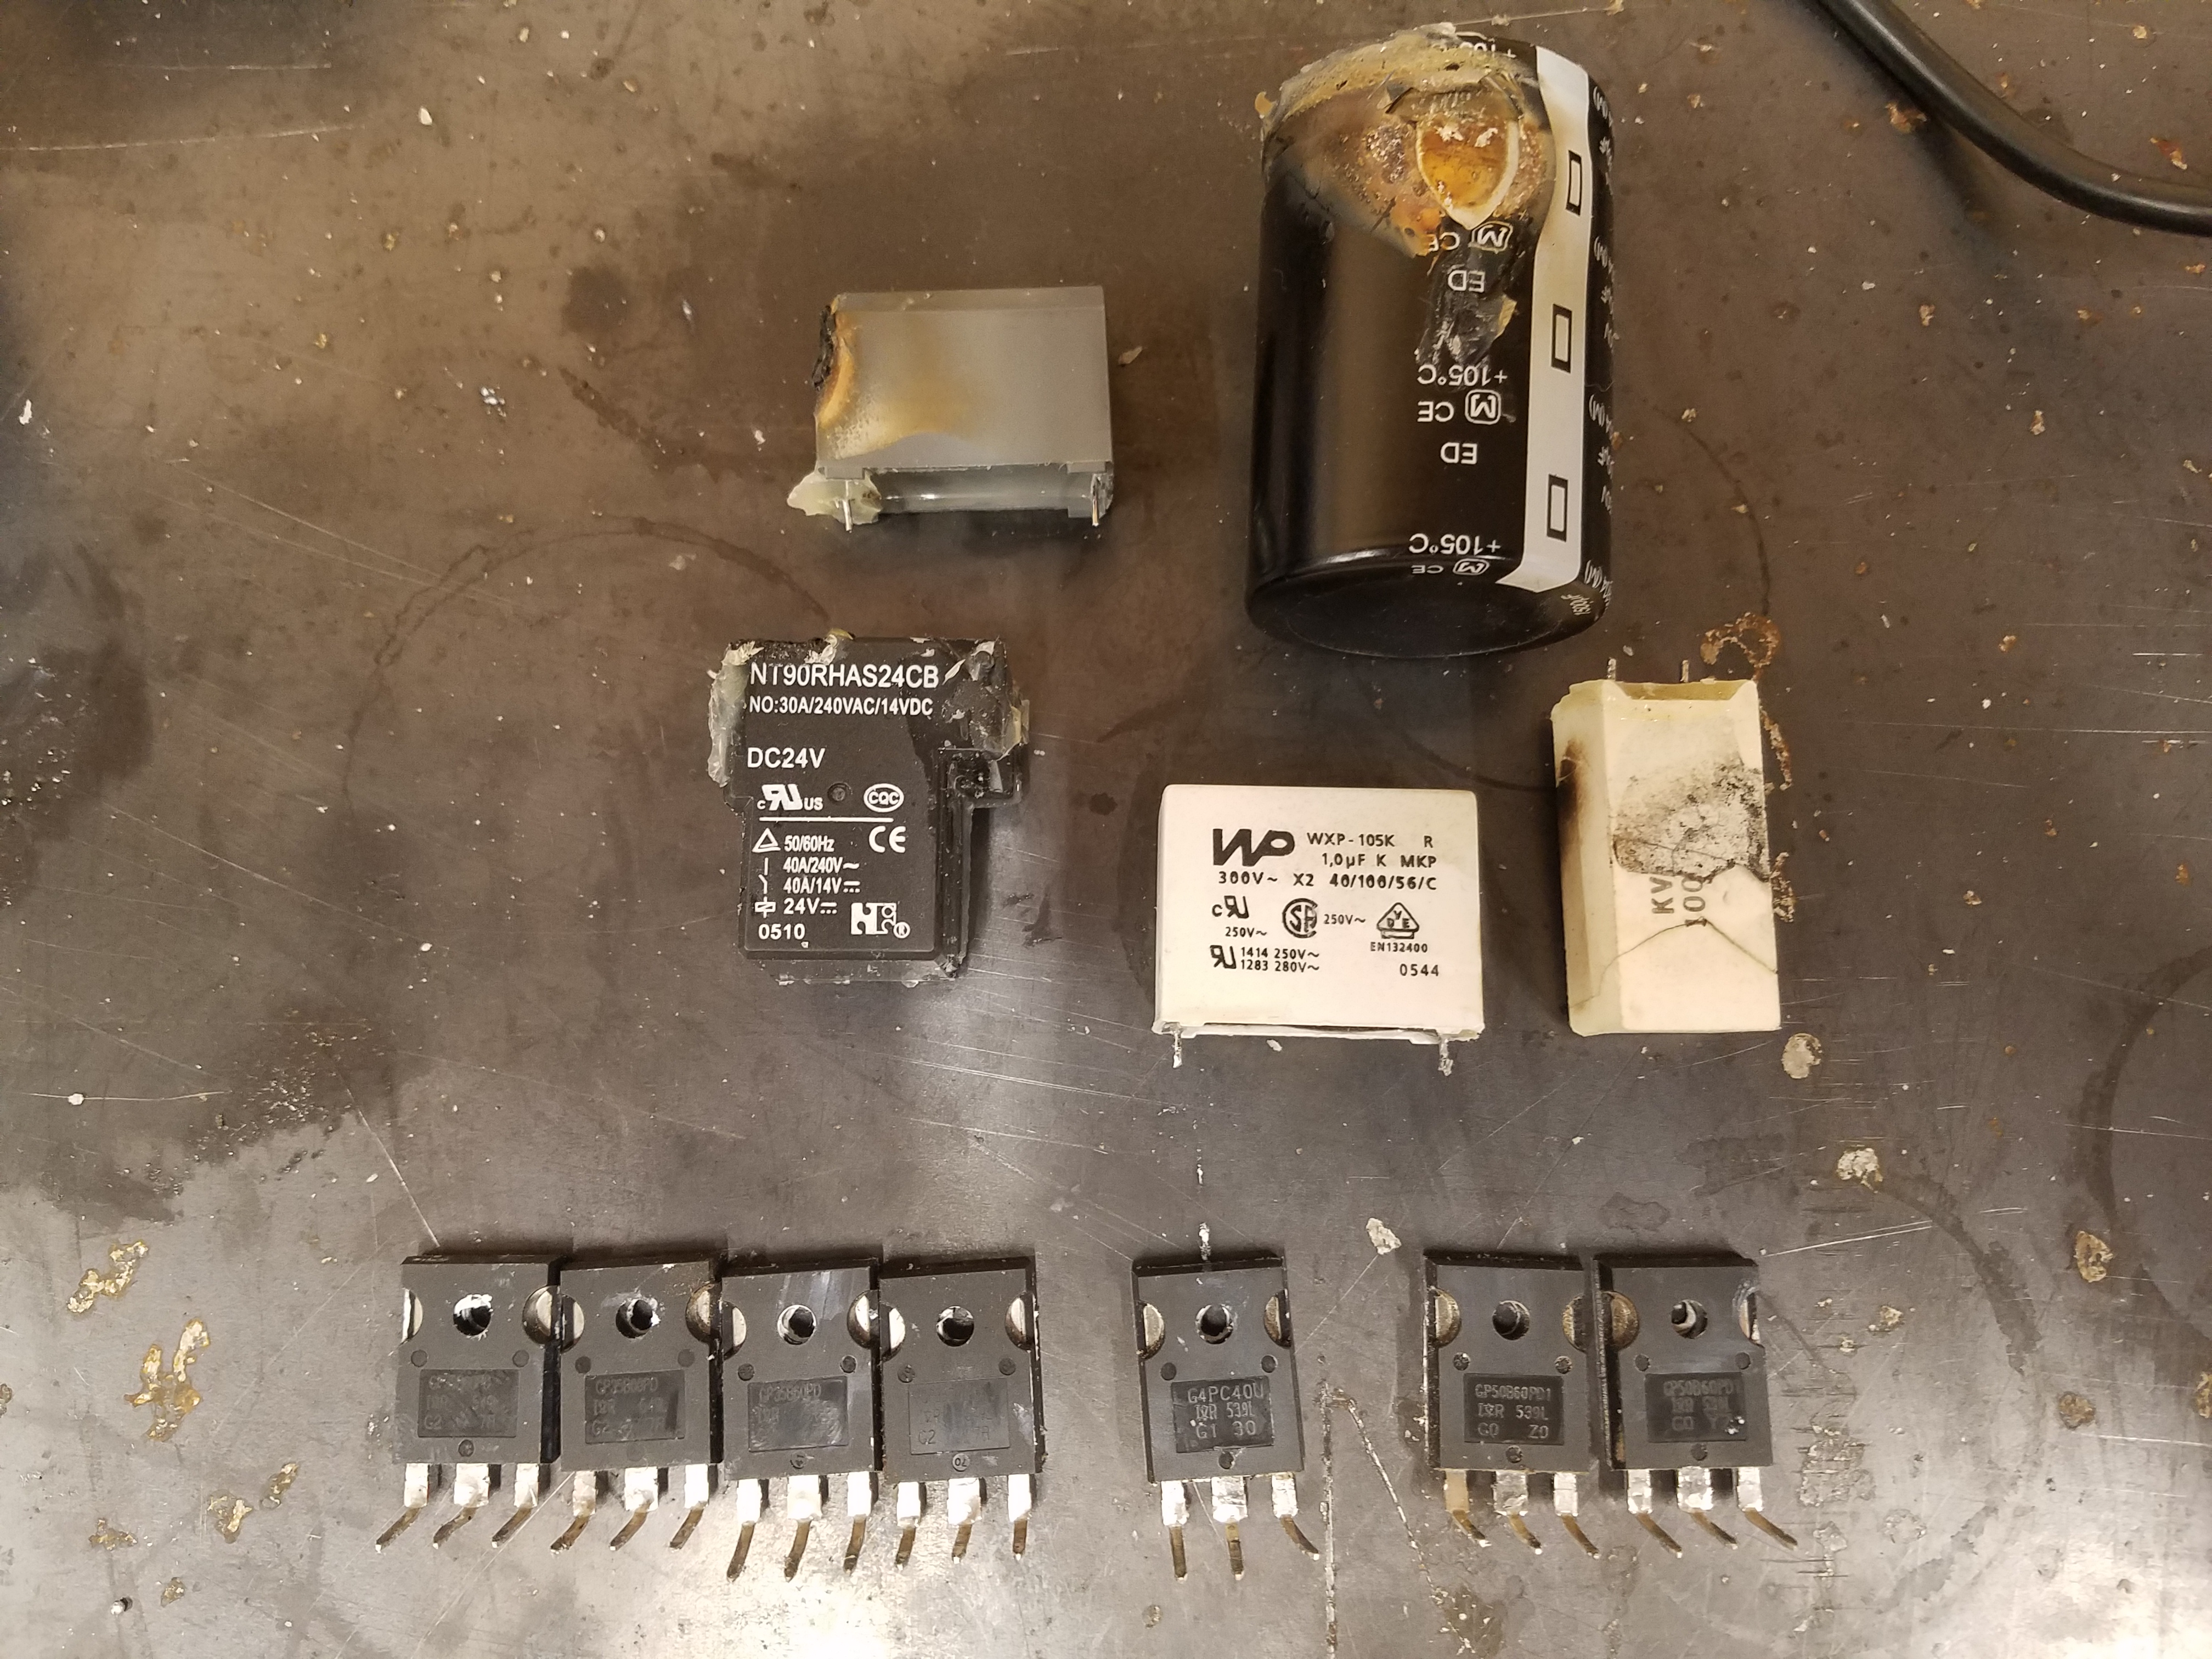
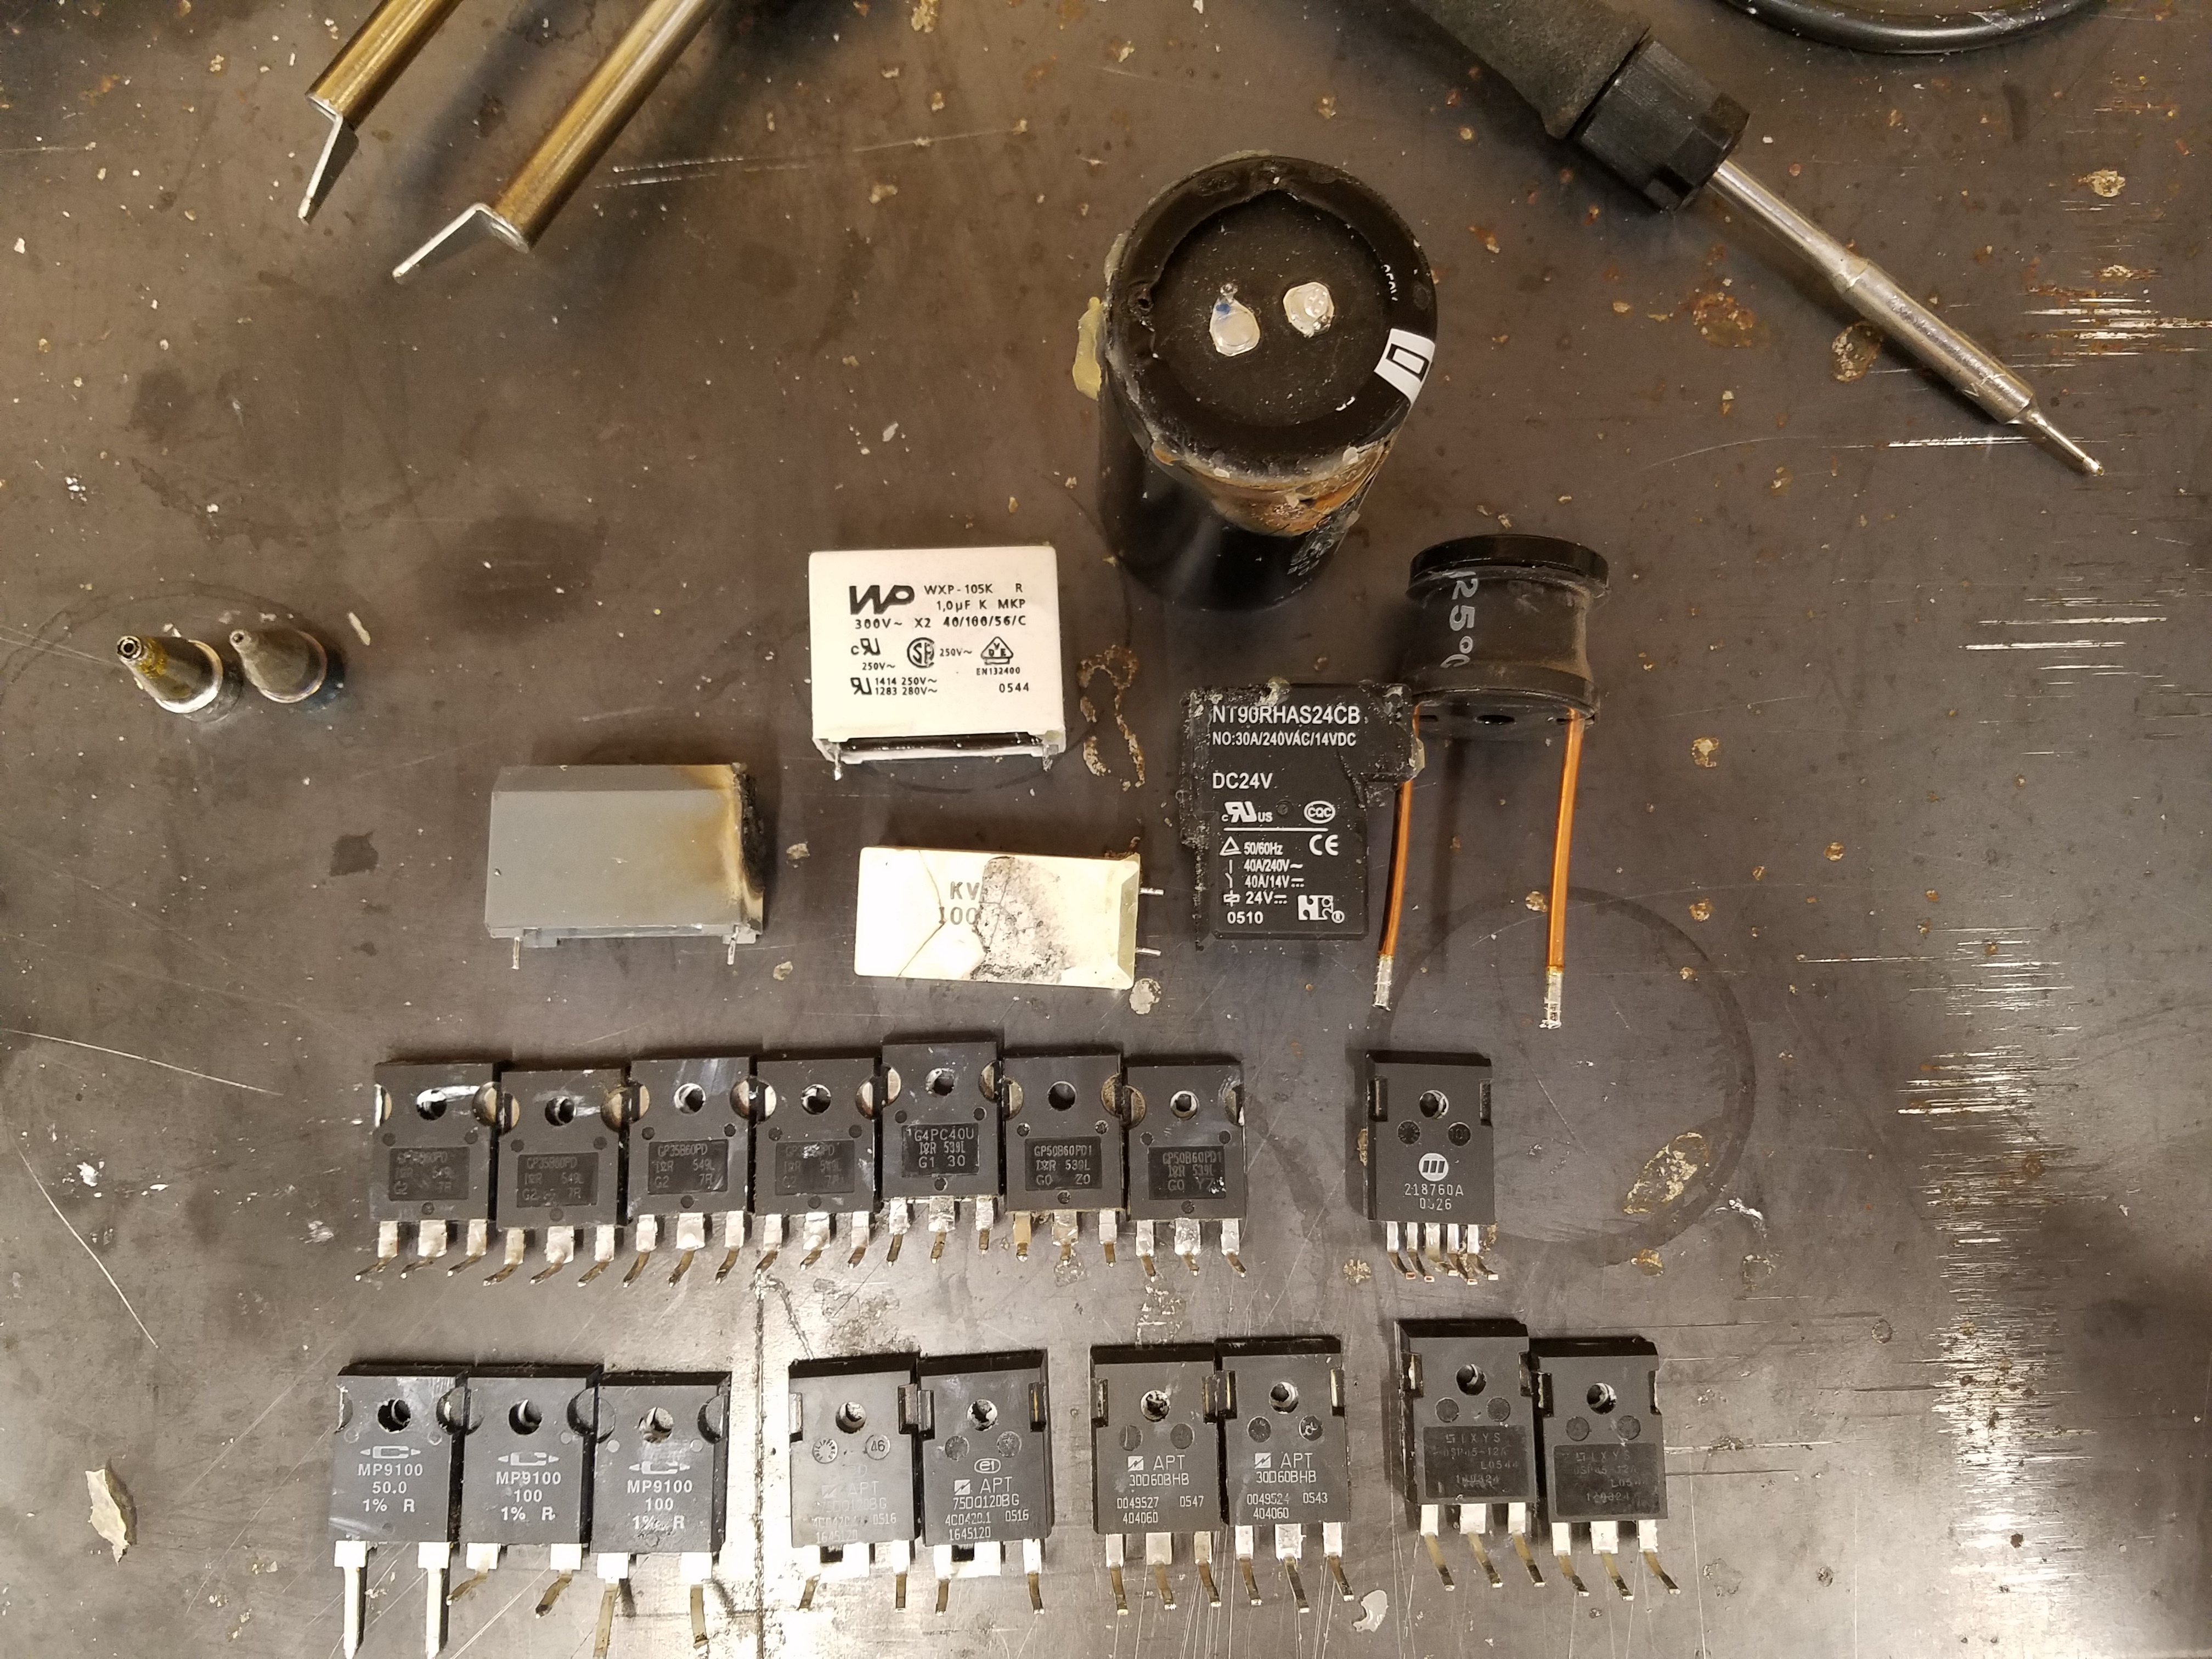
Will be digging further but just removed the parts that had a visible catastrophic failure / damage
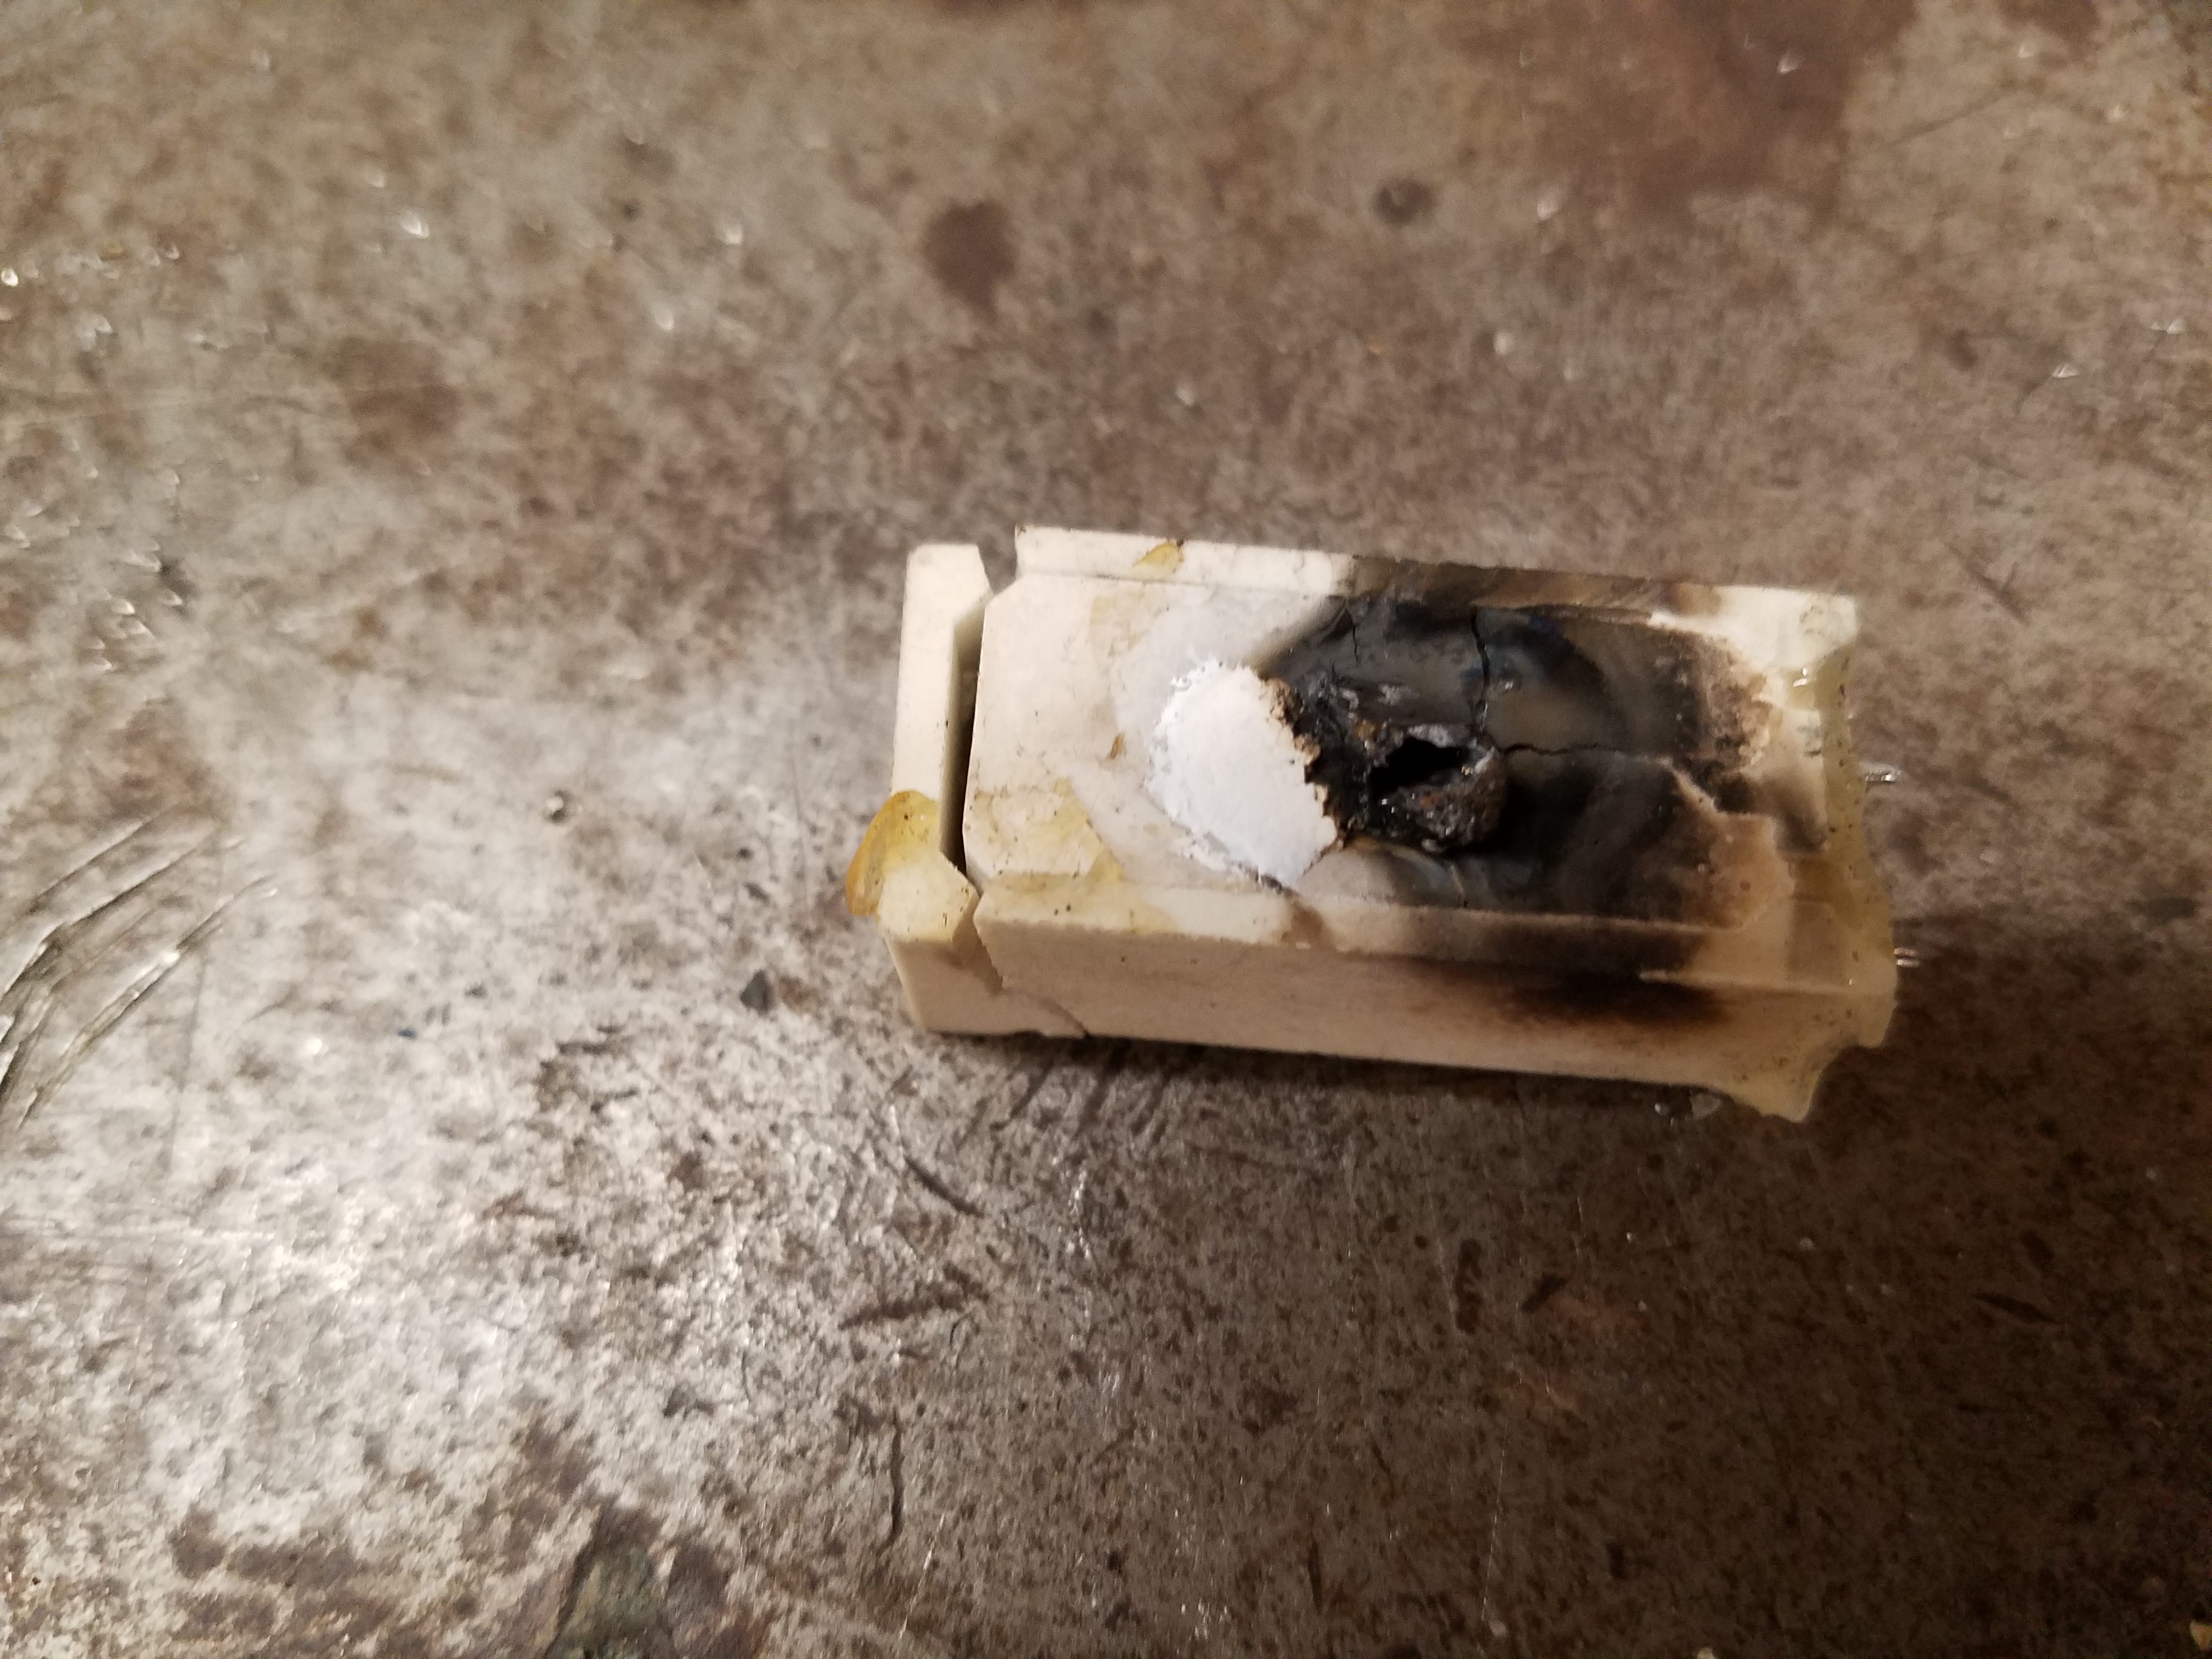
Will Still need to find the failure that caused the Resistor to Go Nuclear!
So Far My Parts List
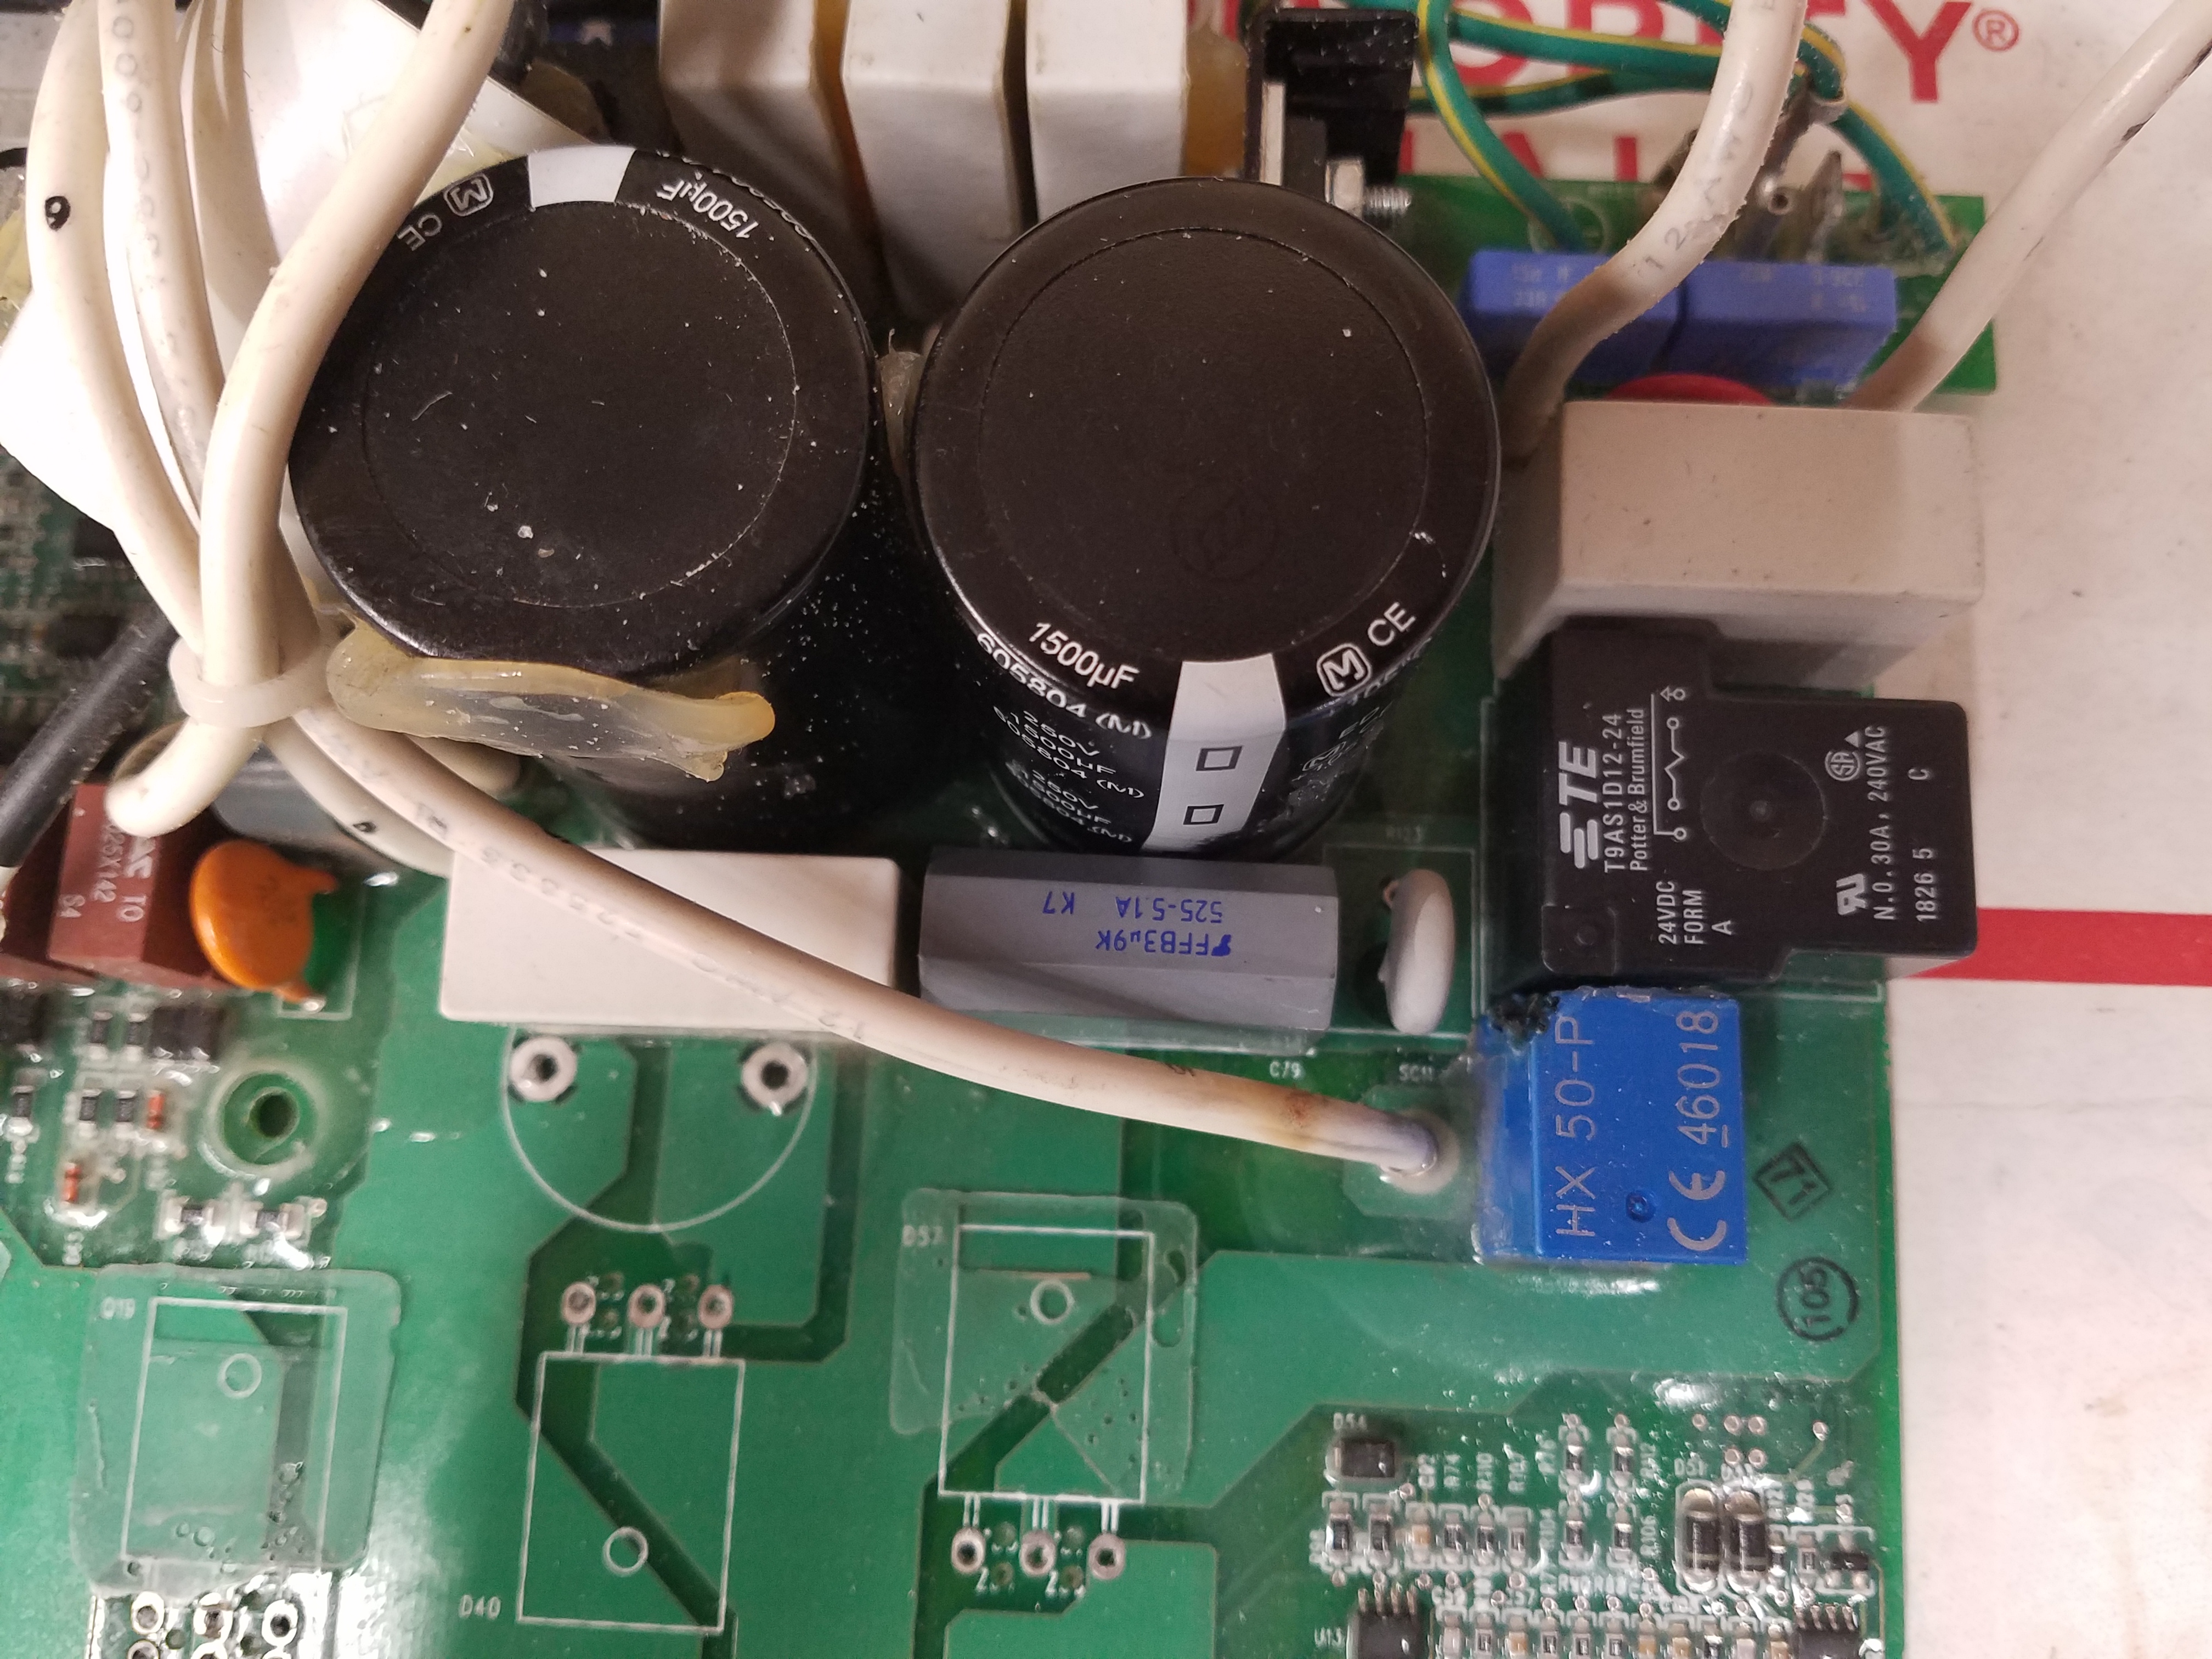
2 X 1500UF 250V Caps
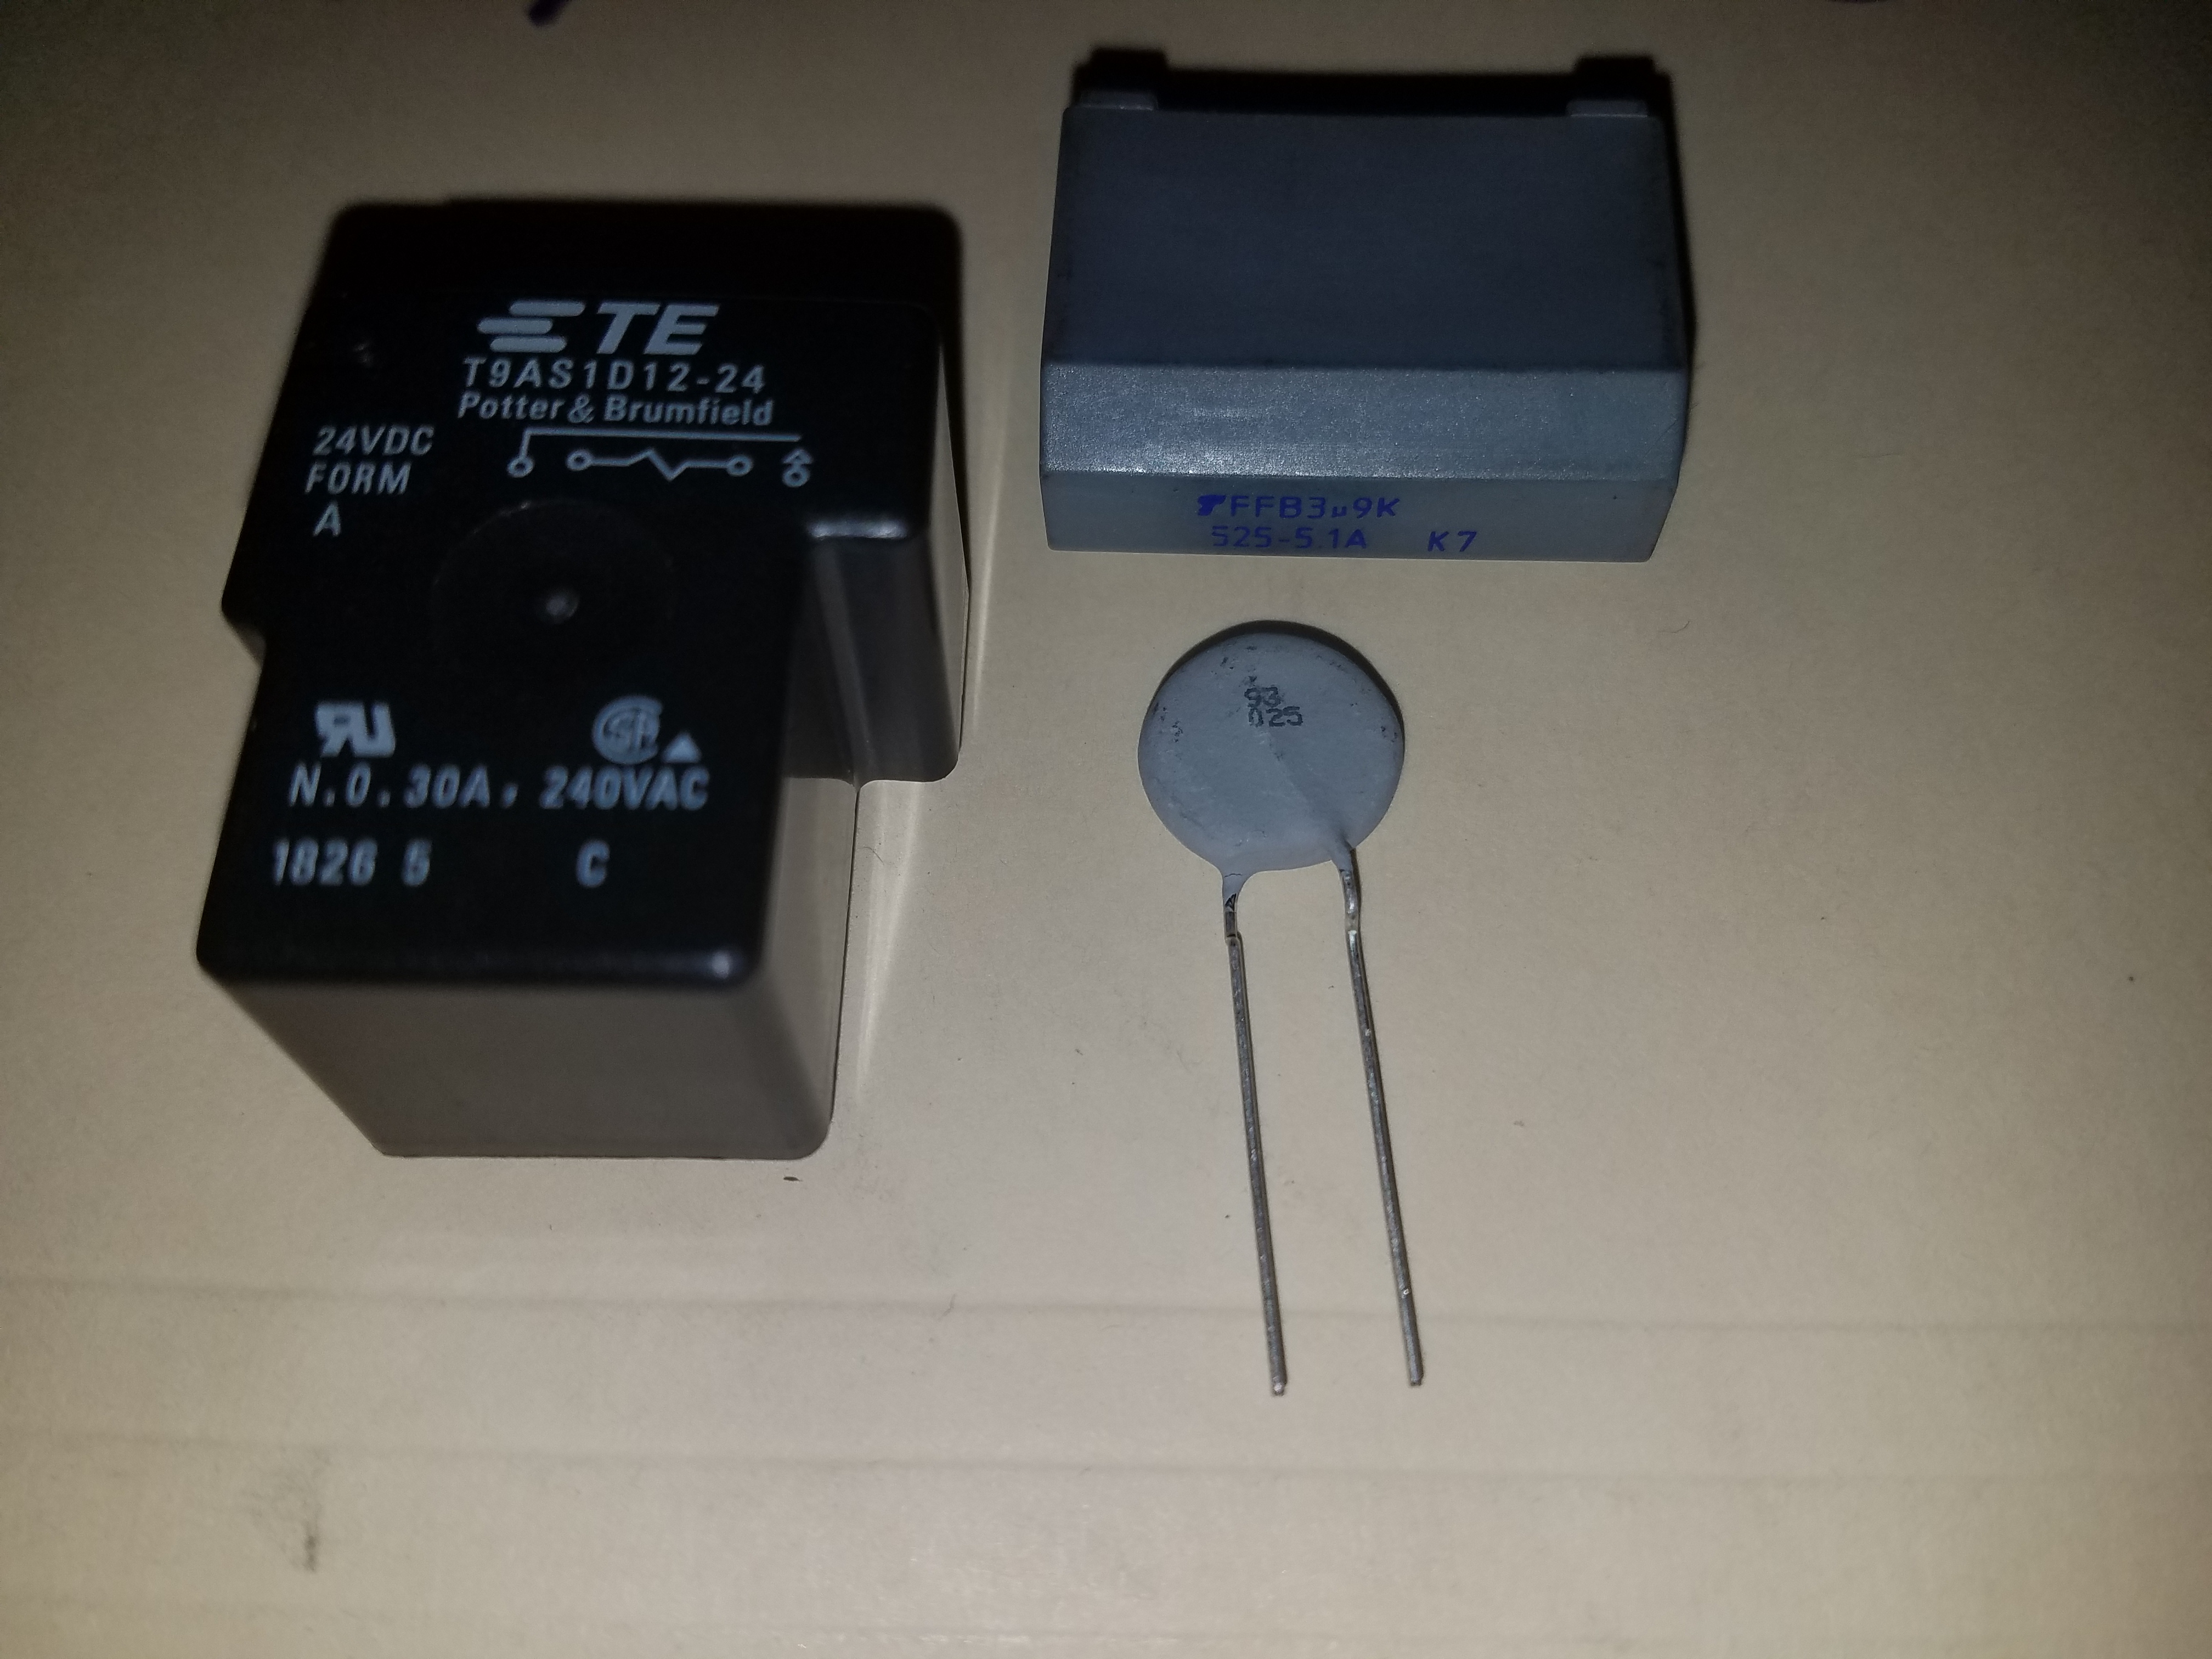
1 X Relay TE Part No. T9AS1D12-24
1 X AVX FFB16J0395K 3.9uf 525v Capacitor
1 X Unknown Ceramic Power Resistor (Replace With PTC Miller Part No. 200656 Or Vishay Part Number PTCTL8NR100HBE)

Ceramic Power Resistor After Some Clean Up.. Back Side Totally Blown Out.
I was messaged by a member on the miller forum that relay NT90RHAS24CB in the Hobart Variant Plasma and Welders is Obsolete and has been superseded by a Tyco Brand Because if it having issues / failing as well.
Looking at the data sheets..
TYCO or TE Part No. T9AS1D12-24 is a Direct Replacement.
As Soon as I find my larger nozzles / solder wick or if kimco delivers my new ones which ever occurs first I will pull the 2X DSP 45-12A Rectifier Diodes that are on the resistor power circuit and check them.
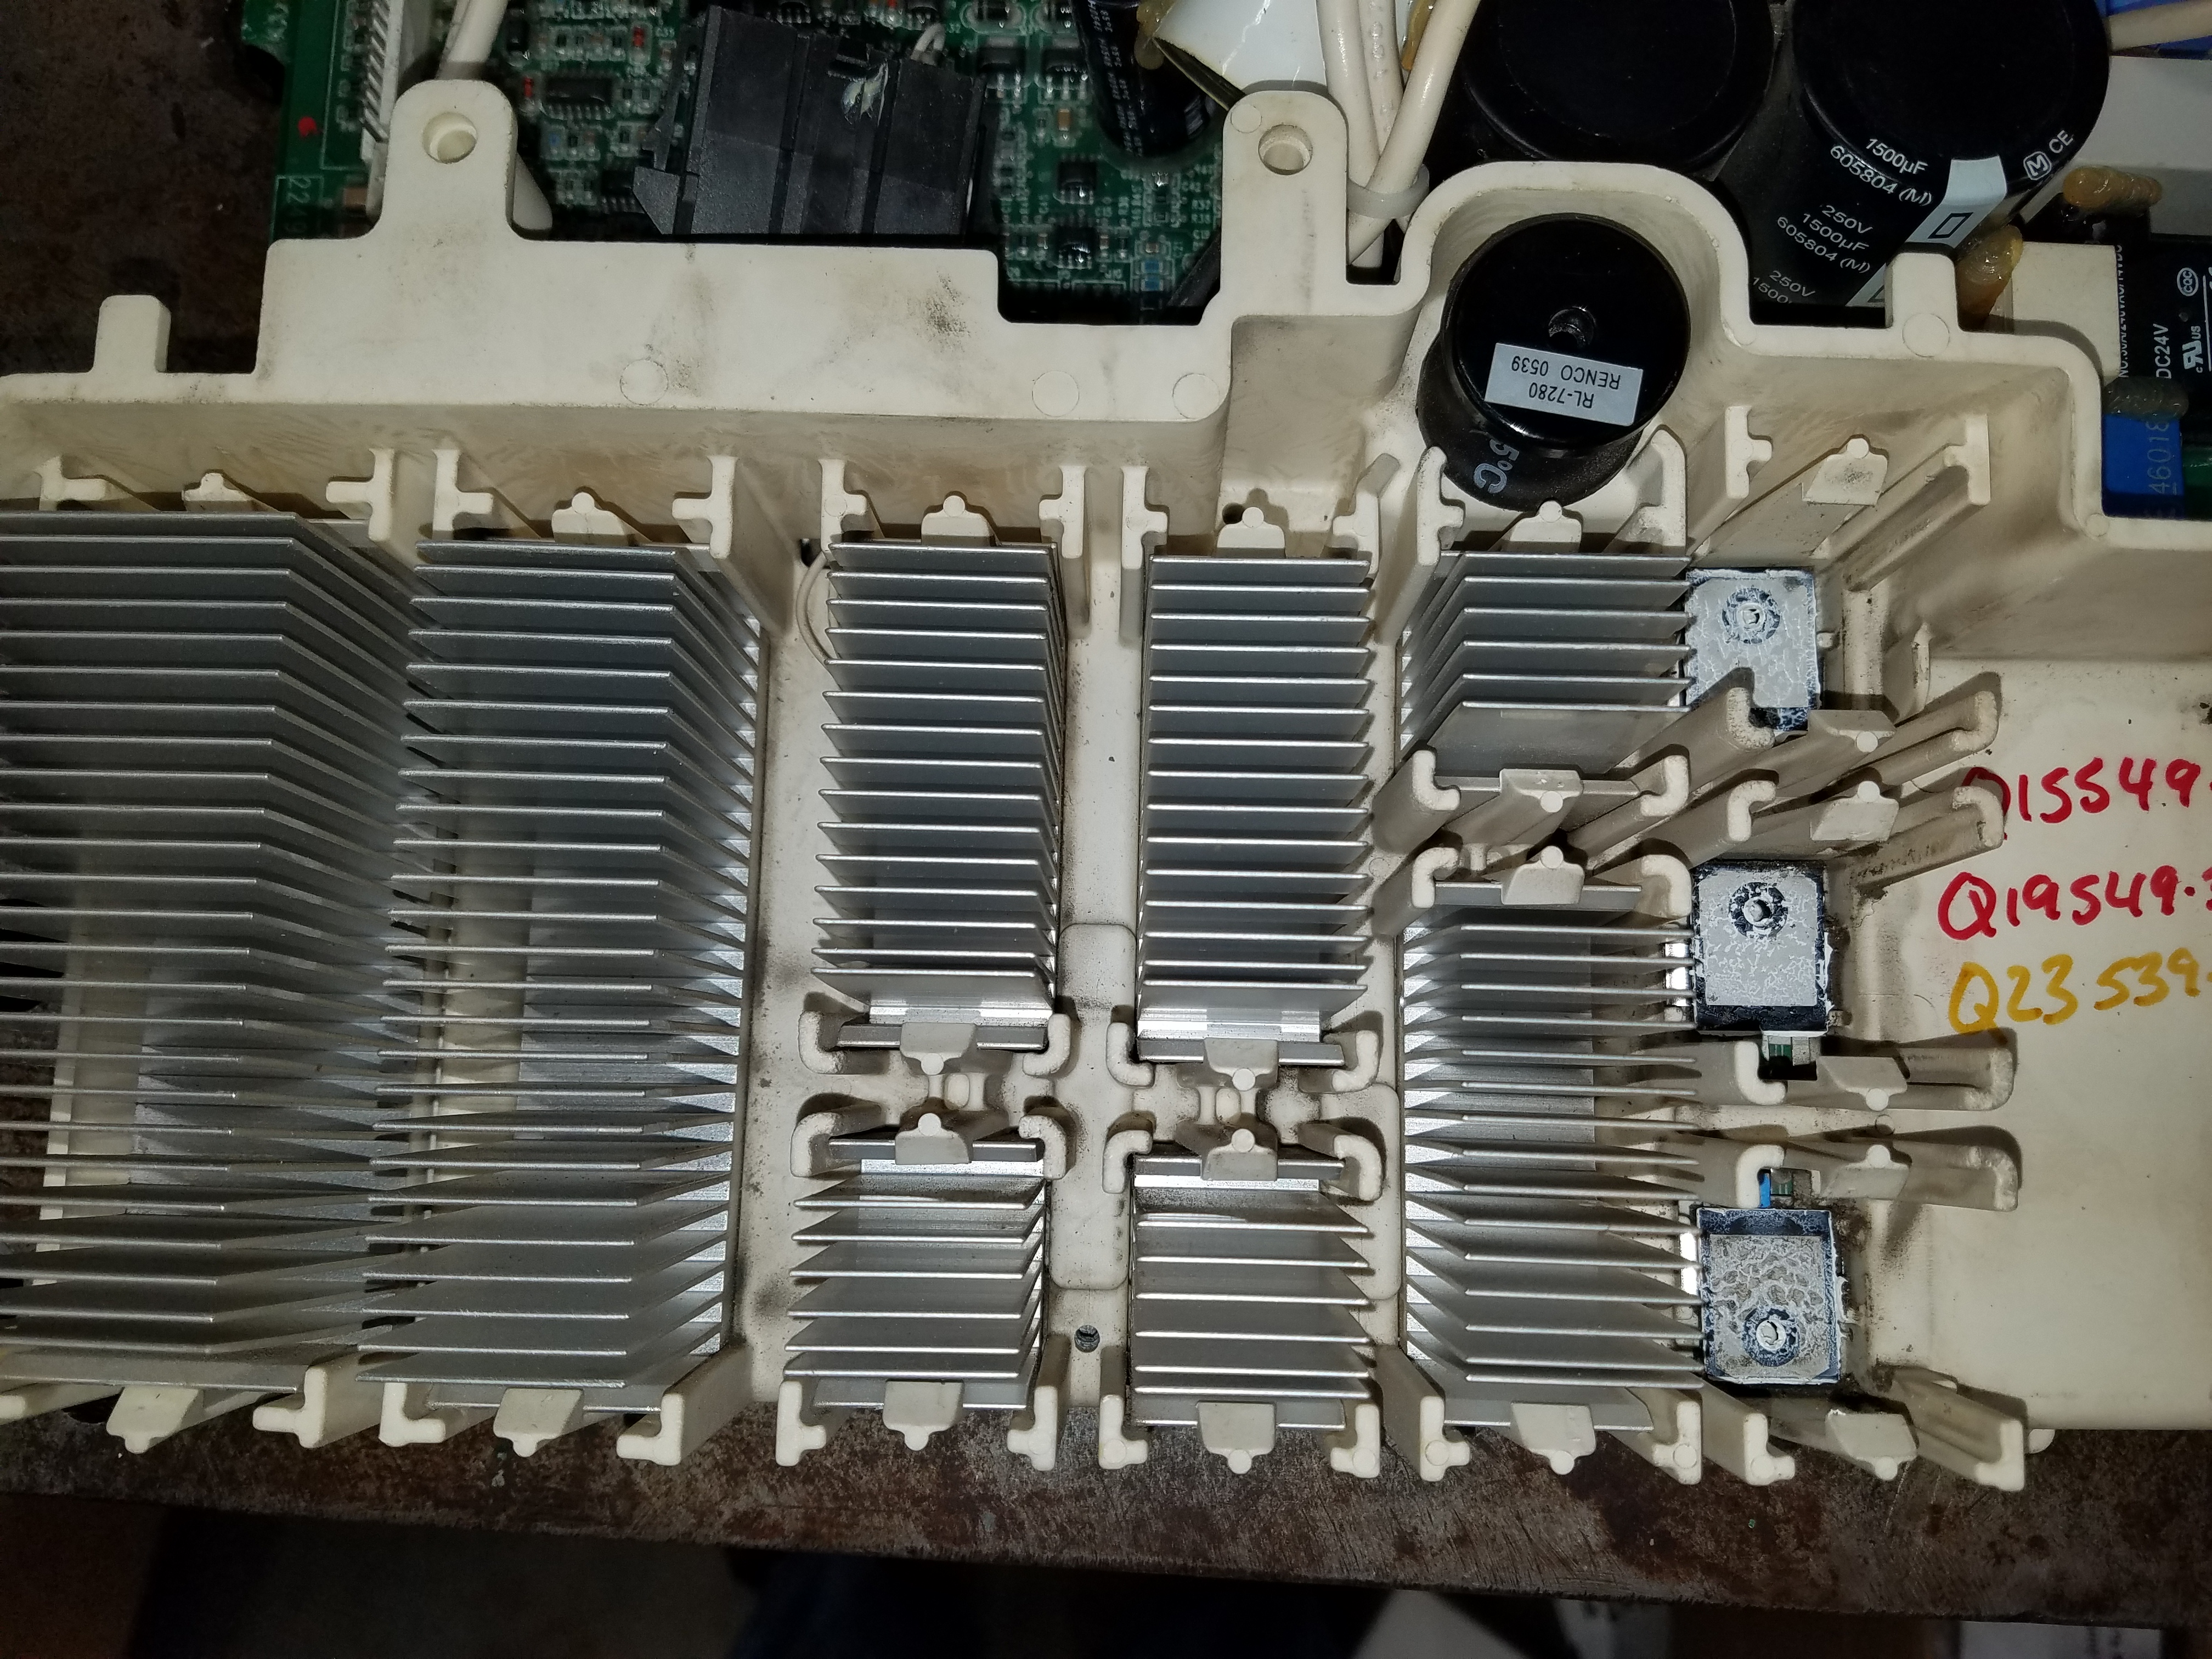
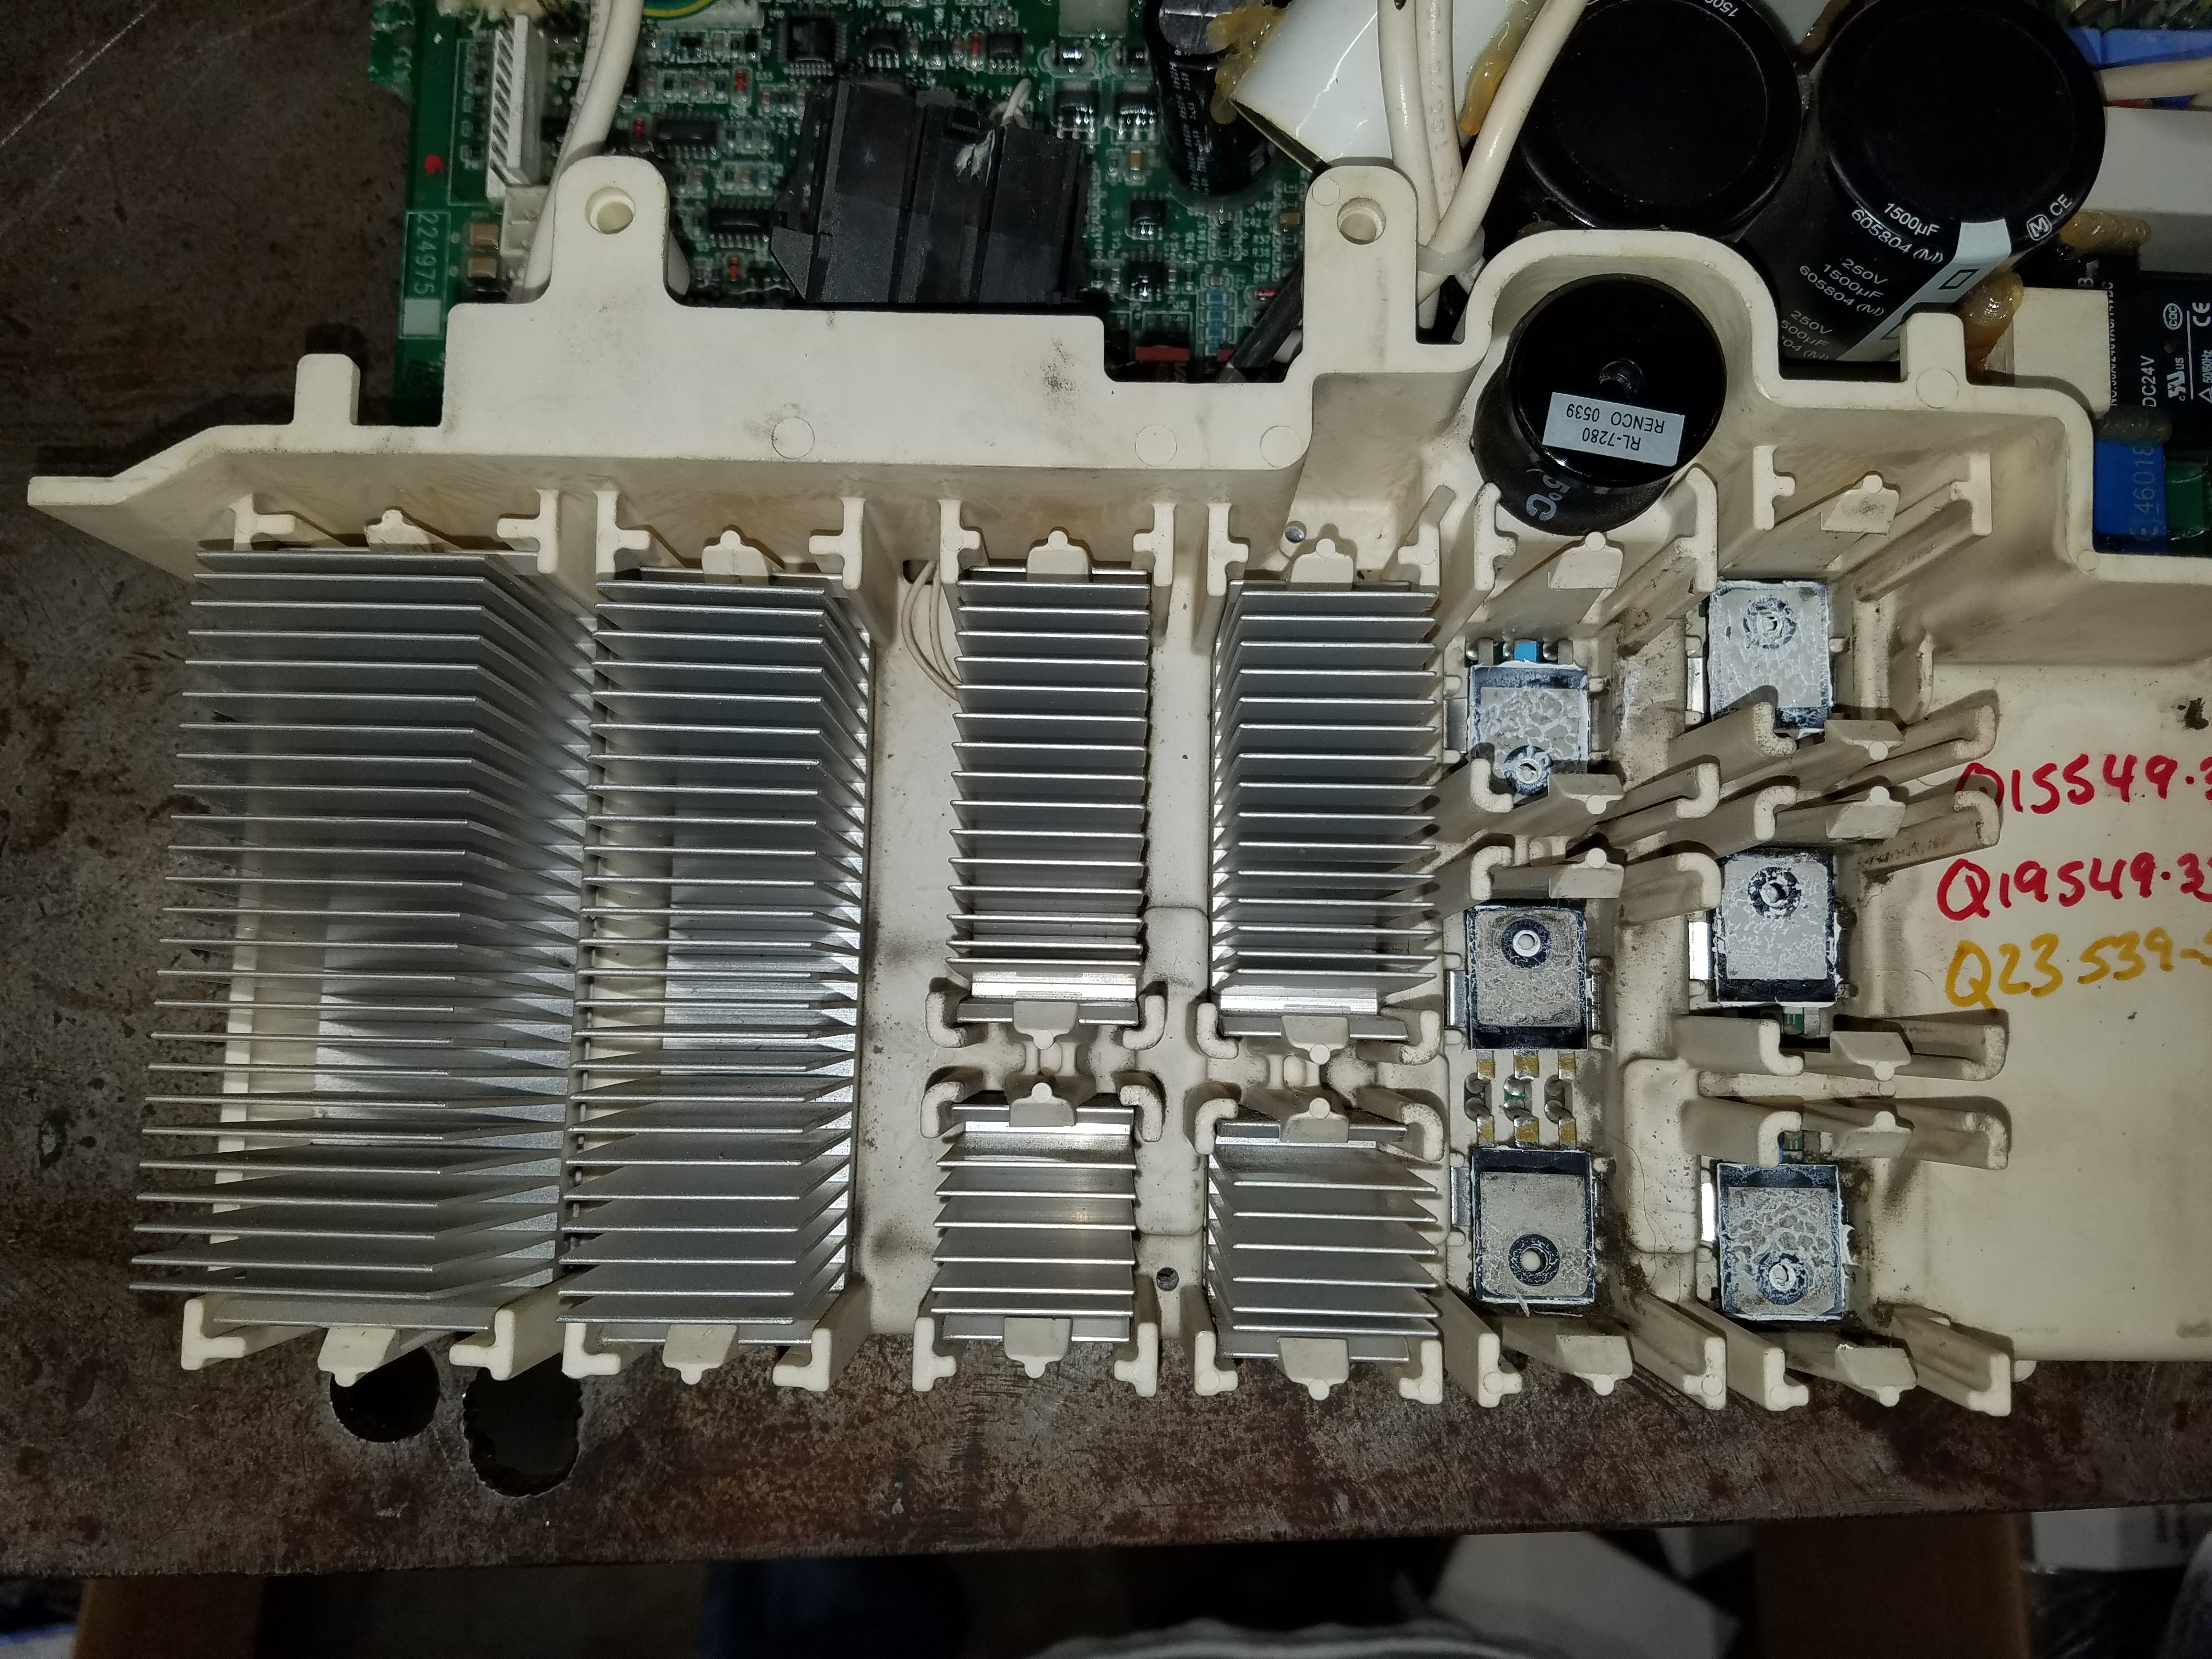
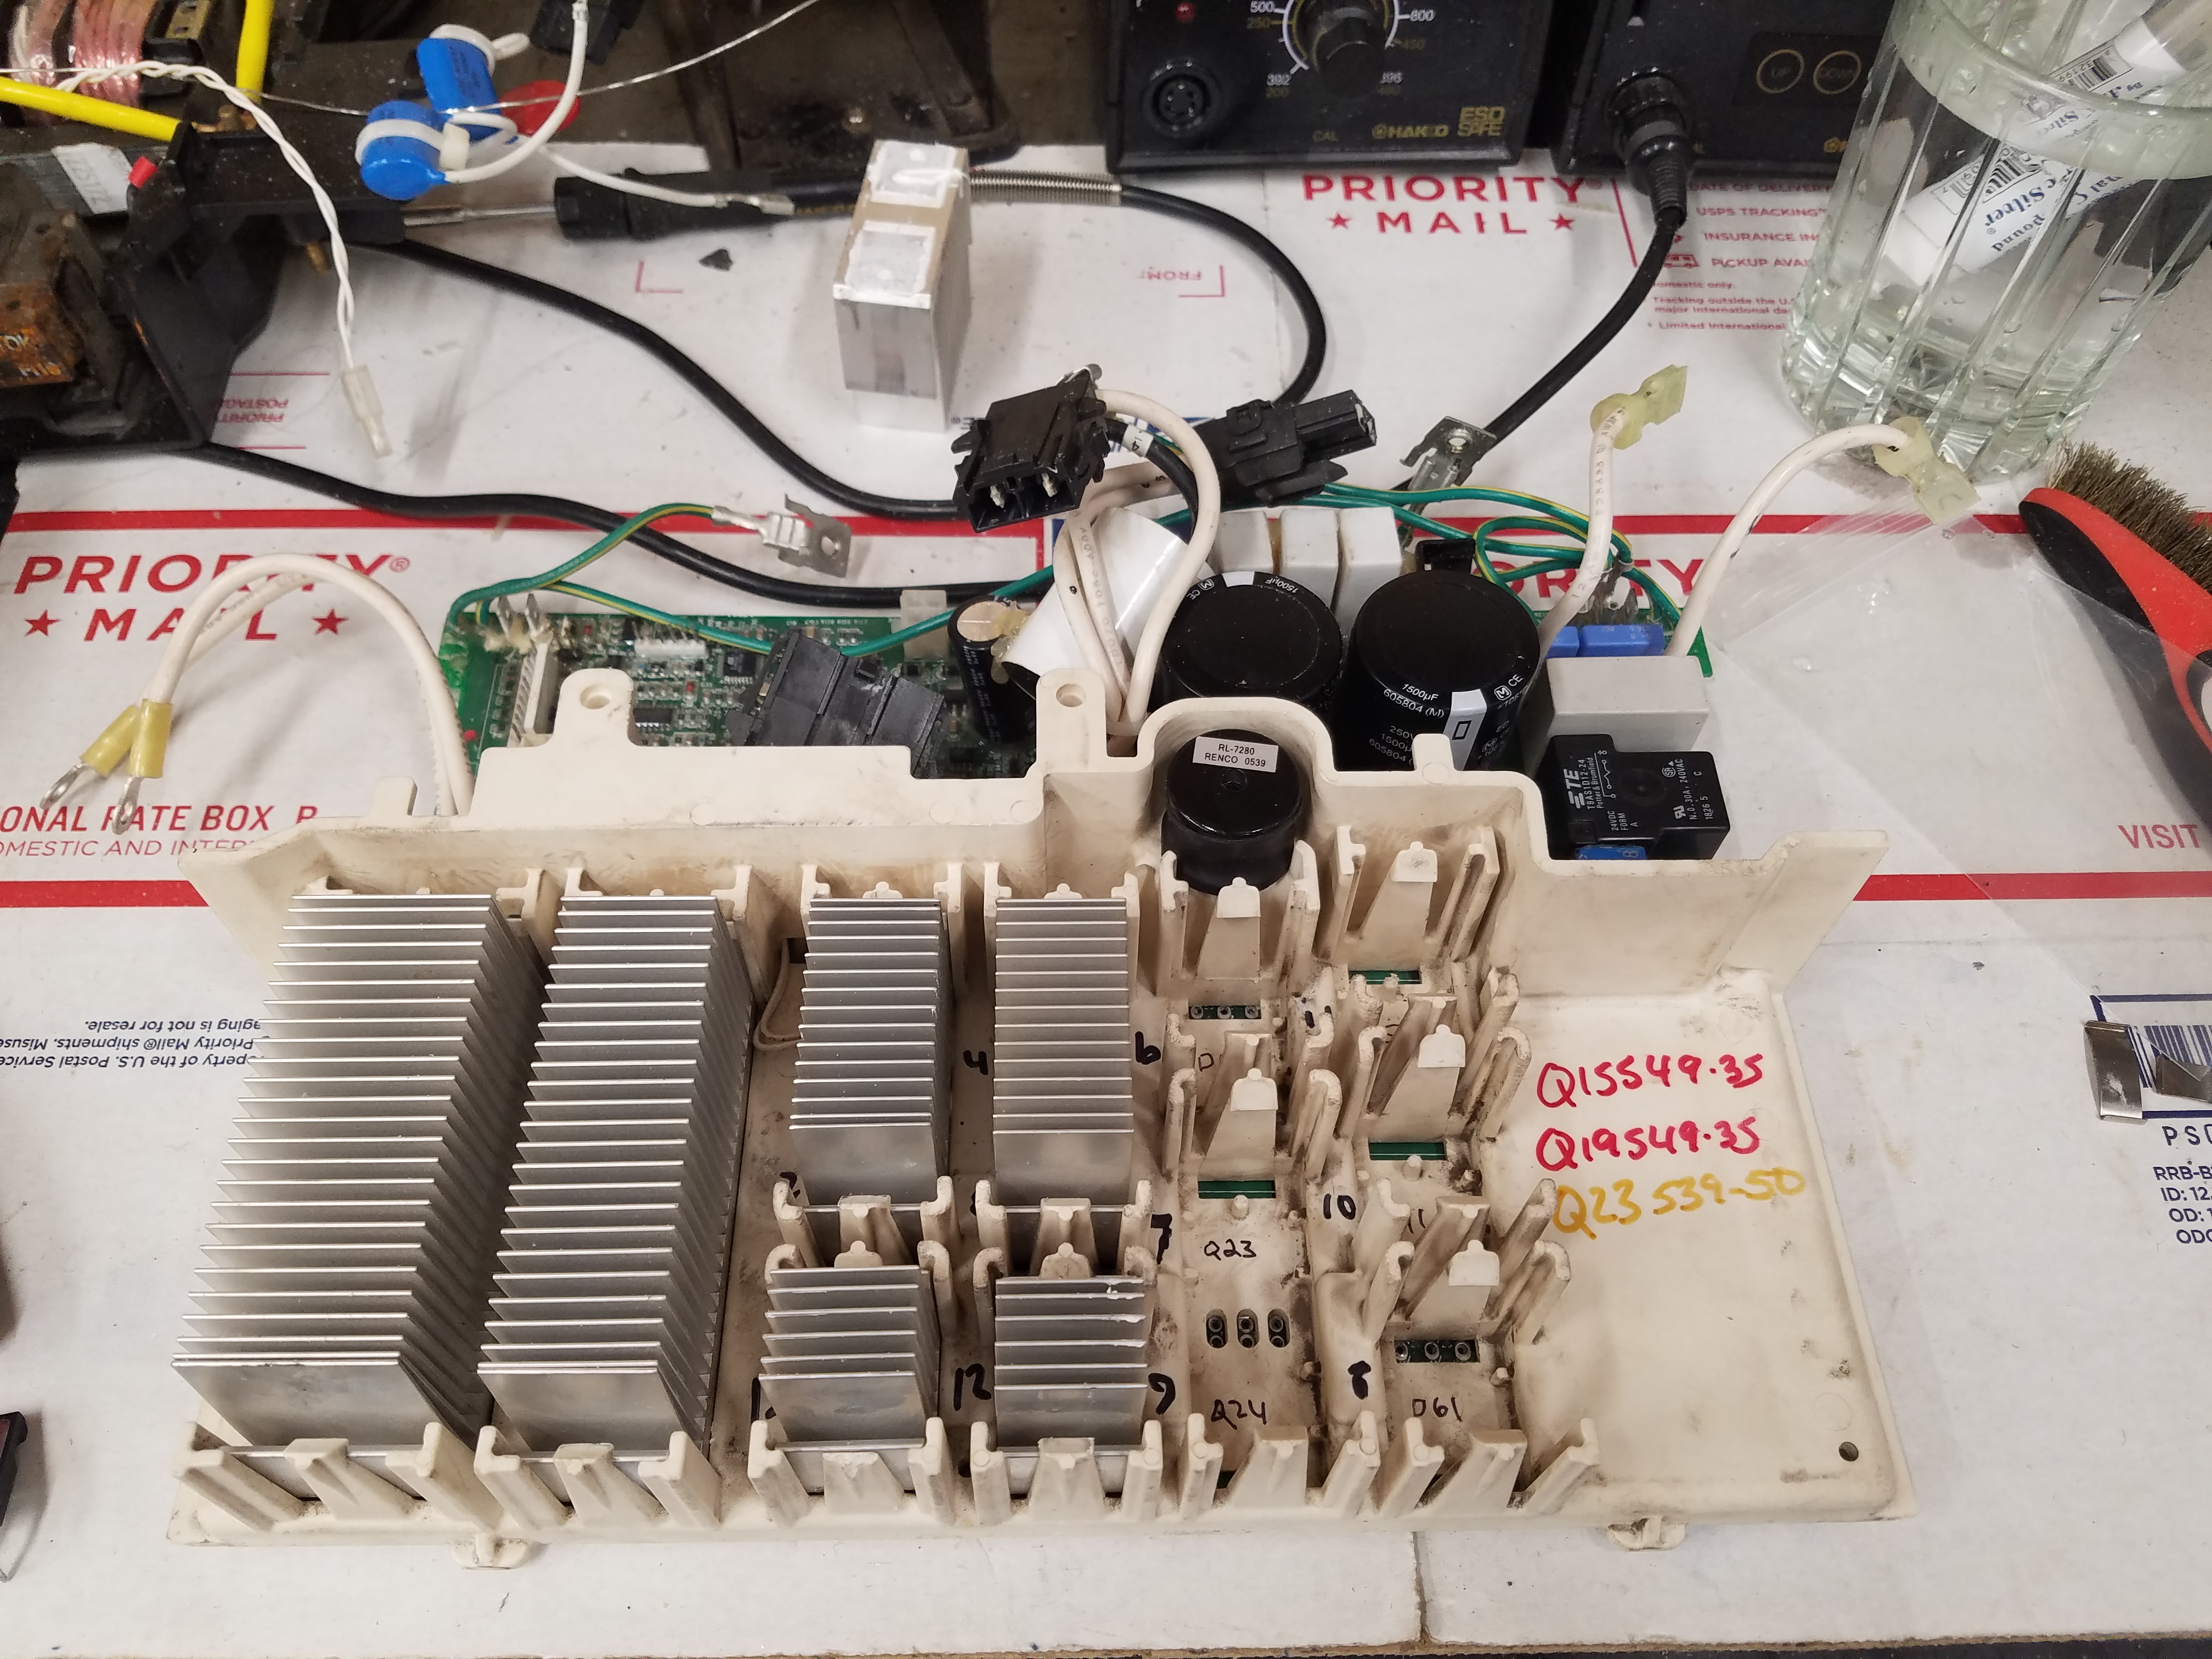
I Need to remove the Plastic Cover So Removing & Checking The Transistors..
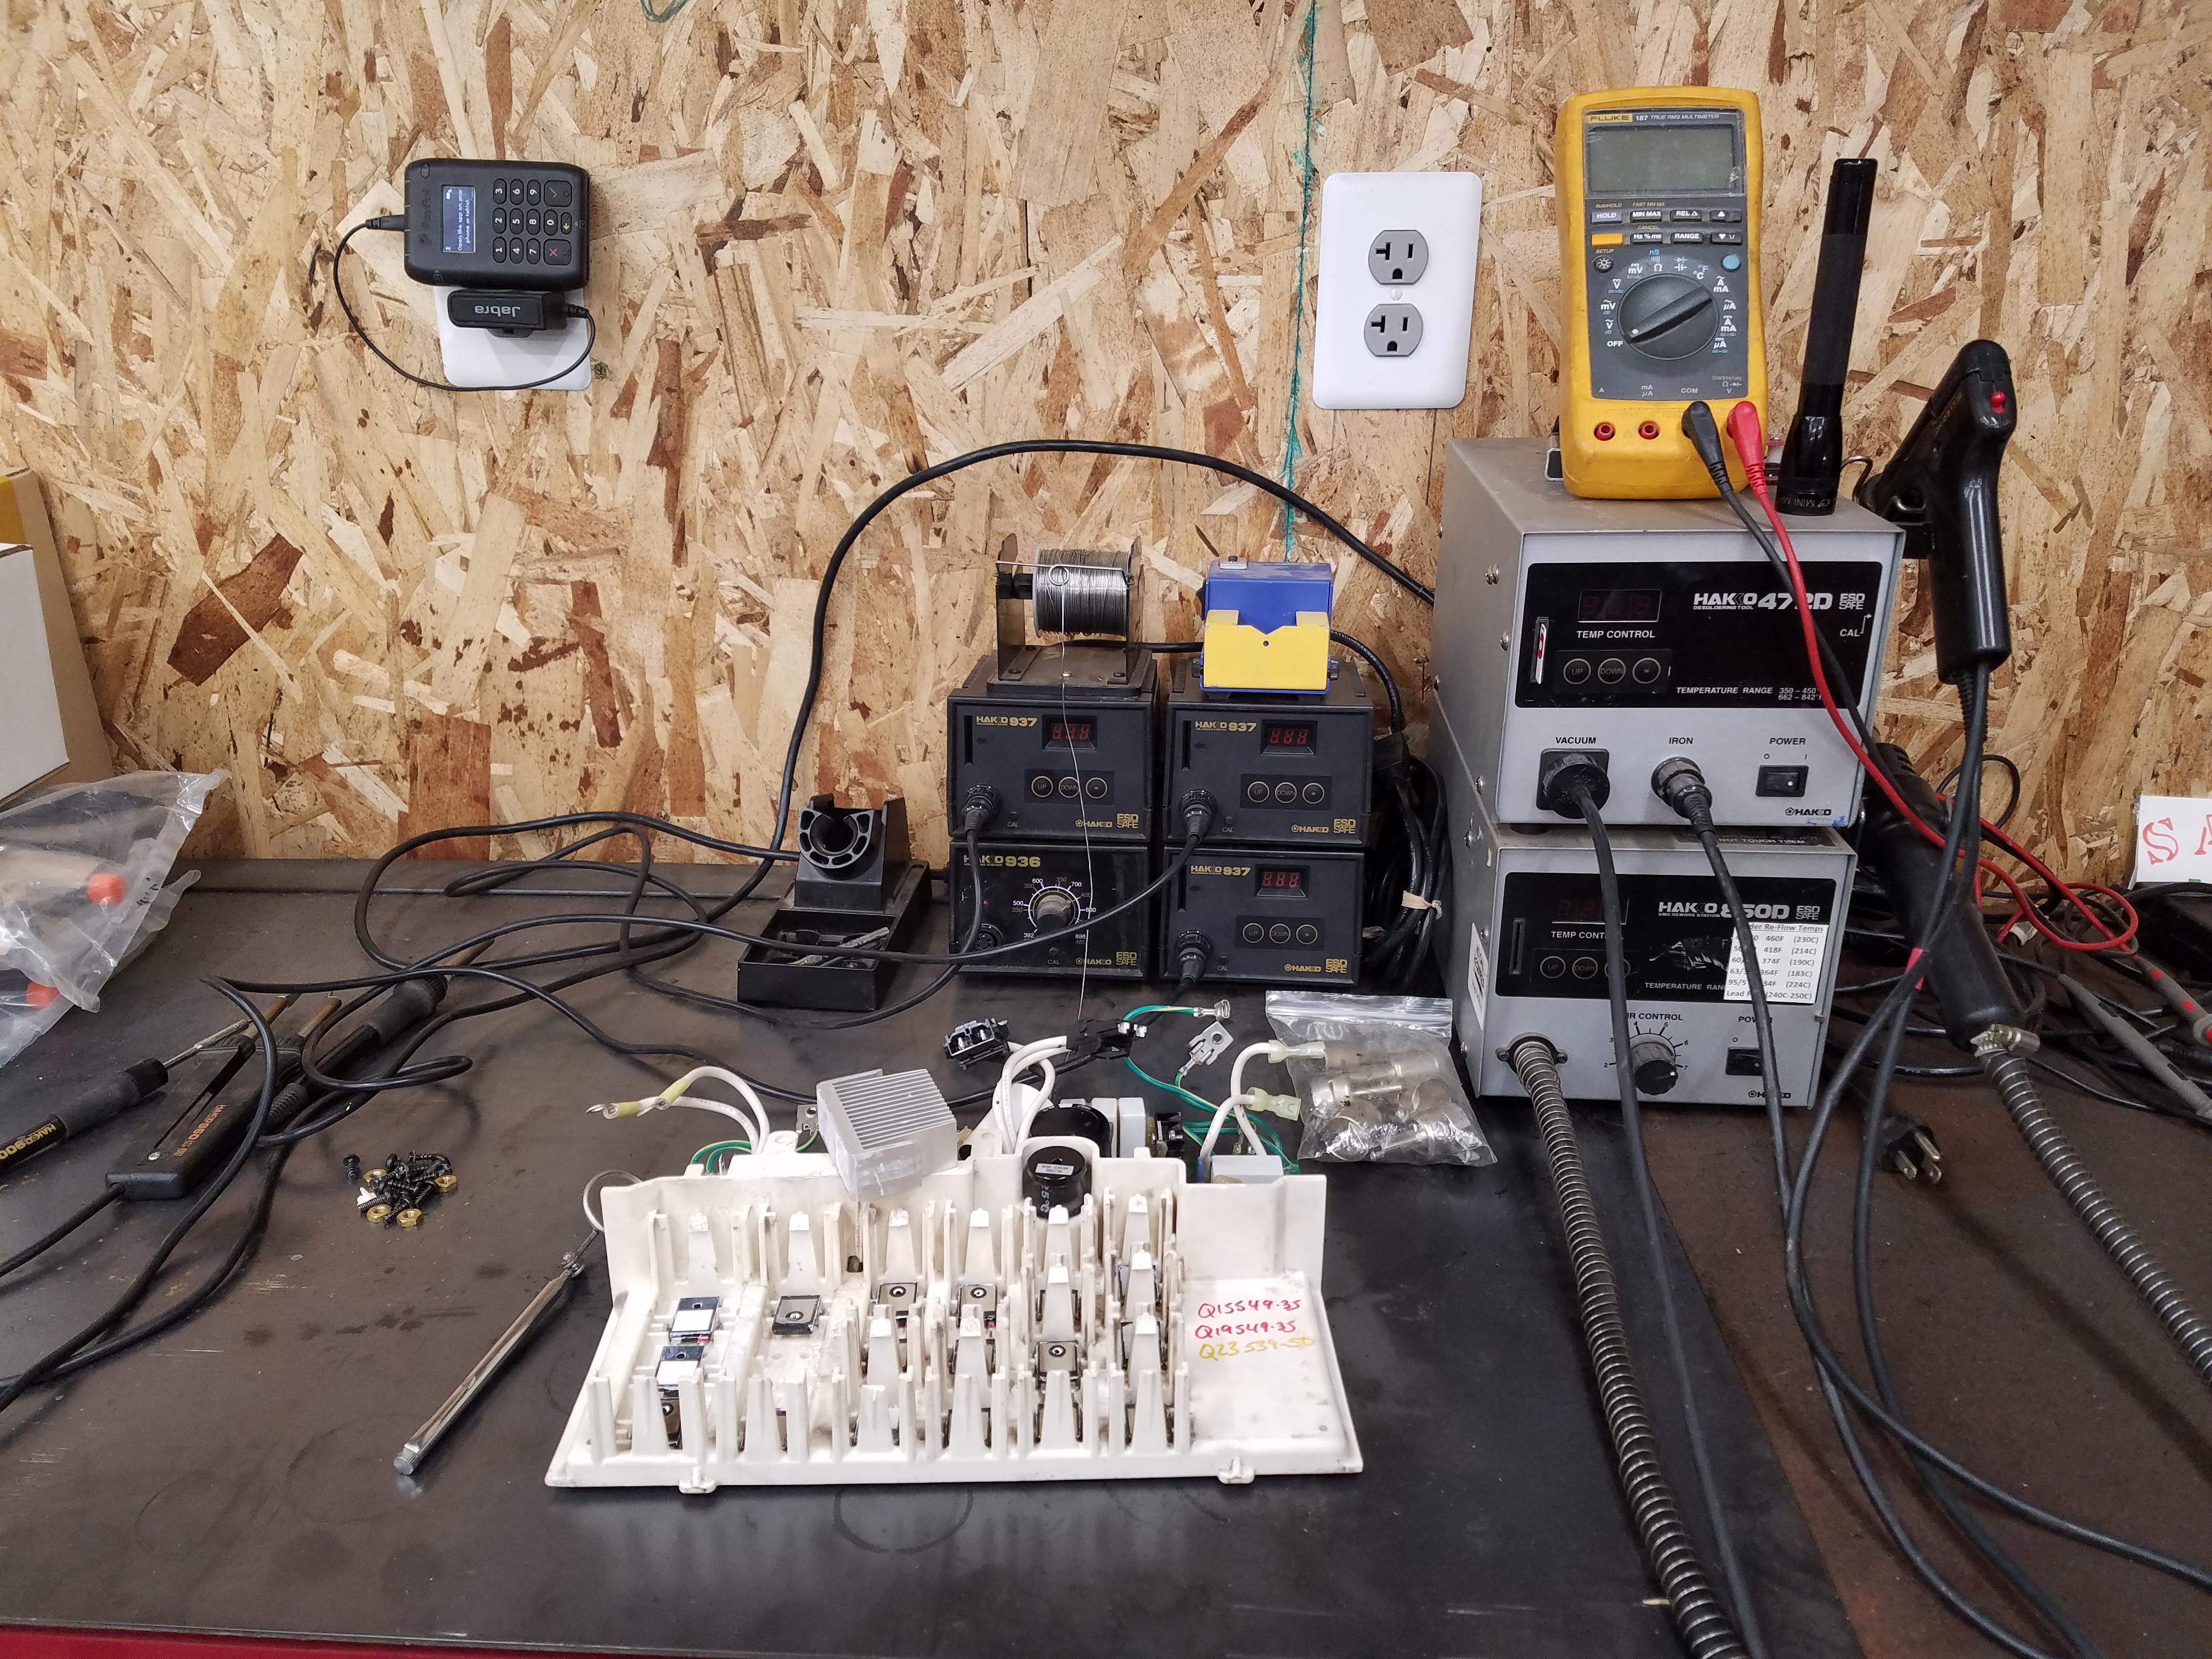
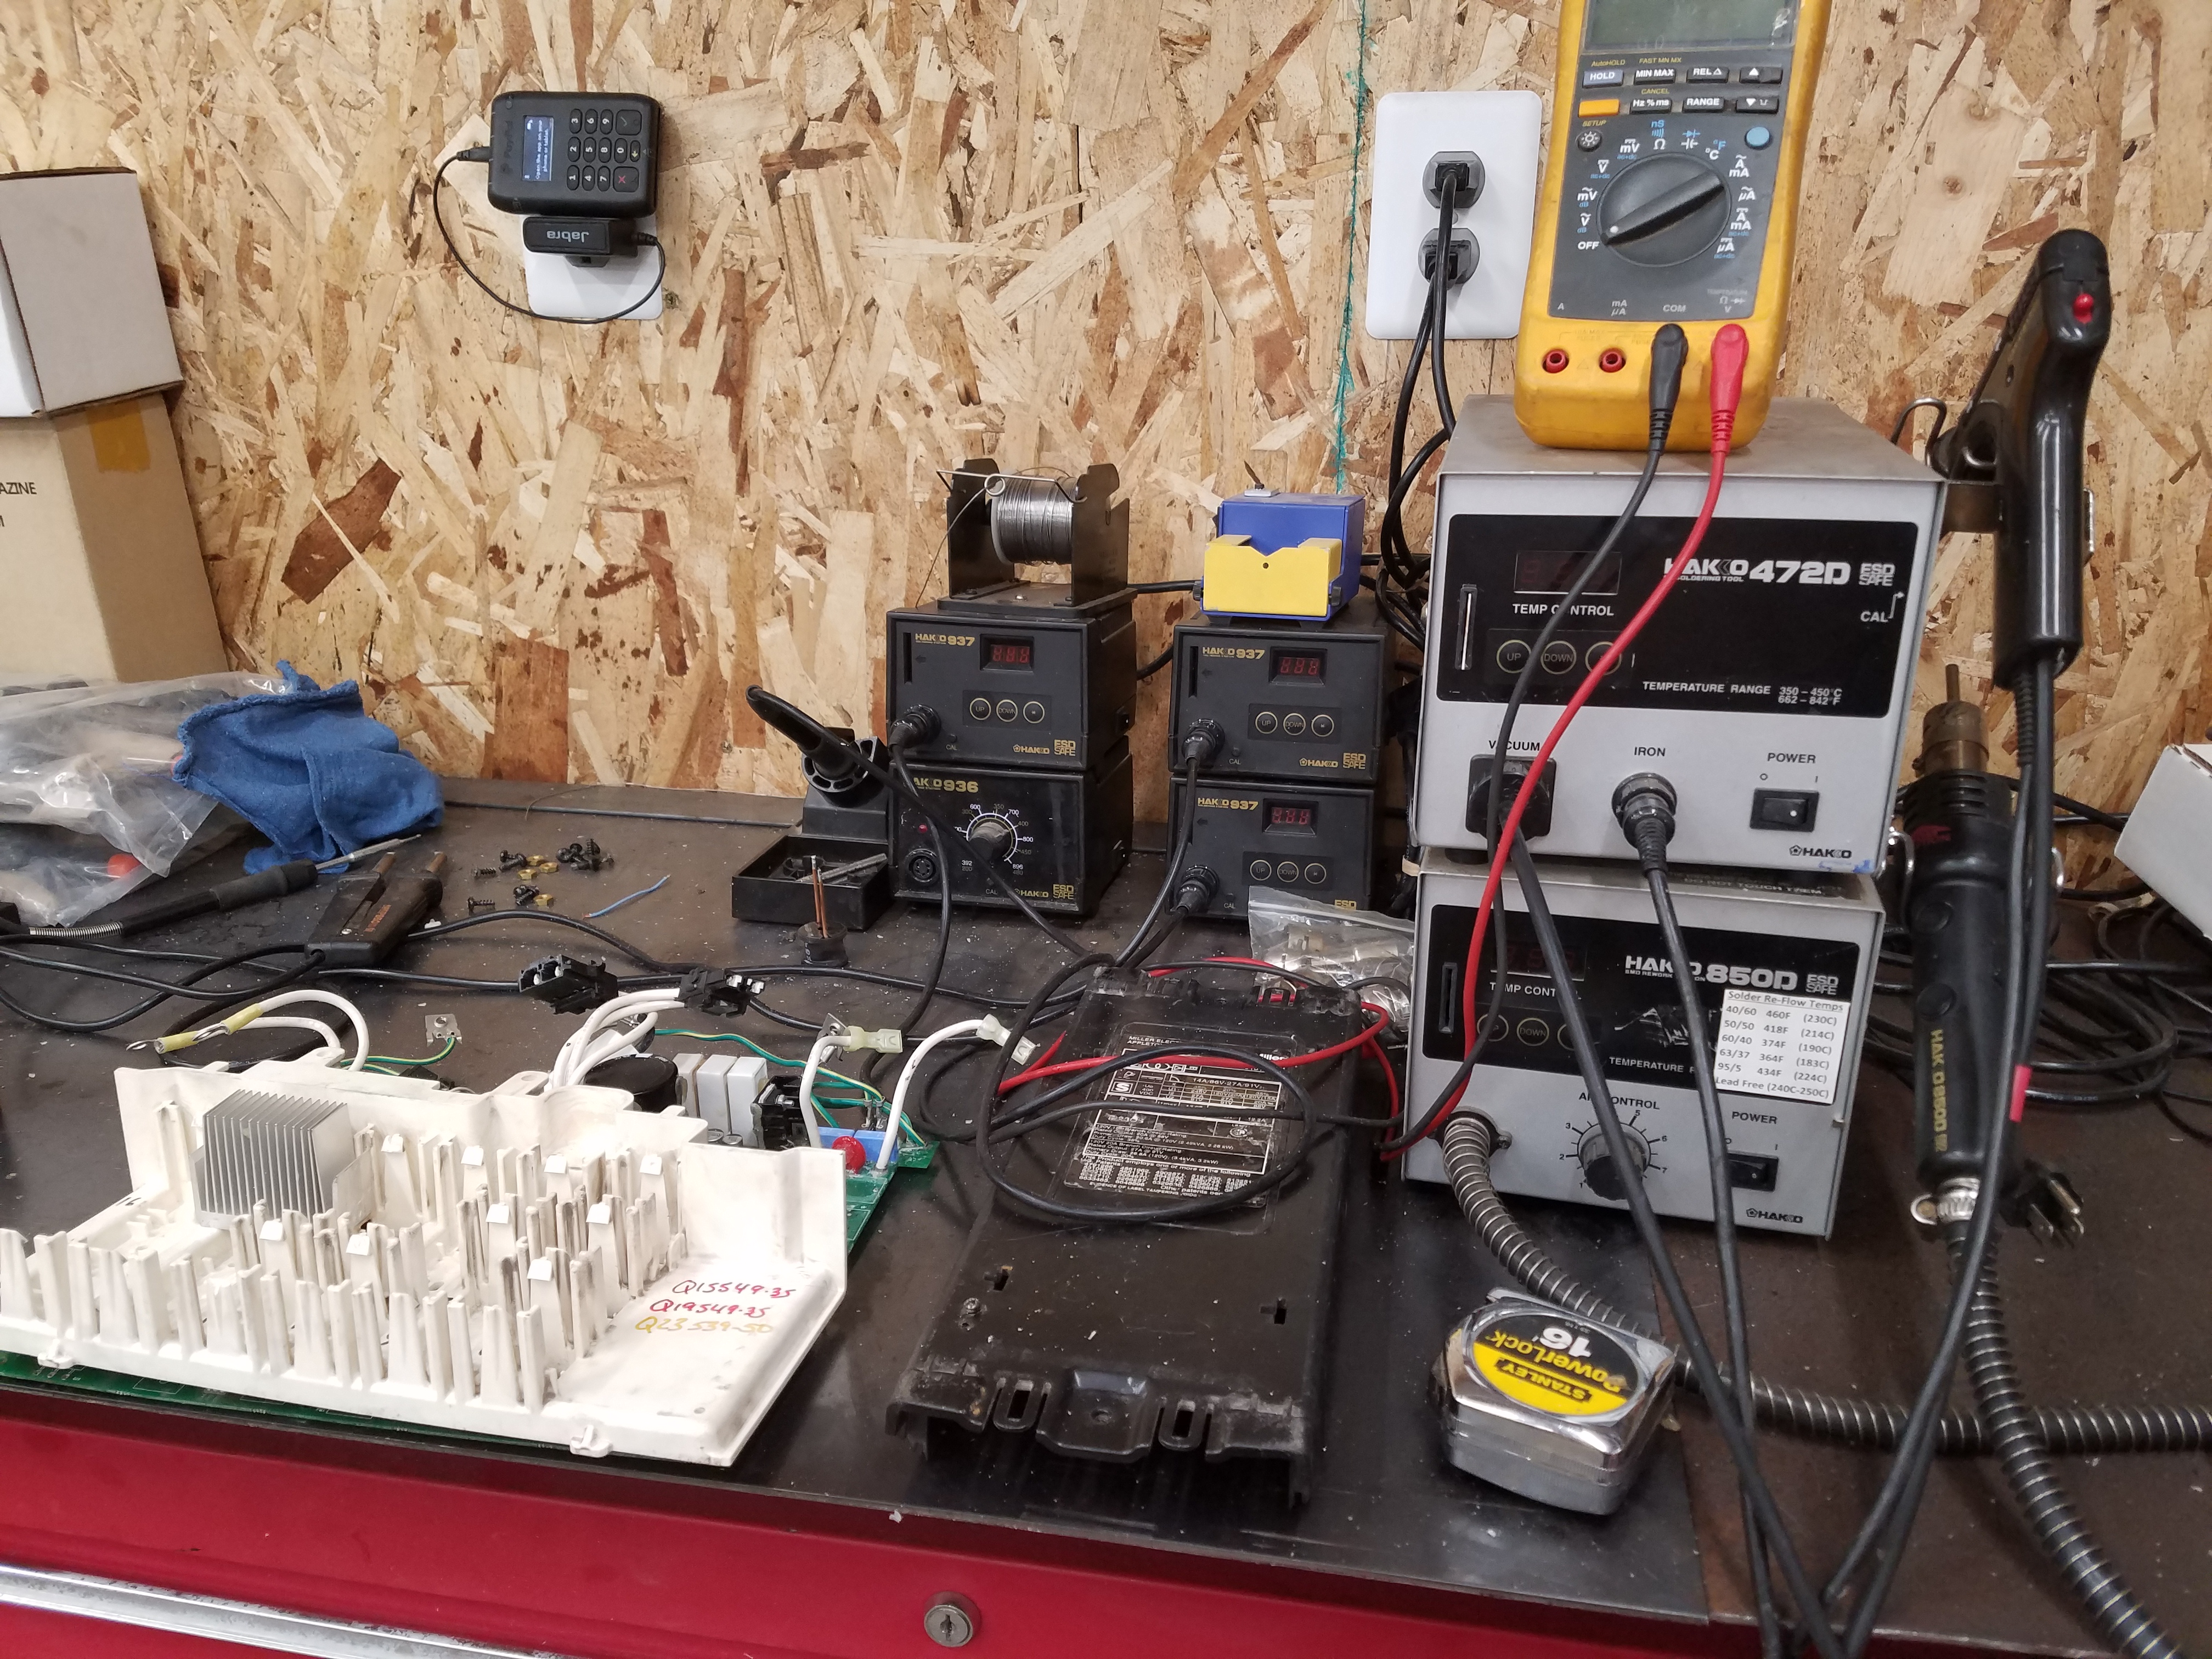
Waiting On Larger Nozzles for My Desoldring Gun.. Wish I had a Hakko Stocking dealer here.. Seems Like Motion Industries has Purchased all the cool stores and nixed all the good stuff!
But the Rework Equipment Is All Unpacked Not 100% Setup.. Yet Just Enough to do some Basic Work..
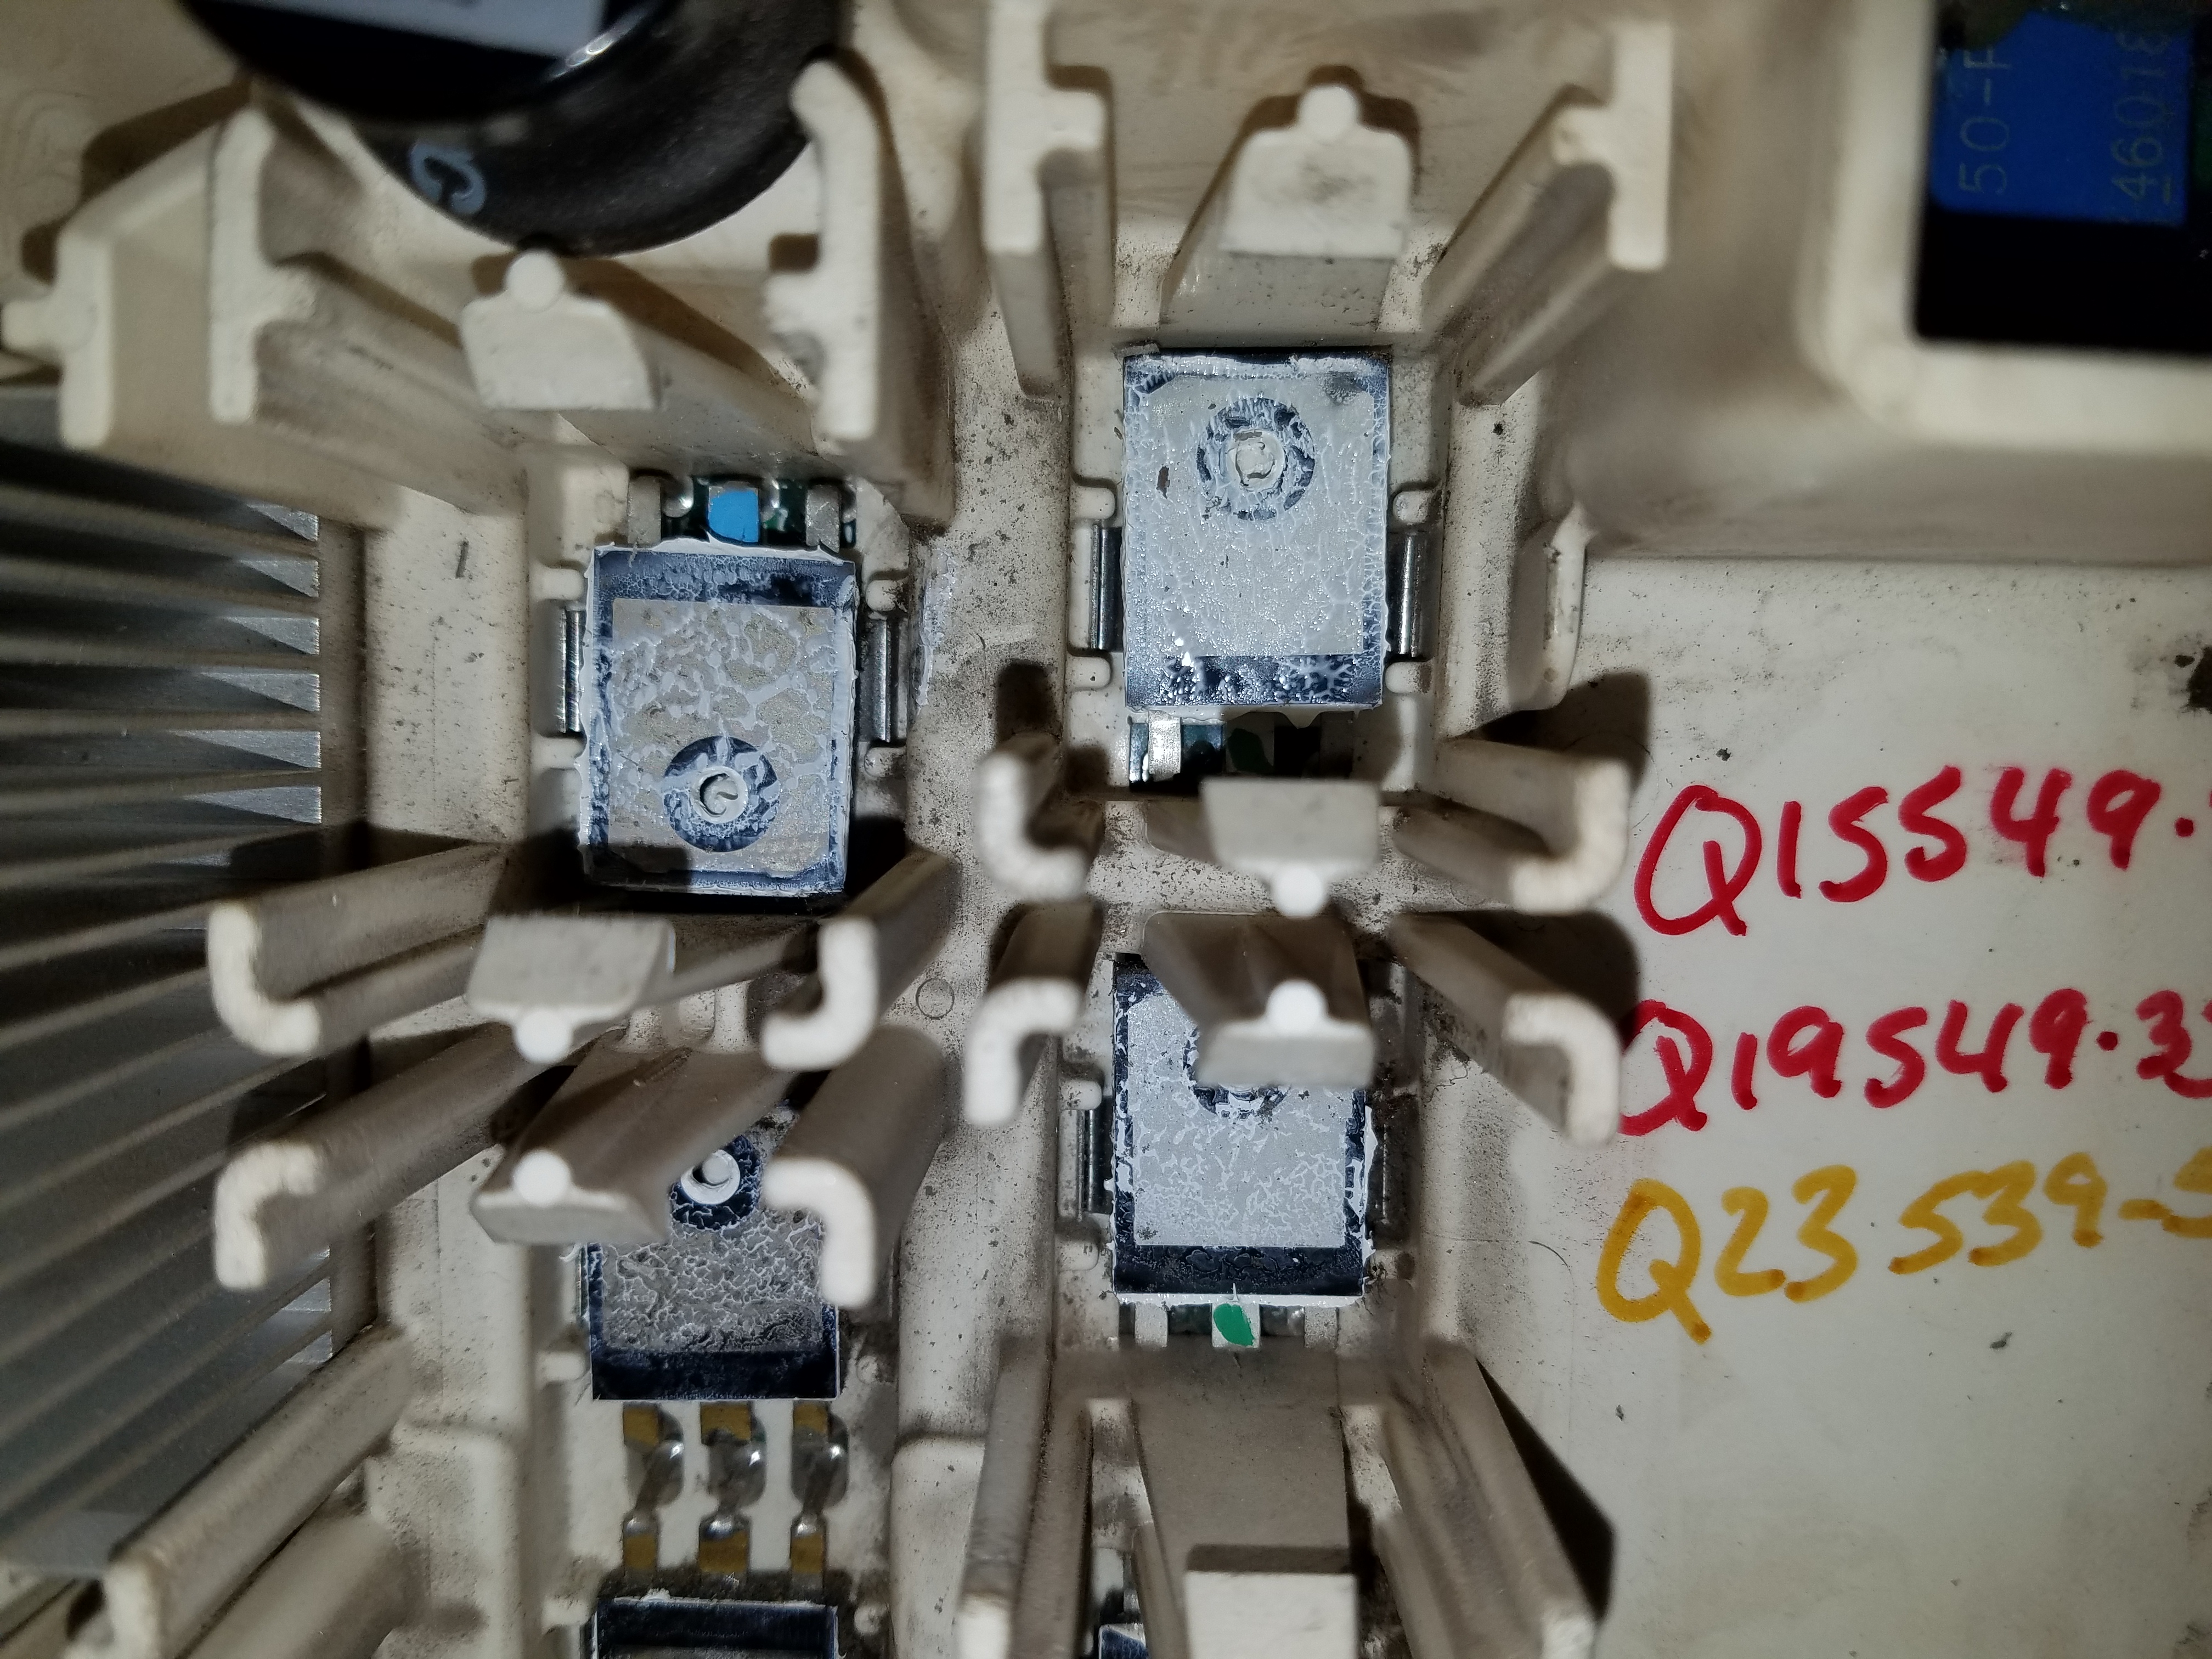
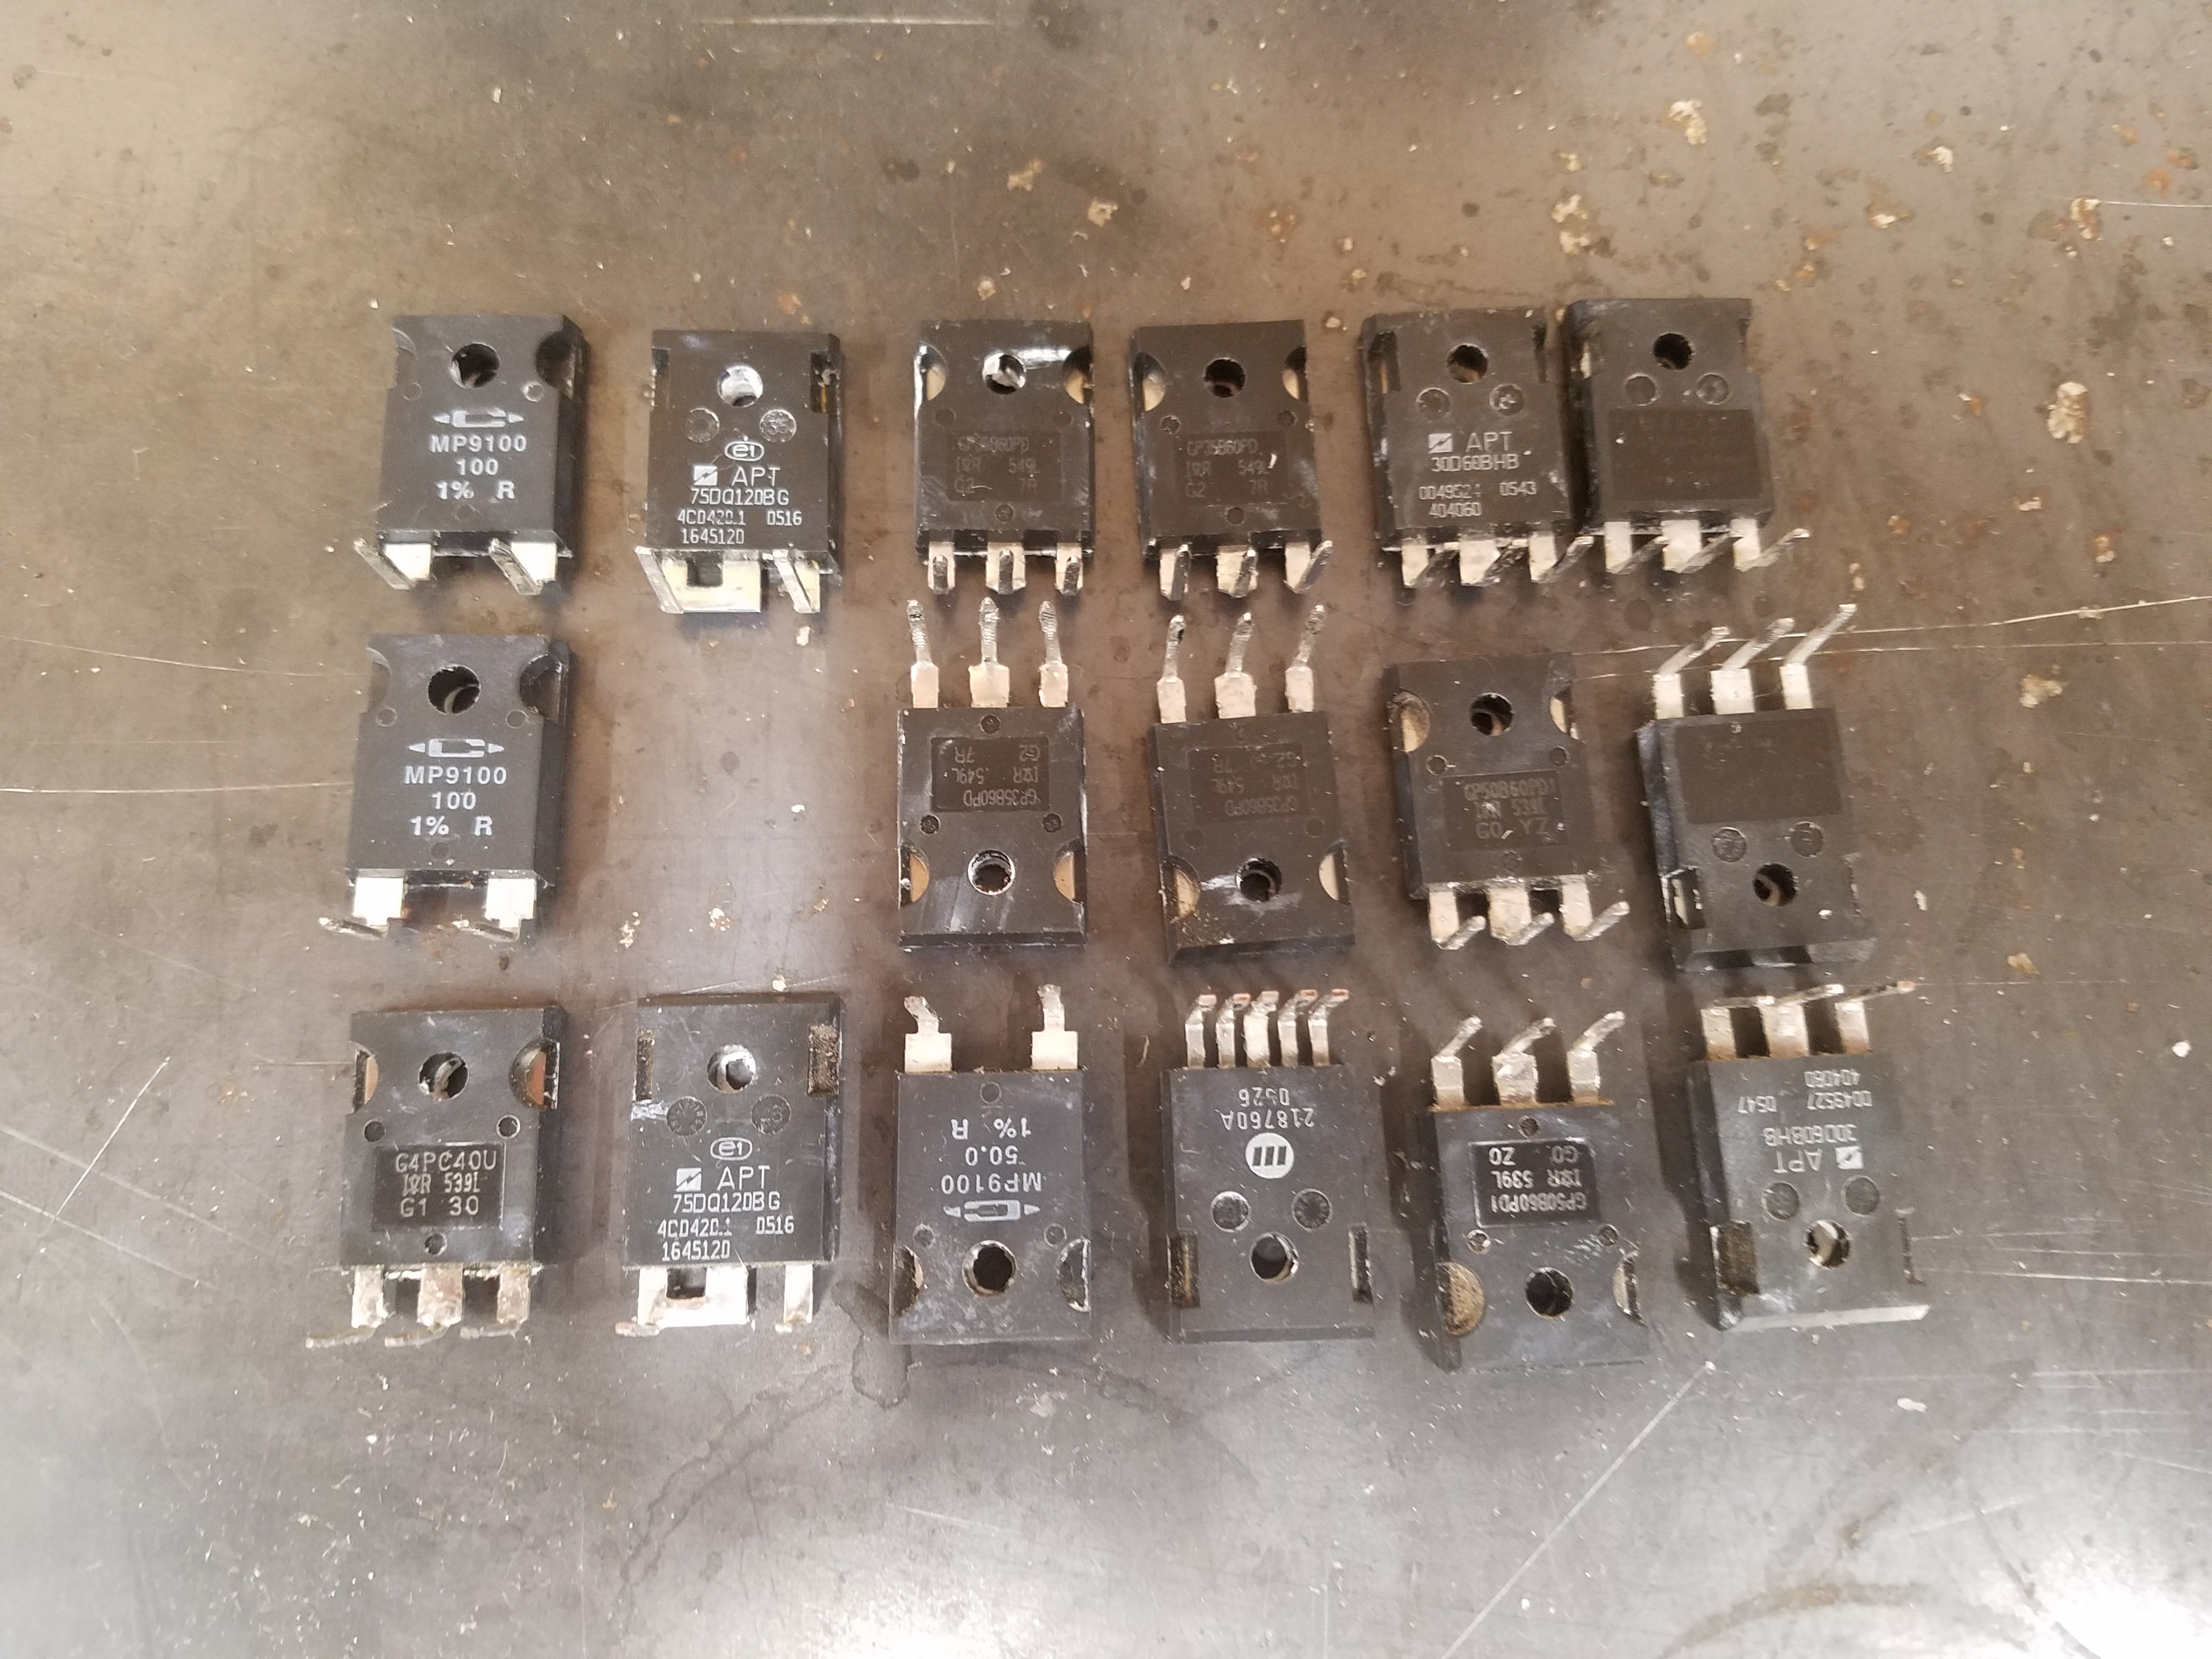
All the IGBT’s Seemed to Check Out With Multi Meter.
Negative Lead on Collector Posotive On Emitter Open.. Touch Gate With Posotive Lead Will Tone ON Emitter/Collector, Short Emitter and Gate = Collector and Emitter is Open Again.
Data Sheets For IGBT’s
Miller Part # 219156 X 4 https://www.mouser.com/datasheet/2/196/auirgp35b60pd-1225850.pdf
Miller Part # X 1 https://www.mouser.com/datasheet/2/196/irg4pc40udpbf-1227630.pdf
Miller Part # 225480 X 2 https://www.mouser.com/datasheet/2/196/auirgp50b60pd1-1225219.pdf
Diodes Are Next… Need Larger Nozzle.
Diode Data Sheets
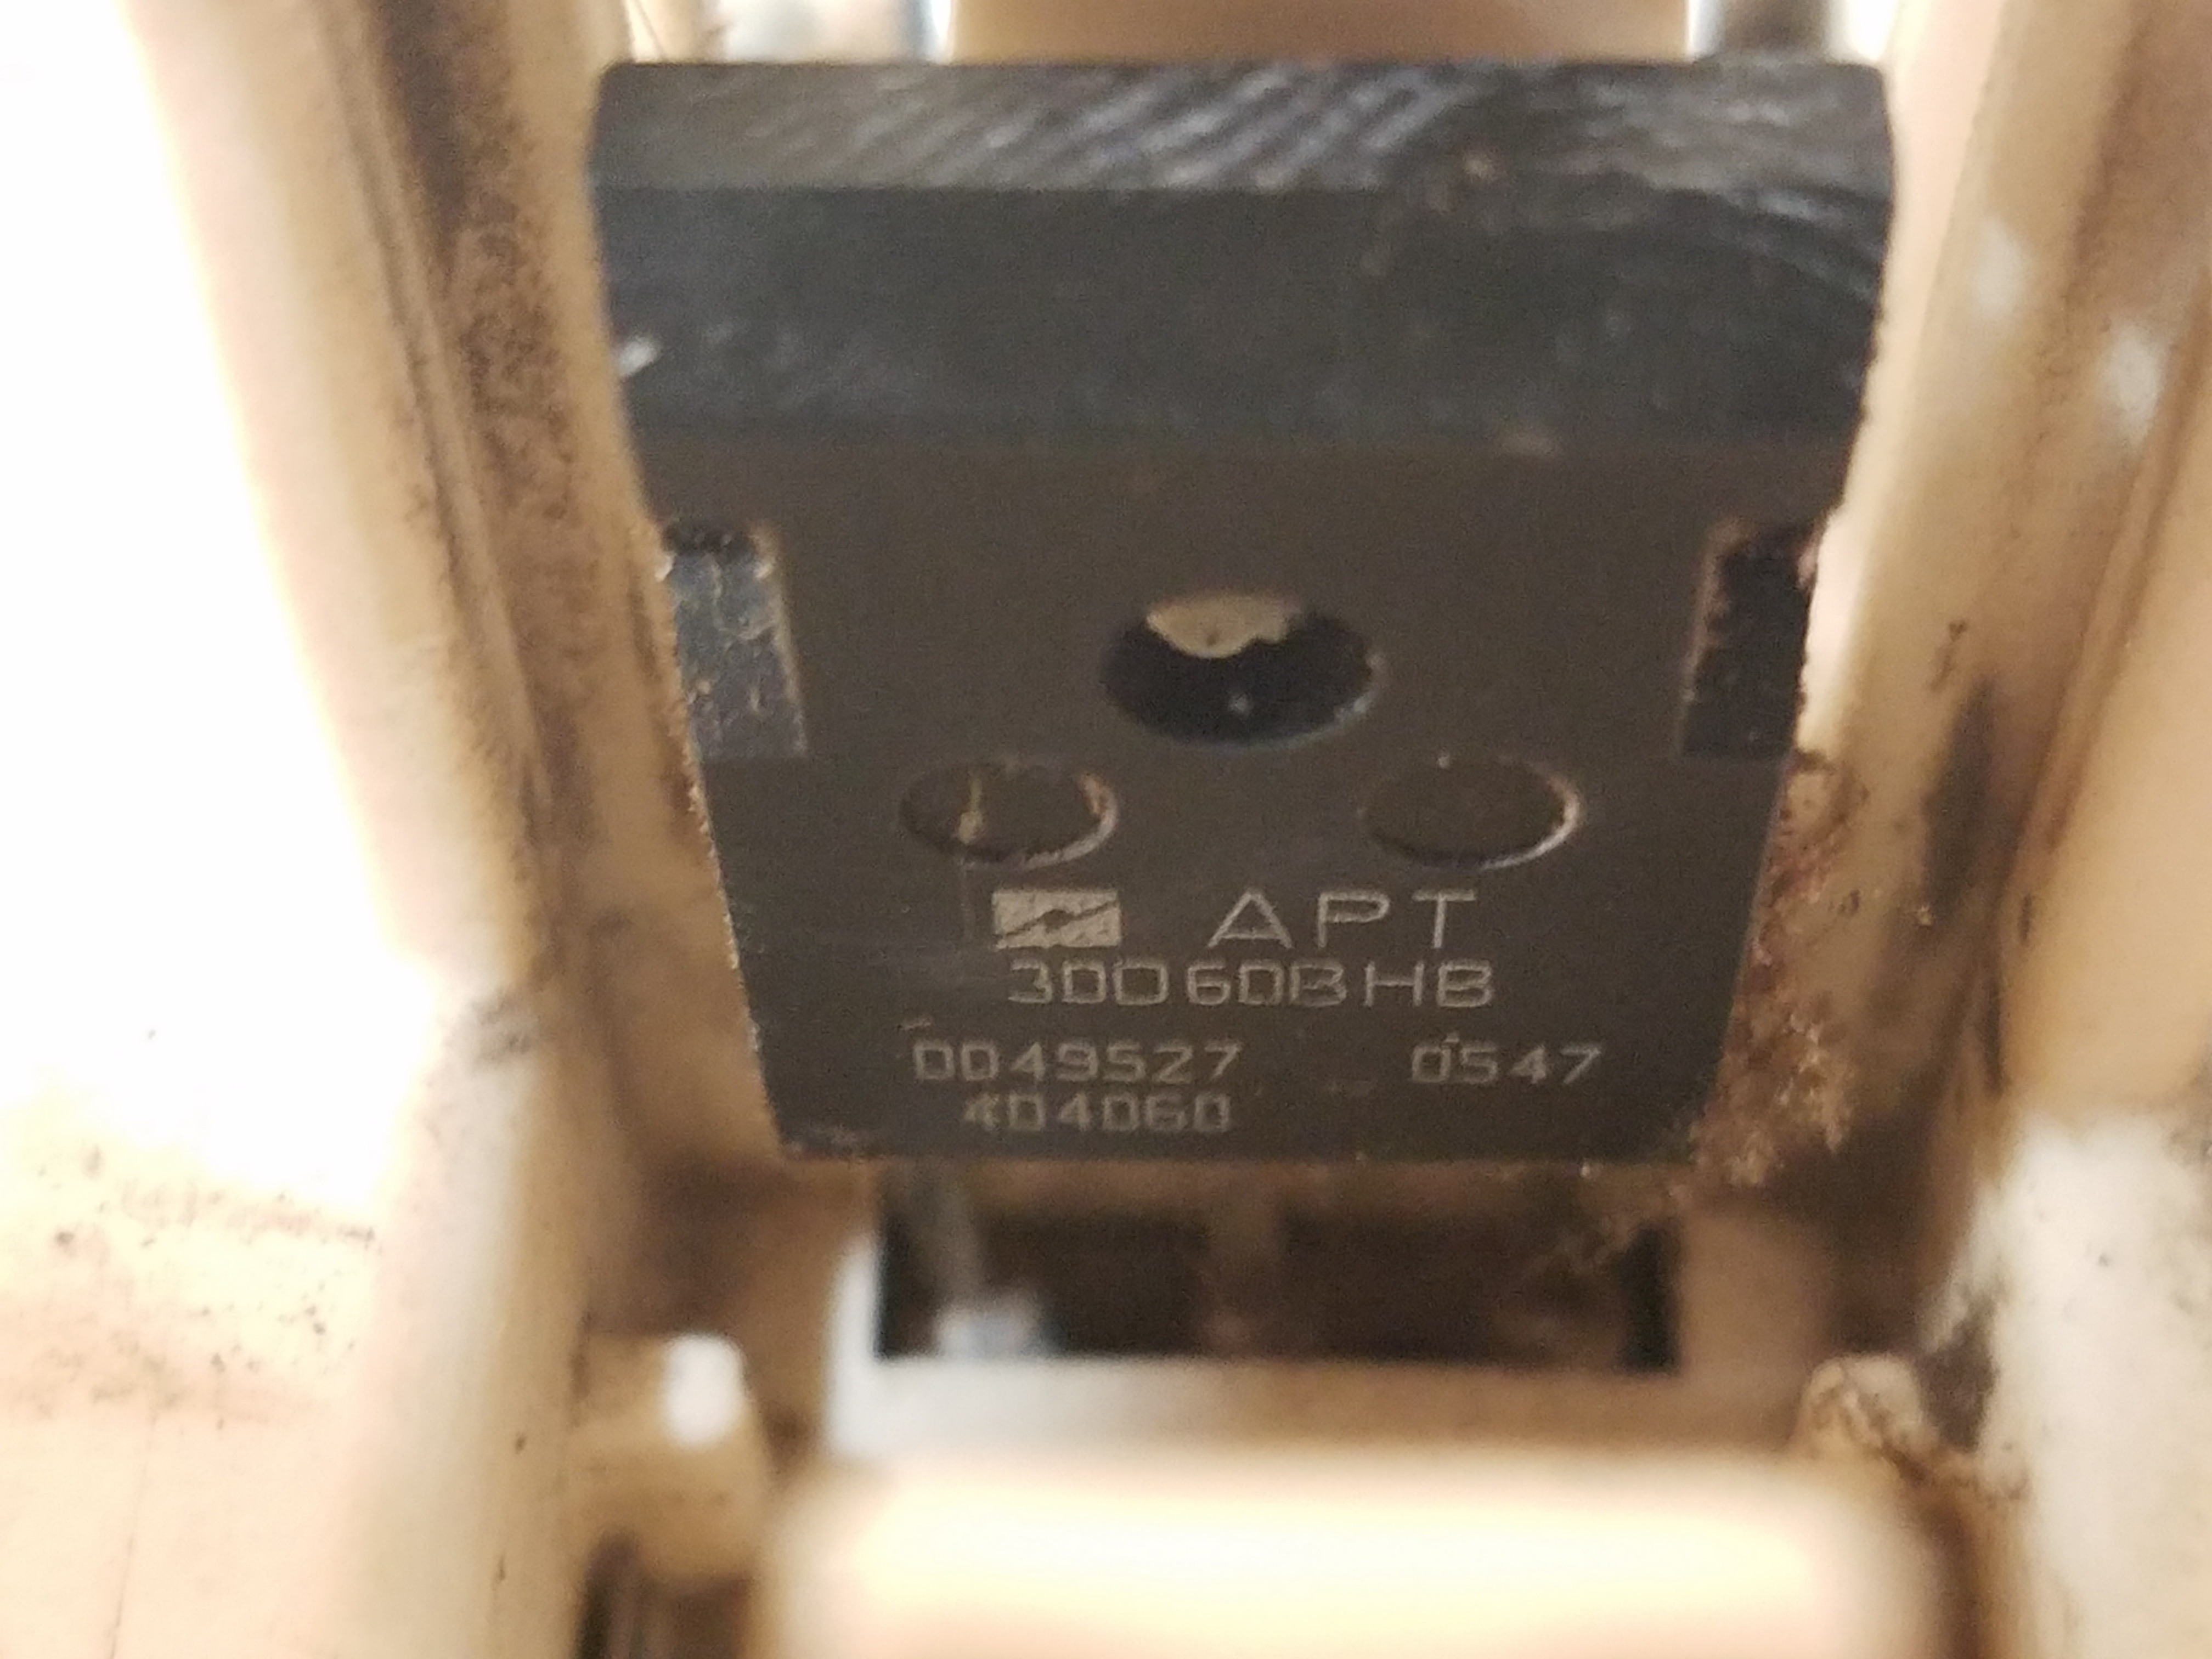
Miller Part # 225523 X 2 APT30D60BHB http://www.microsemi.com/existing-parts/parts/60540
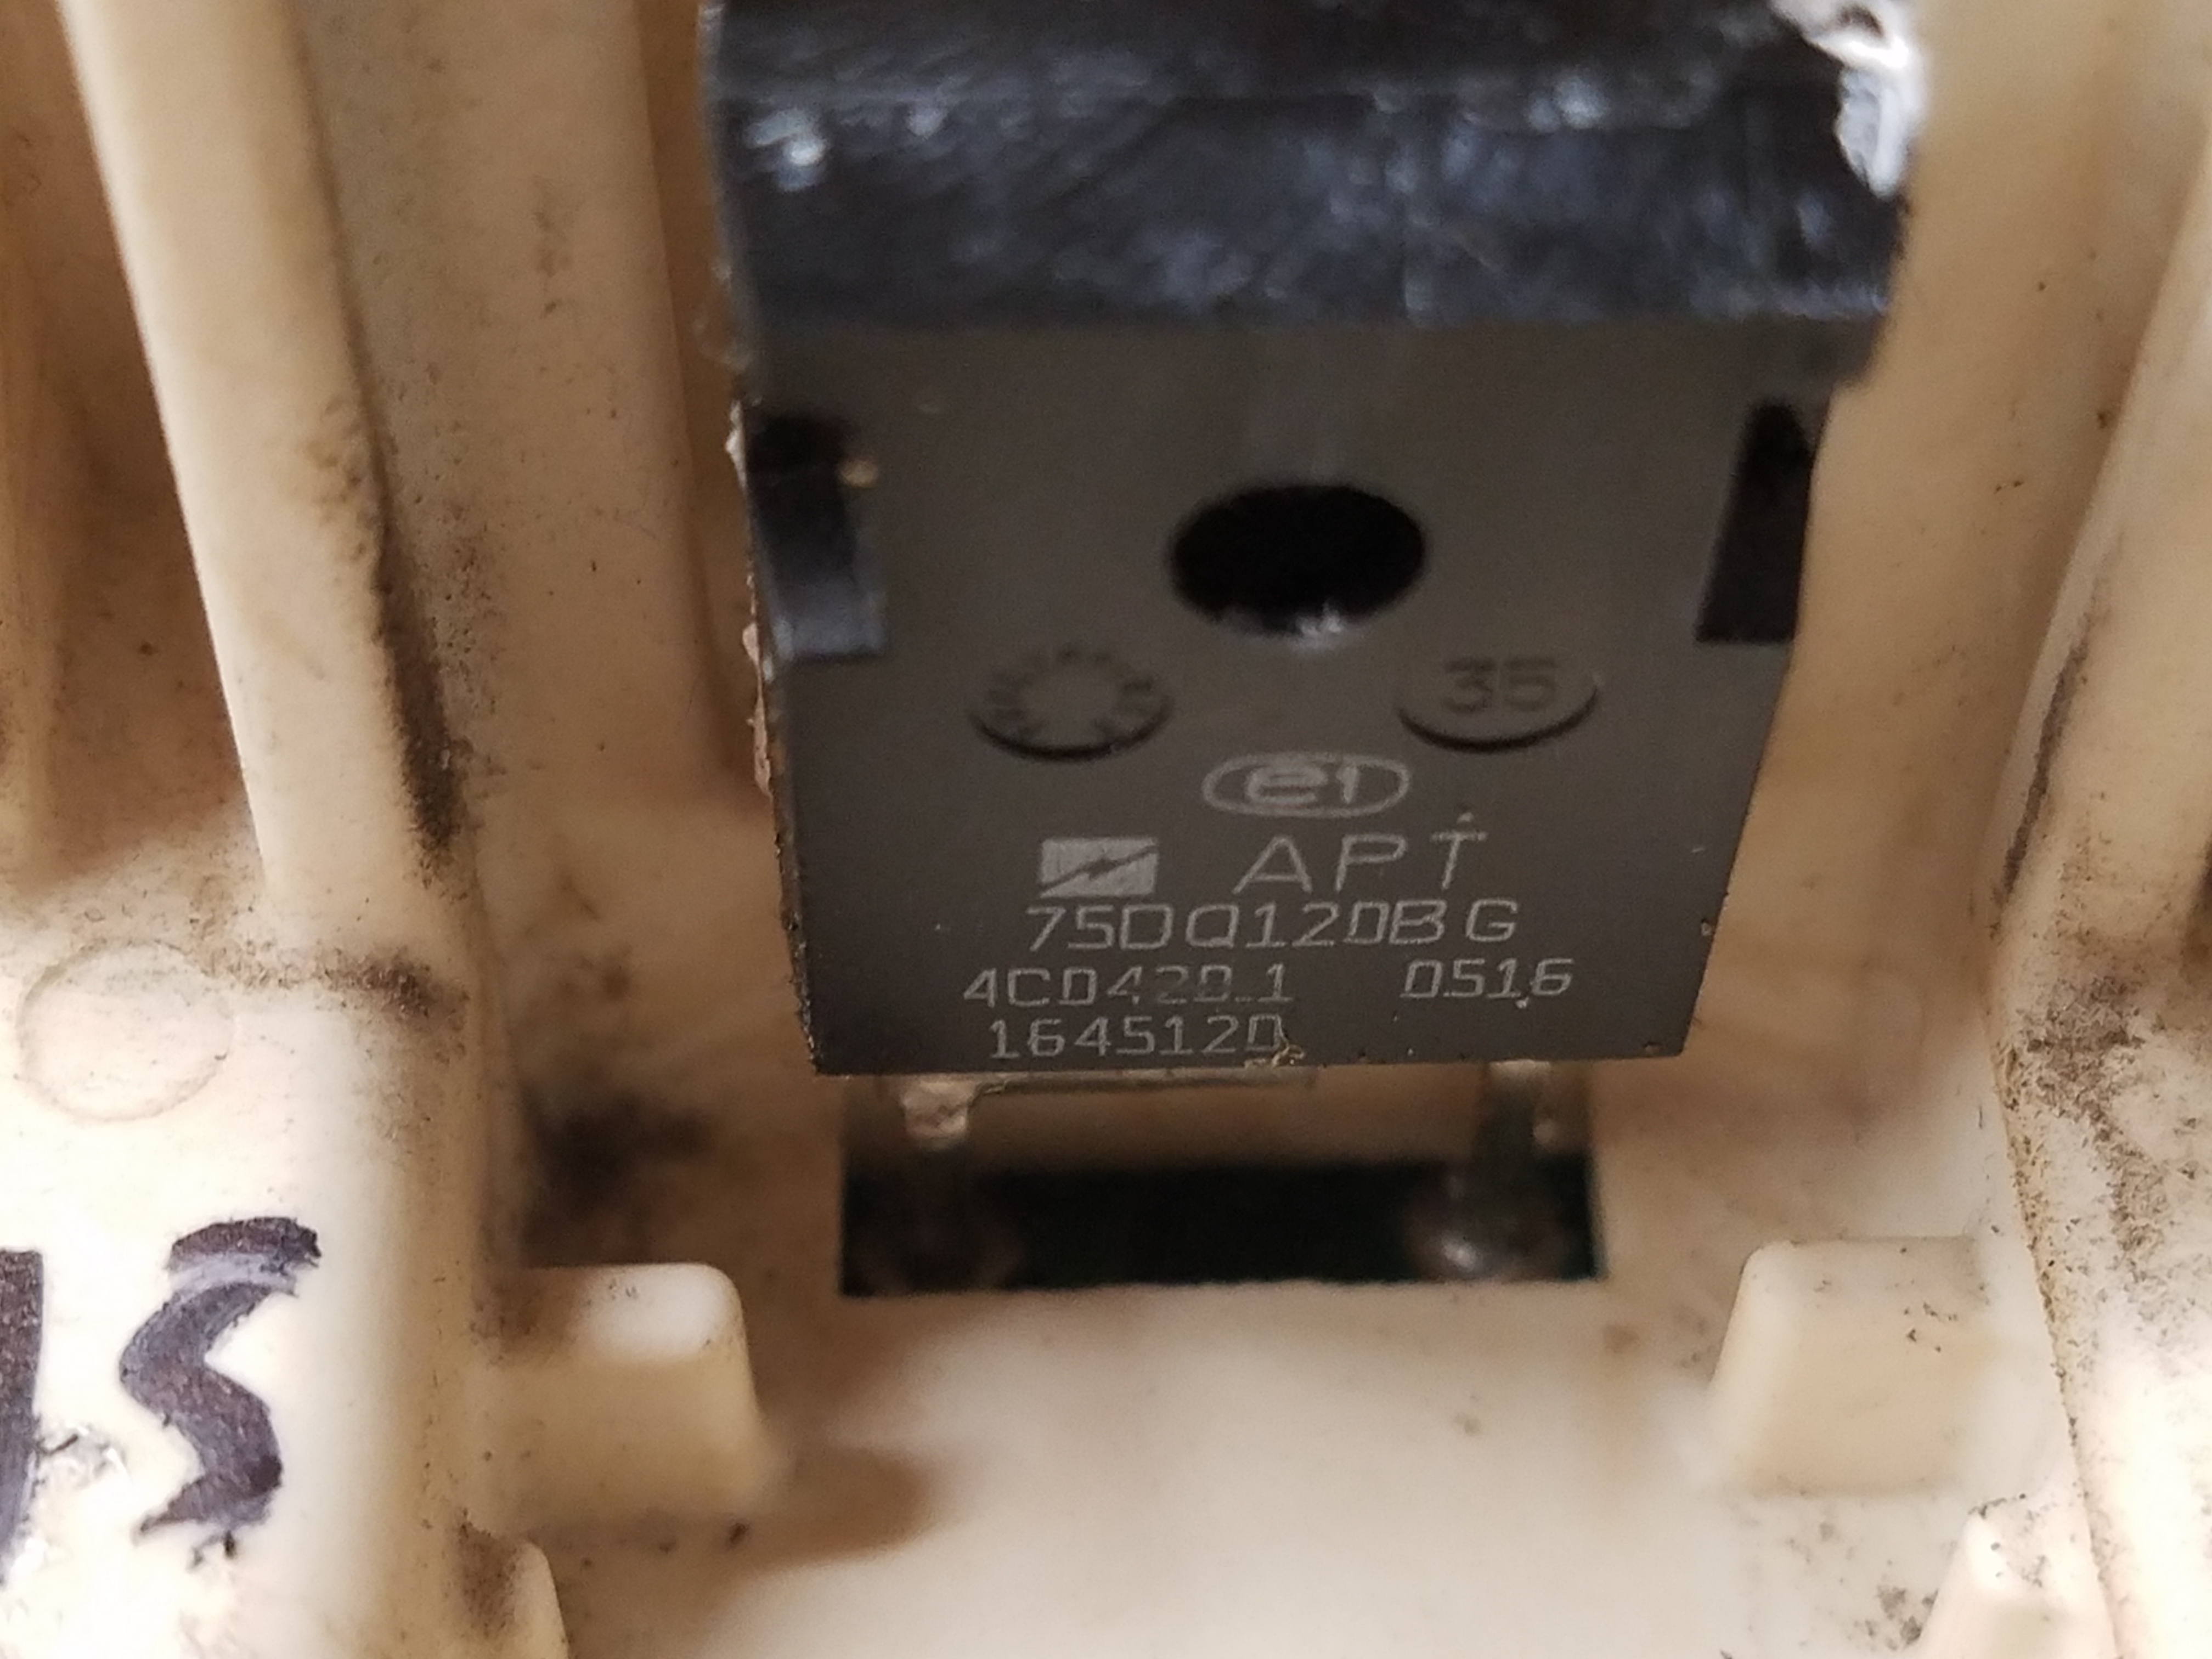
Miller Part # 225481 X 2 APT75DQ120BG http://www.microsemi.com/existing-parts/parts/60739
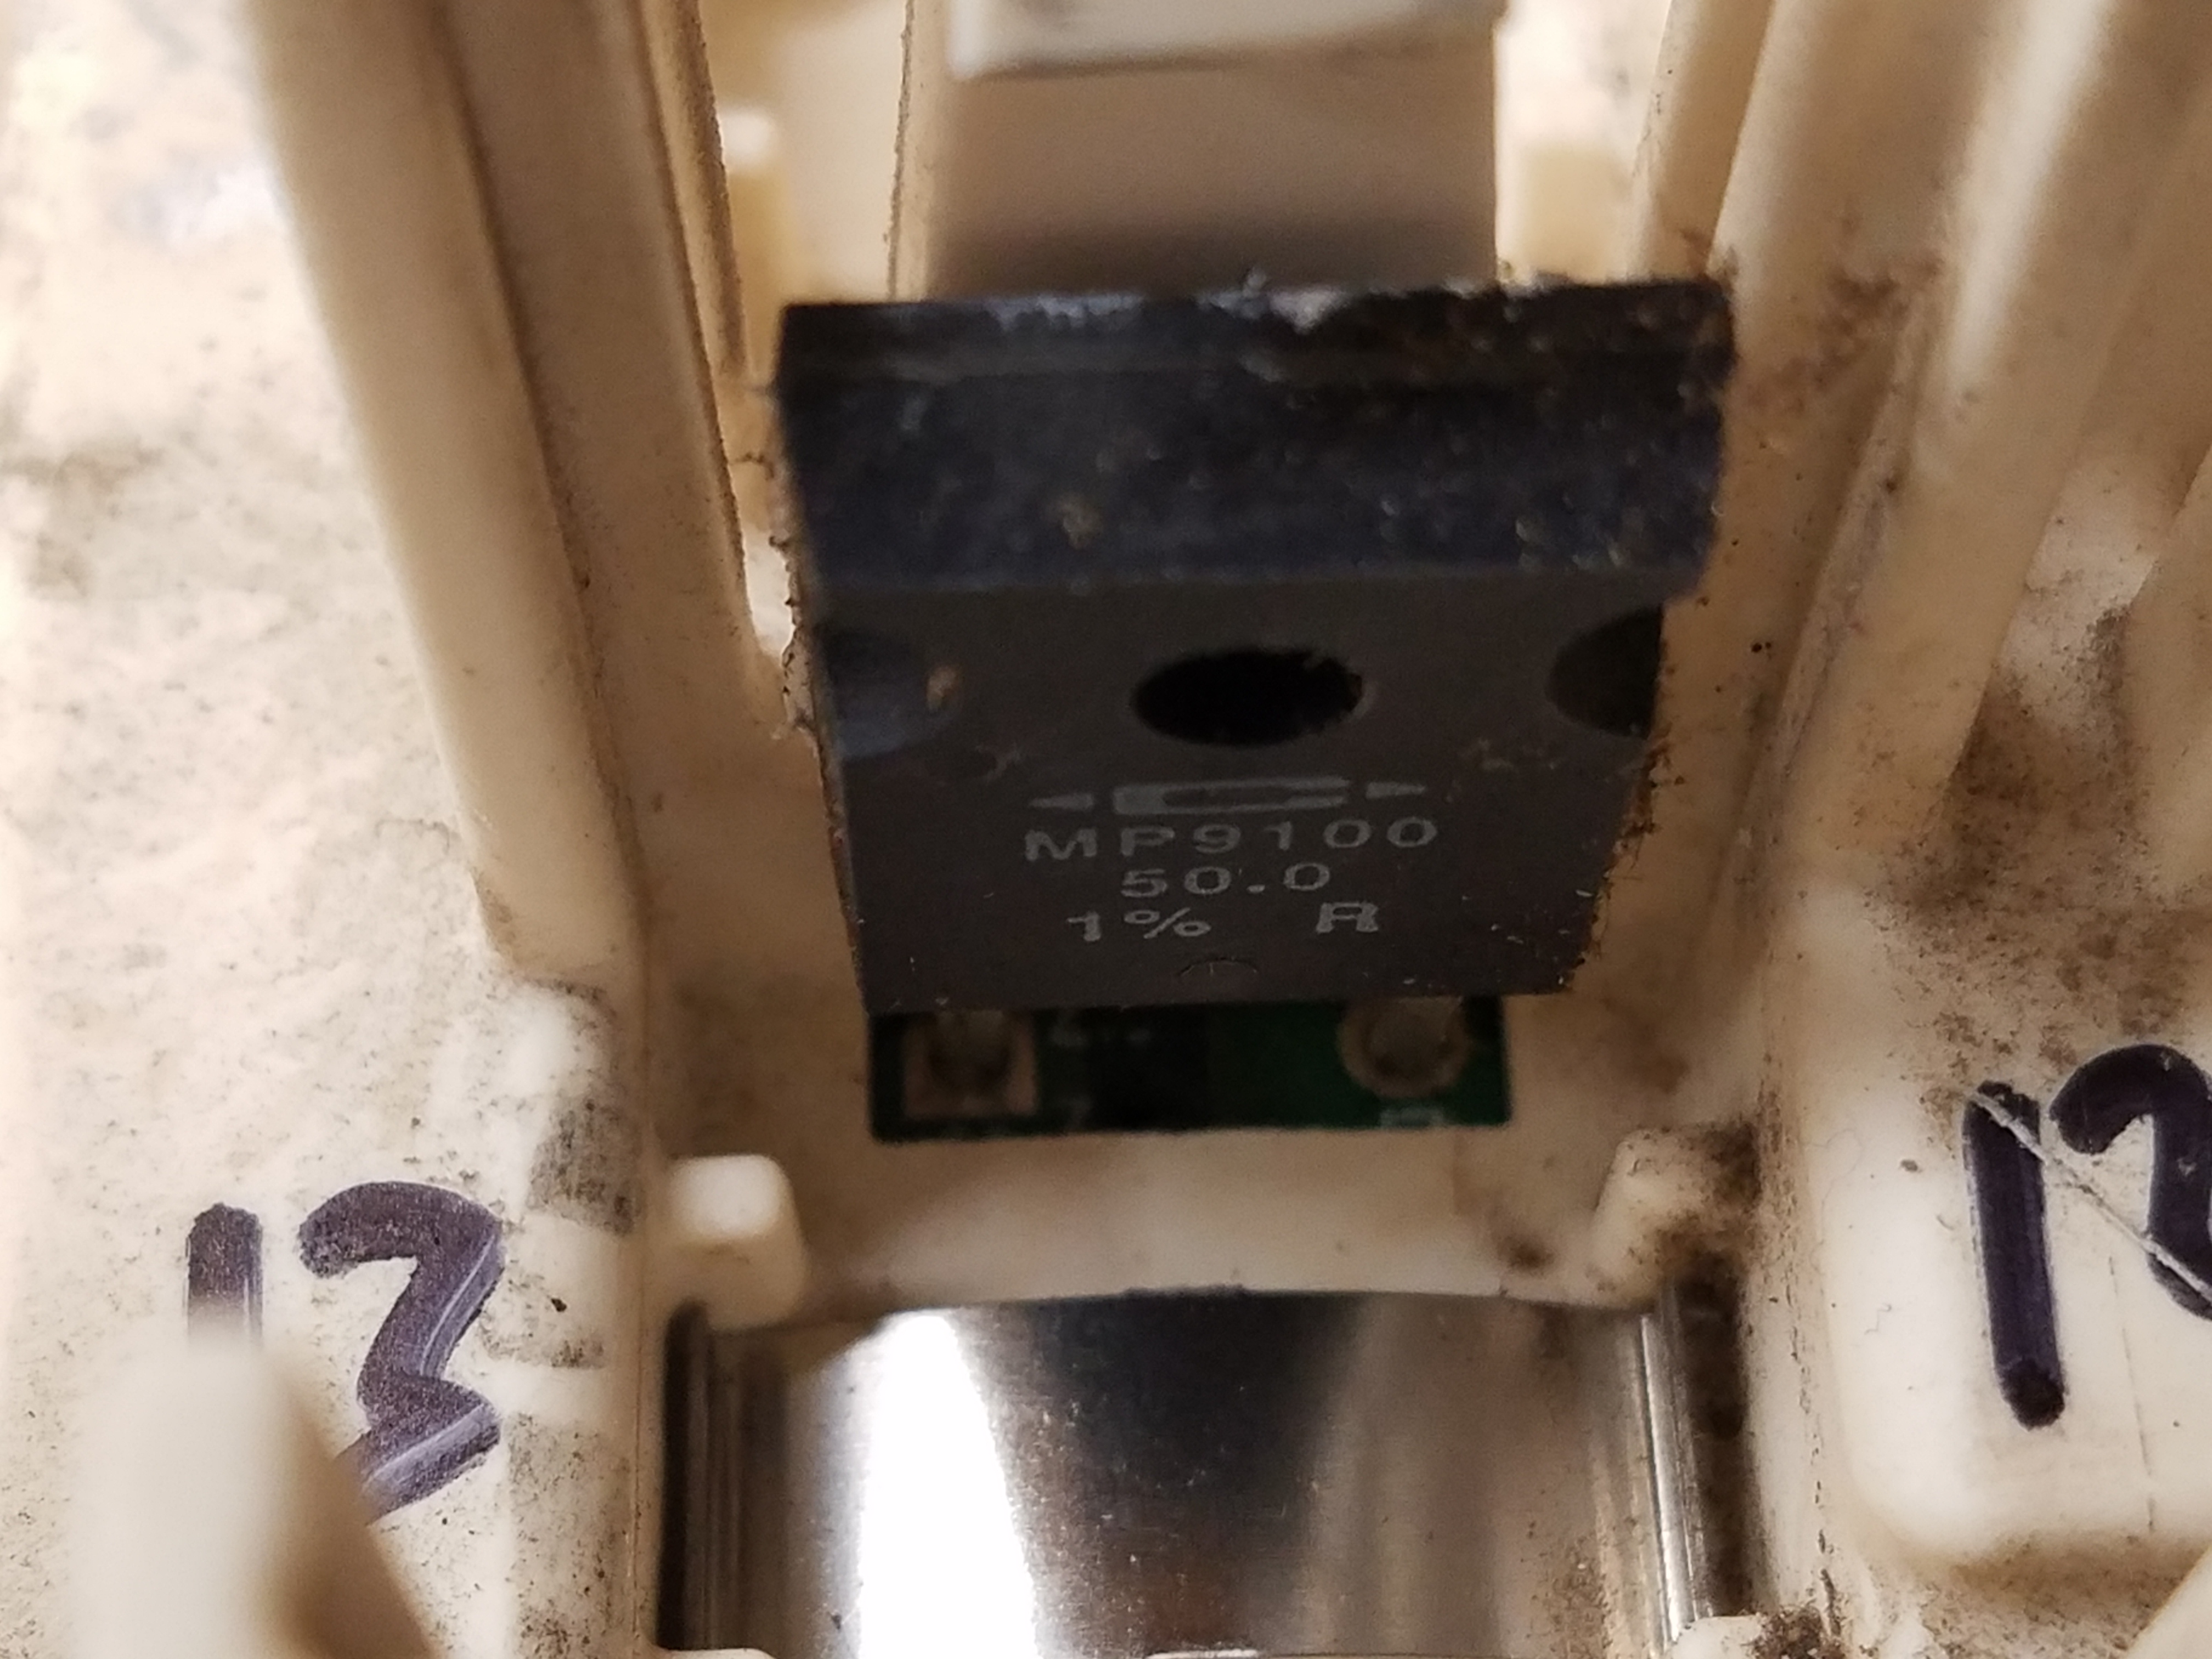
There is 1 More Resistor in a TO247 Package MP9100-50.0-1%
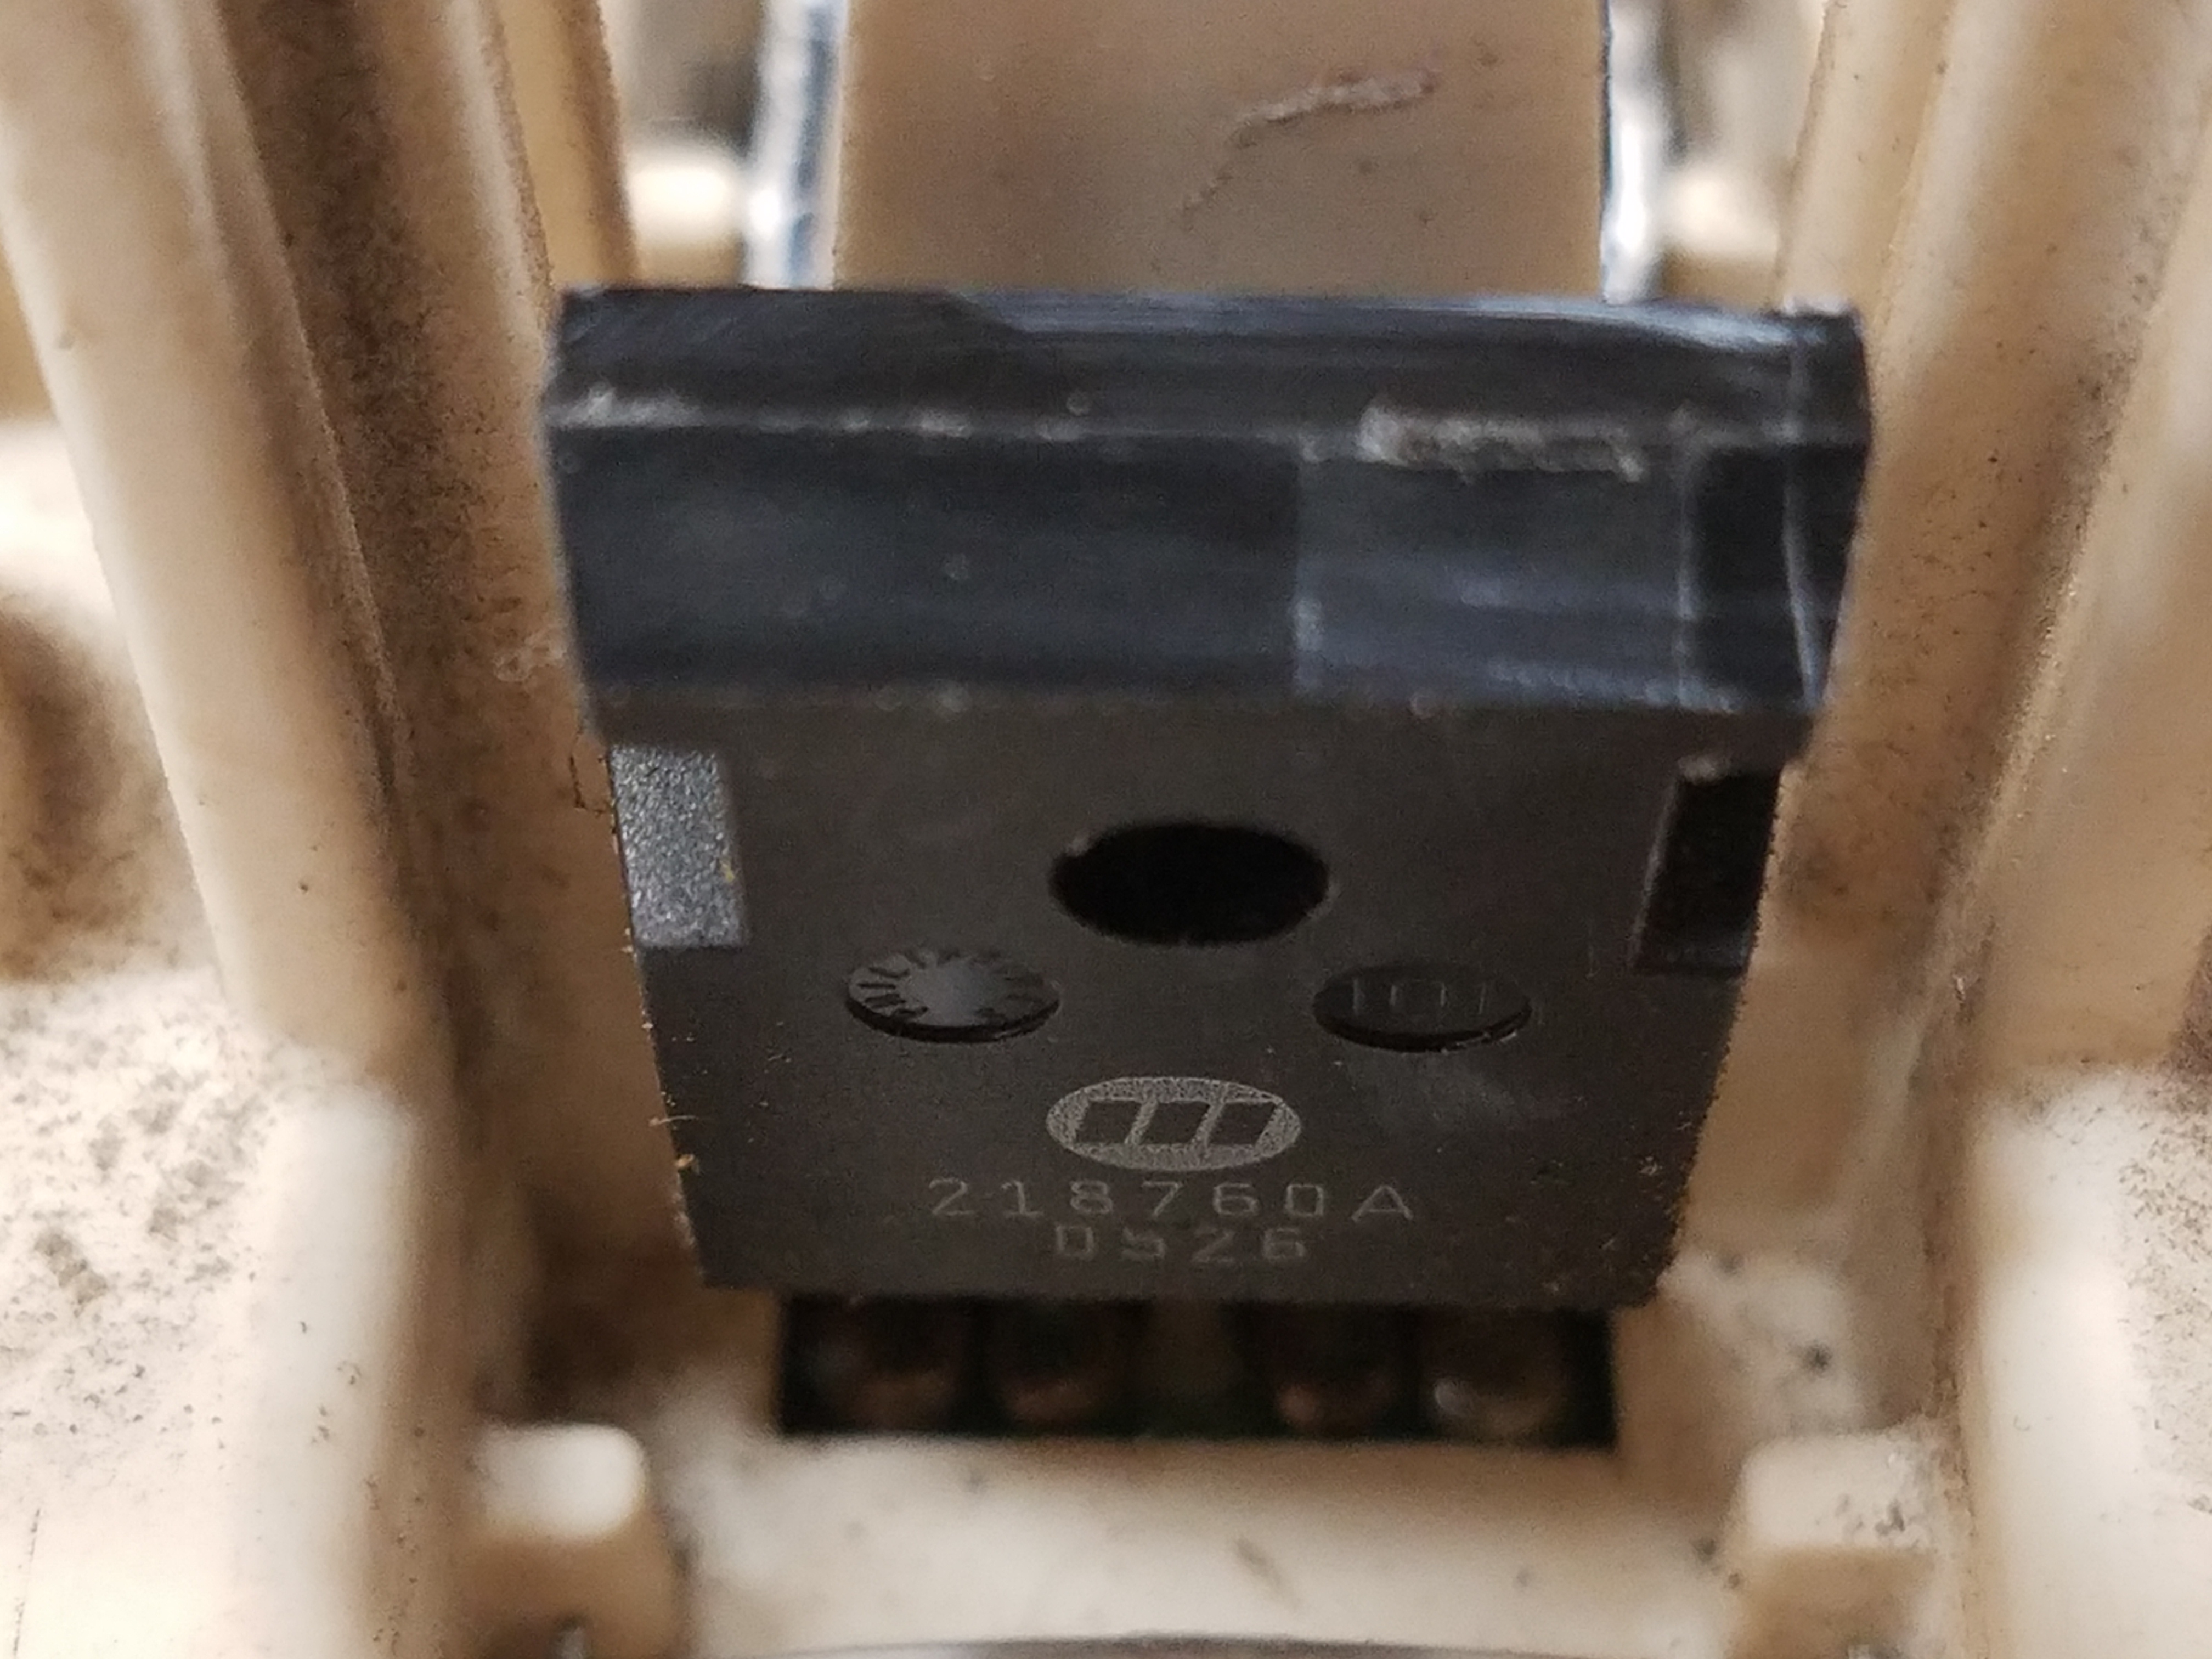
Proprietary Miller 218760.. Looks Like a Custom Rolled Phsae-leg IGBT or Dual IGBT
If anyone Knows Of a Replacement Please let me know.
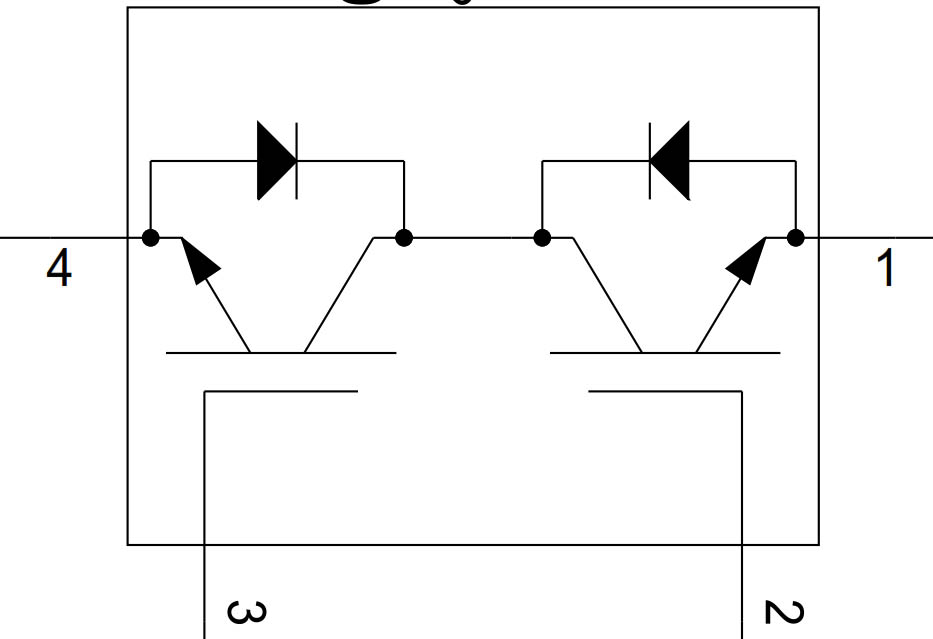
Schematic Data:
TO247AC 5P DWN FLIP Listed as IRF130_5 Pinout: Emitter1 Gate1 Emitter2 Gate2
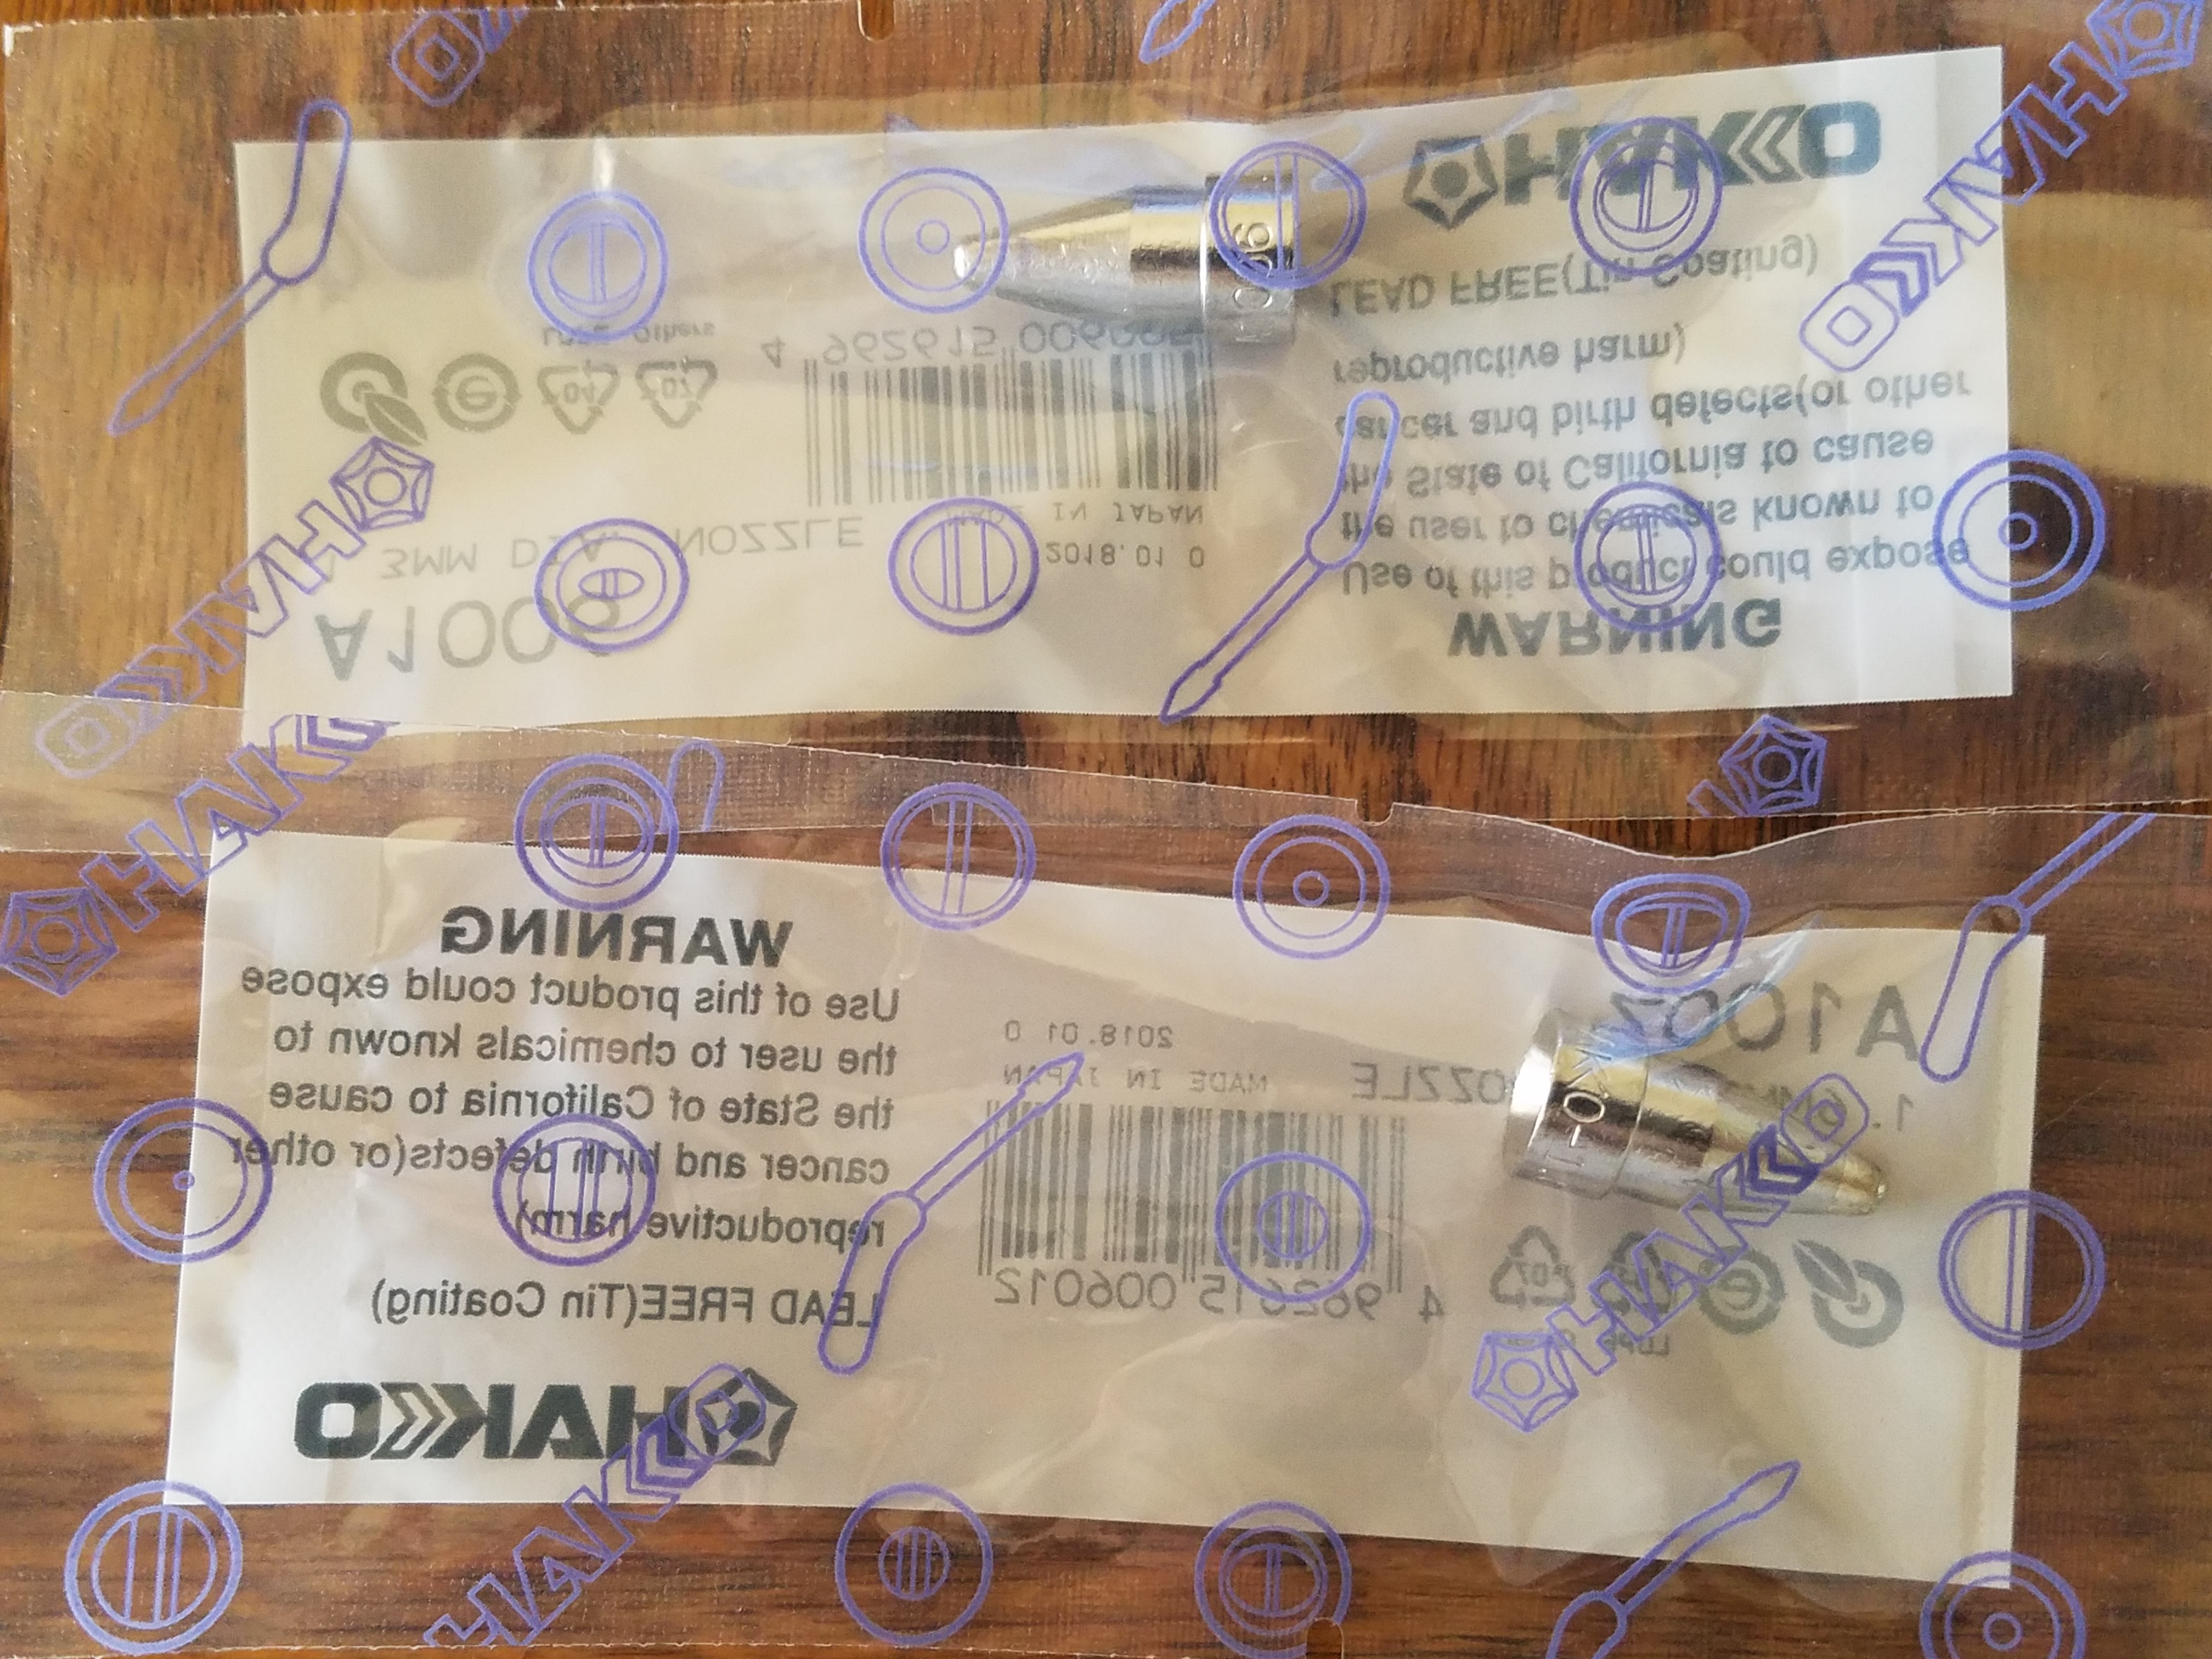
Busy Day.. Got My Desoldering Tips In..
Lit the Solder/Desoldering Machines Up..
Removed Some More Parts..
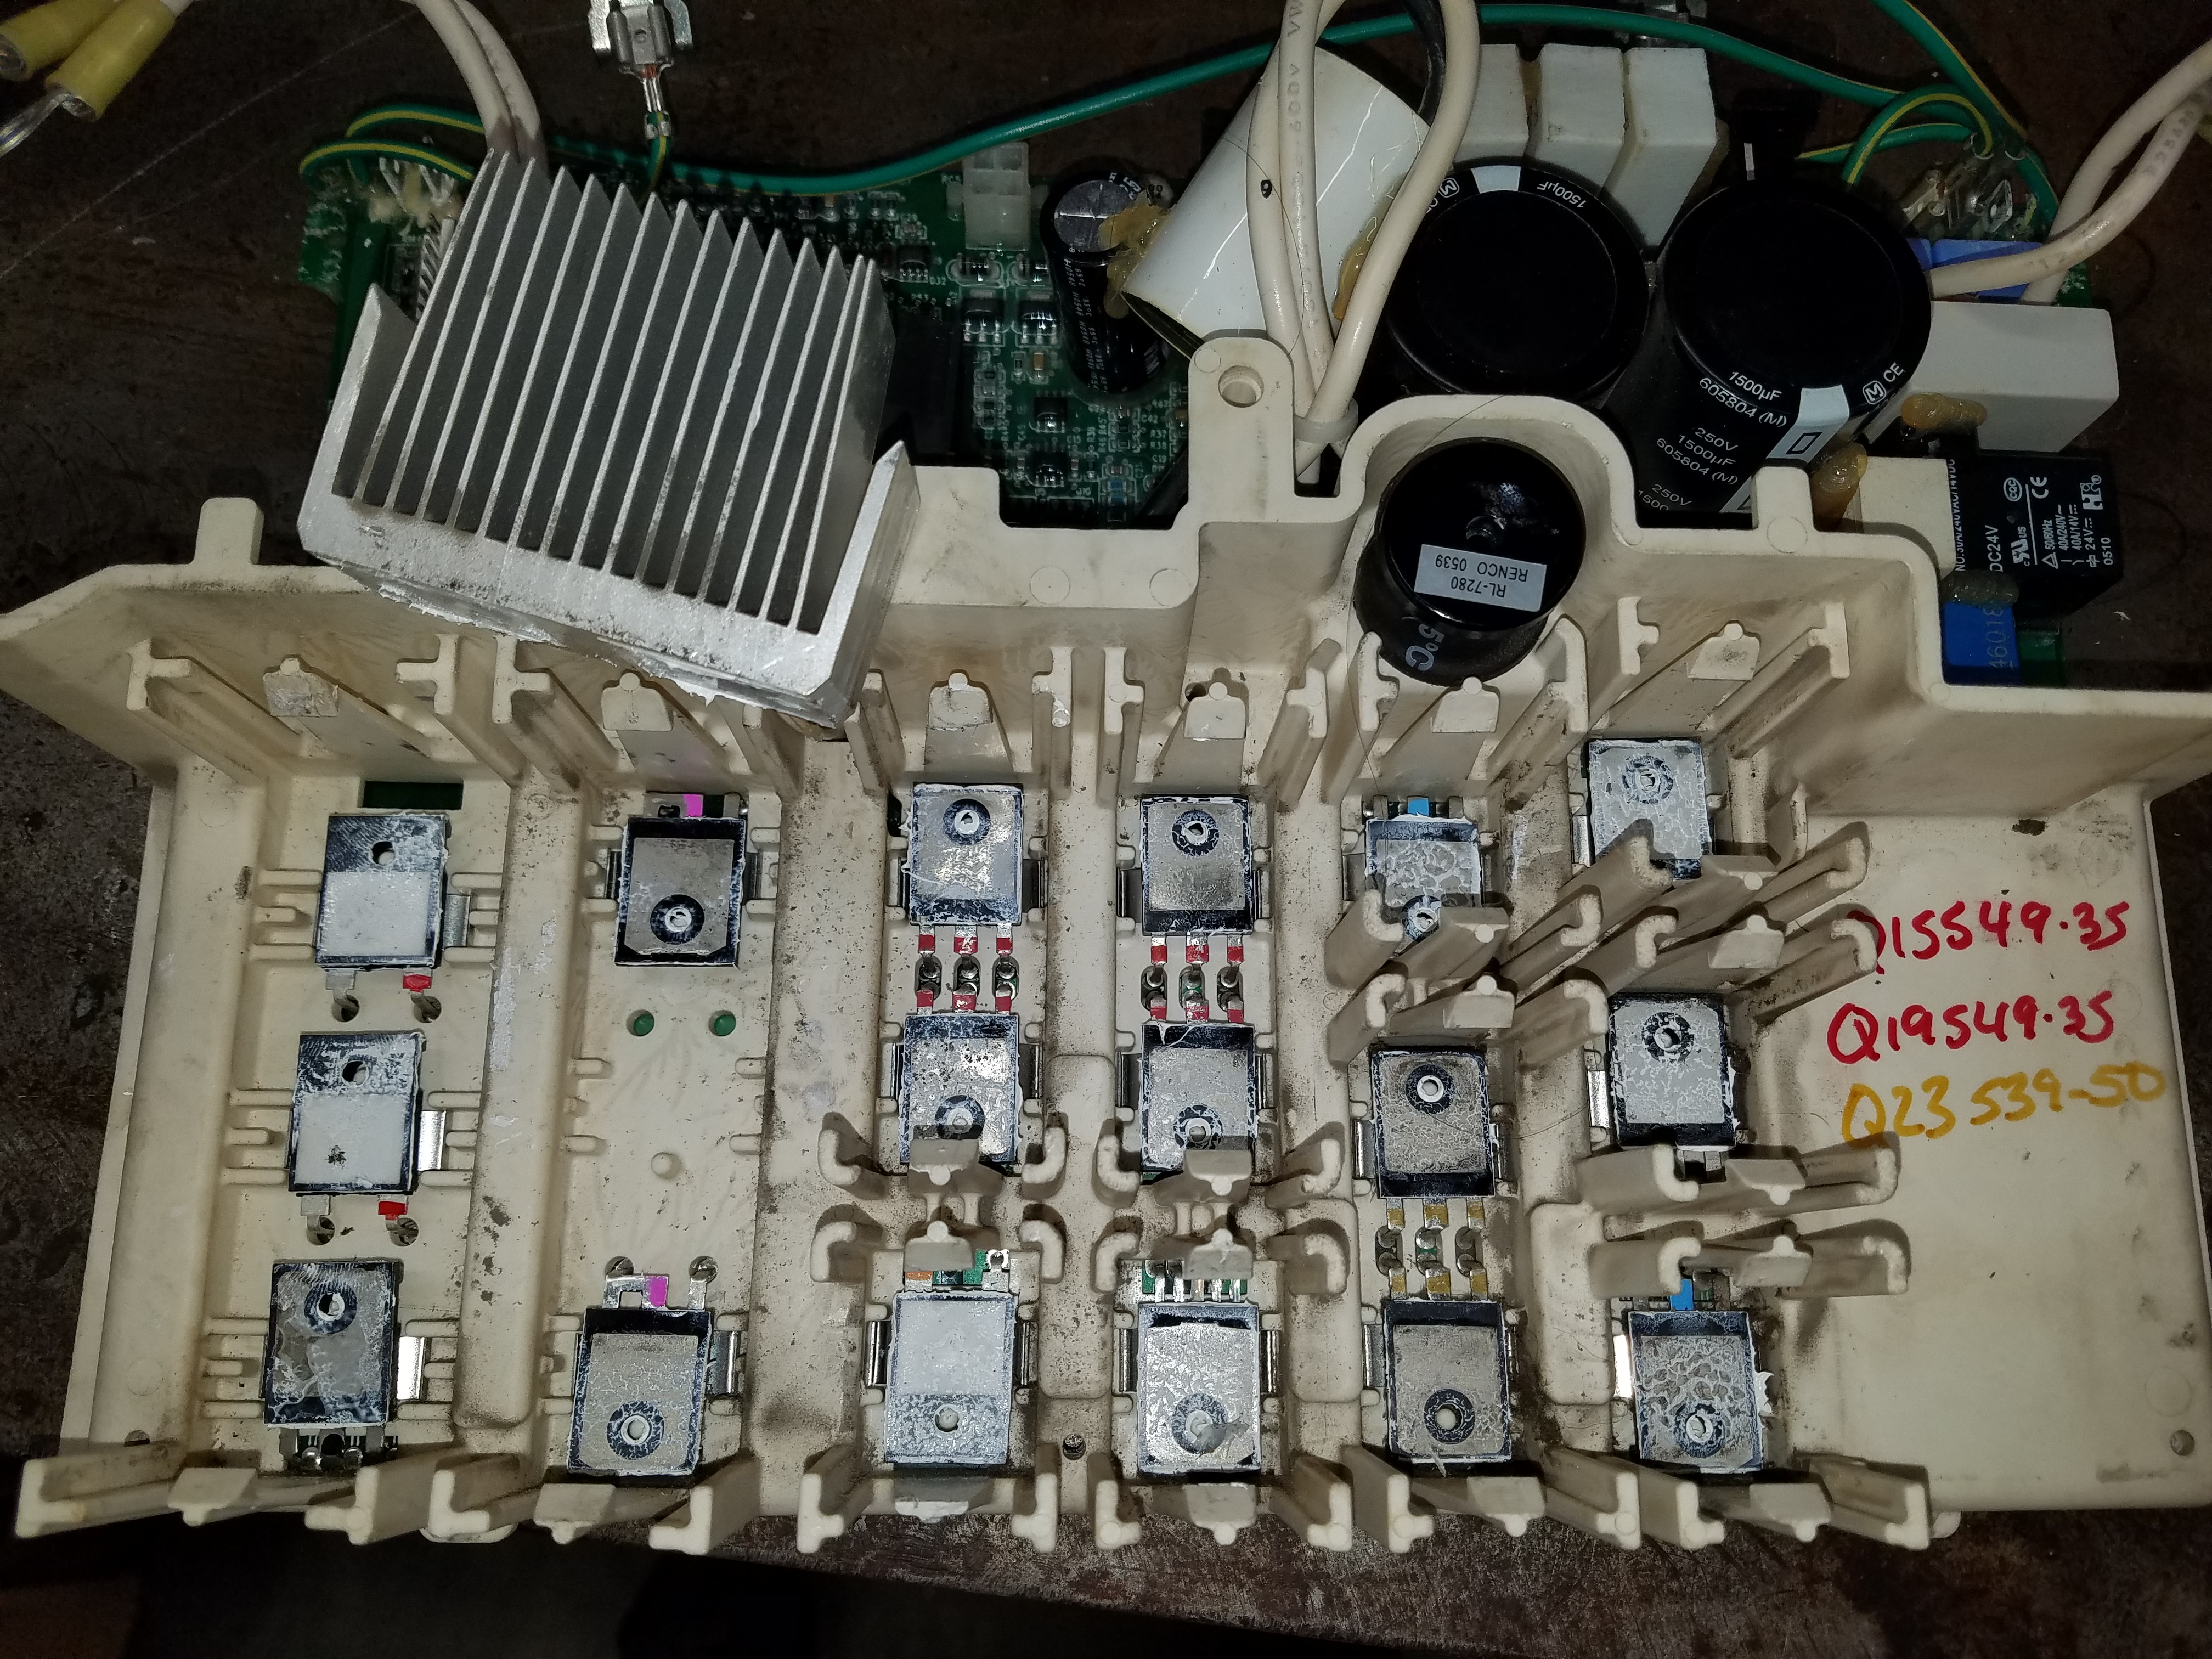
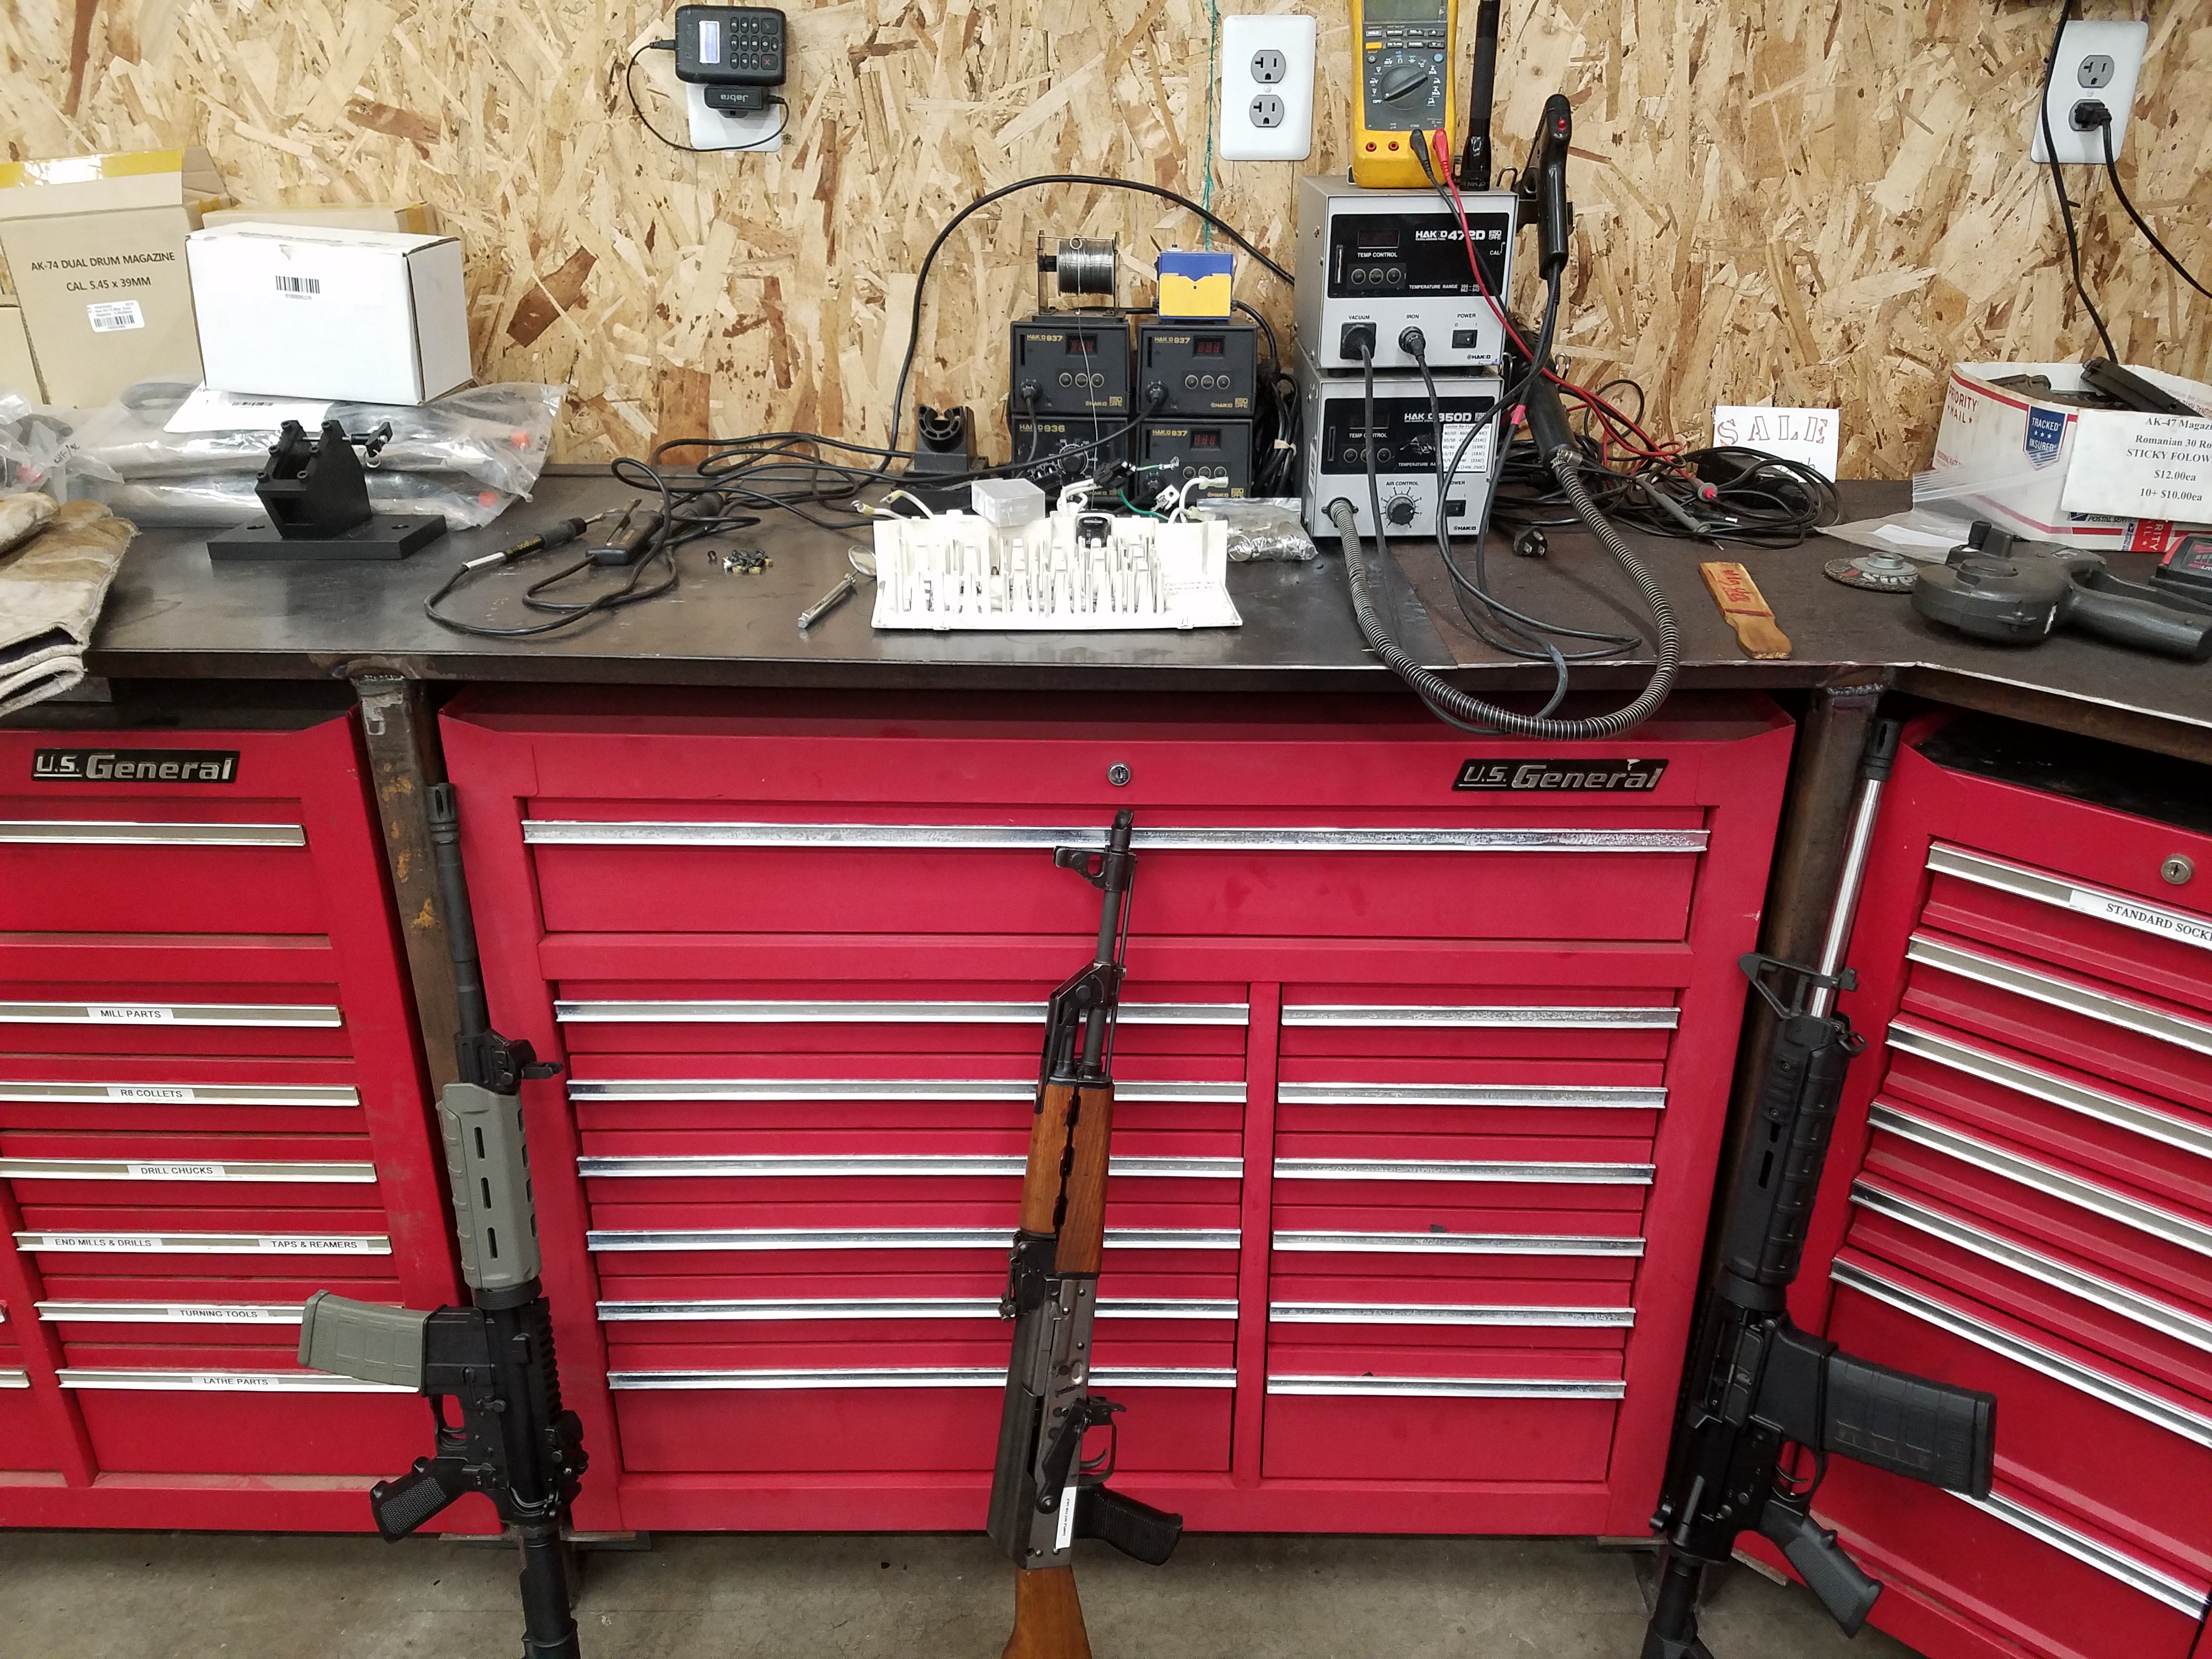
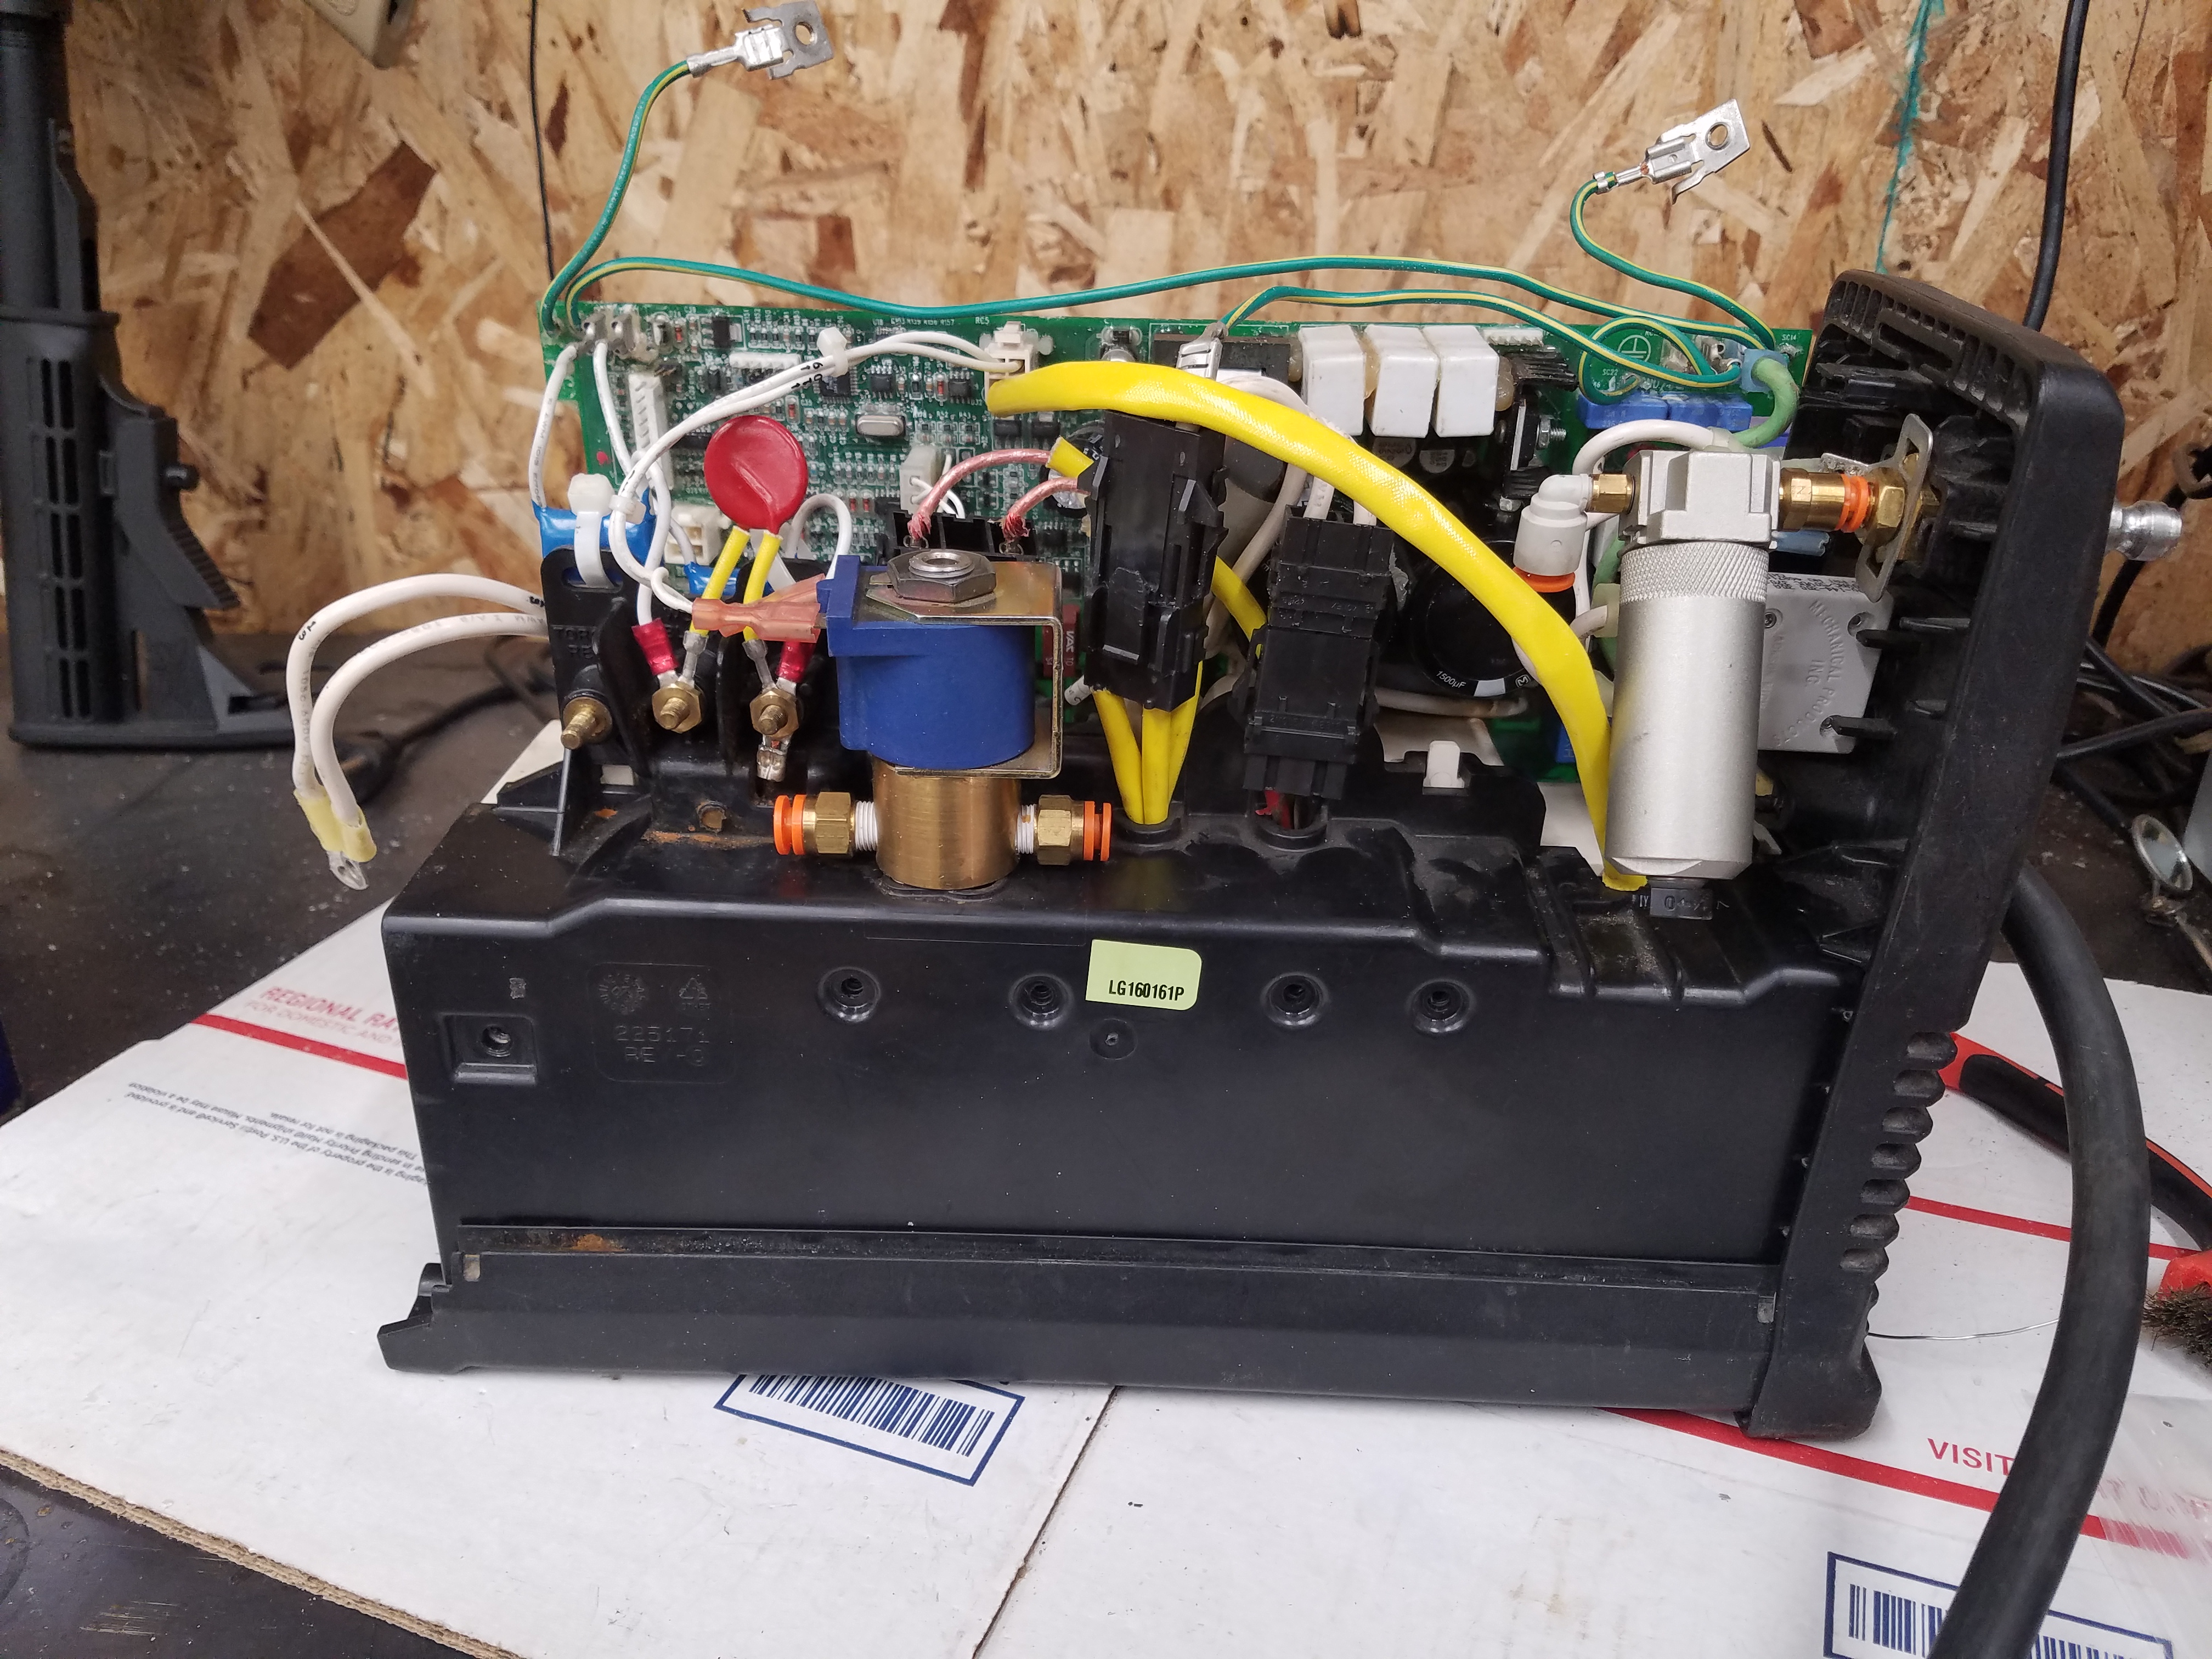
Whats Under The Hood of the Miller 375.. Plasma Cutter!!
Digikey Mouser & Miller Order Totaling Less Than $40 Right Now + Ship.
All IGBT, Resistors, & Diodes Checked Again and All are Good.. The Leads Cleaned Aligned Ready For Reinstall When The Repair Parts Arrive.
PCB Prepared Ready For Reassembly..
December 31st 2018
“Not a Trick” But a Treat!! What You See In The Photo is Real.. More Parts are Arriving!! I know it been a long time!!
Another Big Thanks to Miller Electric for Providing the PTC Update Miller Part No. 200656 Is a Vishay Part Number PTCTL8NR100HBE I will be Reassembling it tonight or this weekend I hope.
A Big + to Arrow Electronics For Having These Parts In stock and Shipping Them So Fast.
Some New Parts Installed I did Not Install the HX 50-P as it is still on order/transit but it looks like it only has some slight cosmetic damage..
The Long Process of Soldering & Heat Sinking the The transistors. “Diodes, Resistors, and IGBT’s”
I Found it Simpler to Install the Transistors, Install Heat Sinks, Solder Transistors, Remove heat sink and verify thru hole penetration on soldering, Apply heat sink compound and reinstall.
You can see There is 1 heat sink tab broken on a resistor near the botton but it looks like it will hold a good contact.
More Assembly…
And More Assembly.. and Power On Test With 110V and 240V so the Switching Circuit Is Working.

I know it looks bad with the conformal coating stripped in the solder area’s but I will apply a new conformal coating the the pcb asap and I also had to make an insulator to go between the PCB and the Case.
All Assembled Now Will She Work??? Not With My Air Chuck So I had to make an Adapter..
Ultimate Test Yea, it is a Poor Video But Proof it Works. I Need that third arm out of the chest or remote camera.
The Final Cause Of the Meltdown was a Bad Relay in the Bus Precharge Circuit..
End Project.. One Down Many More to Complete As I Find the Time and The Cool Inverter Machines I hope to Have Many More Tear Down / Repair Projects In the Future.
#millerwelds #miller375 #Millerplasma
Last Updated on March 10, 2021 by Steven Rhine