
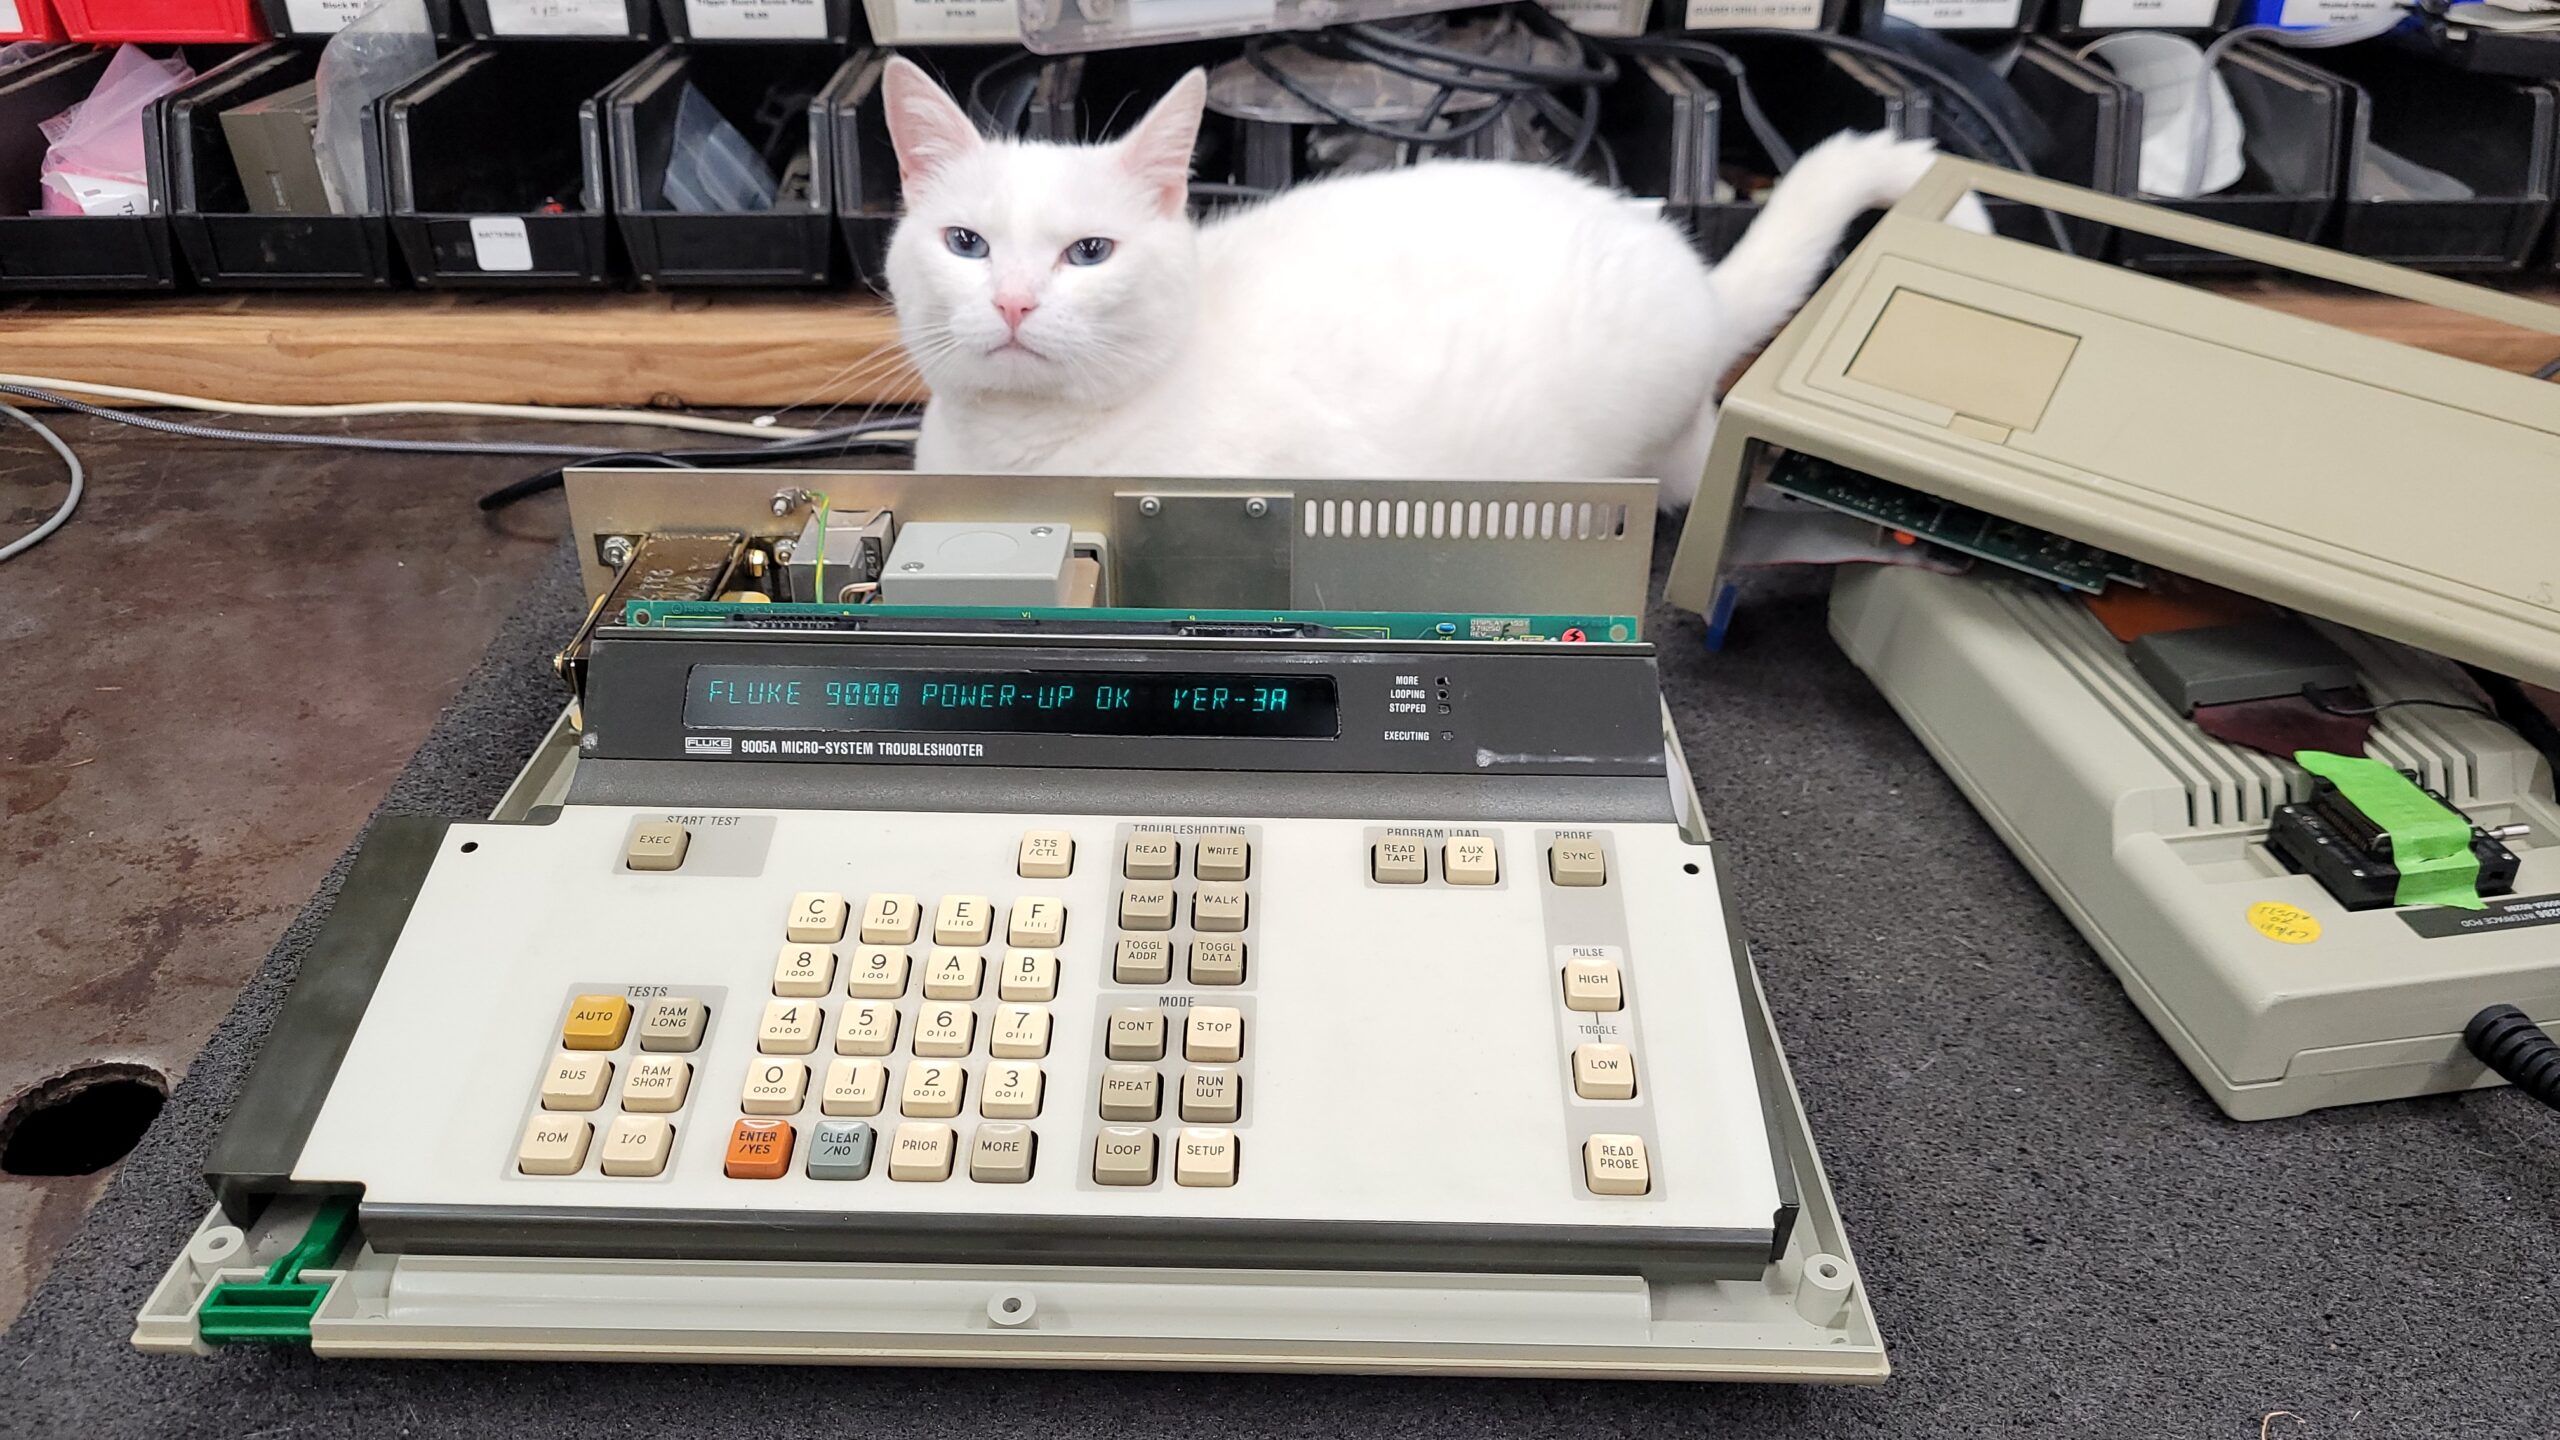
New Tool Fluke 9005A Microsystem Troubleshooter… 1980-1982?
New Tool A Vintage Fluke 9005A Microsystem Troubleshooter… This is form 1980 to 1982! And Still useful today for servicing devices form that era. Just Arrived 10/25/2205 If this Site…
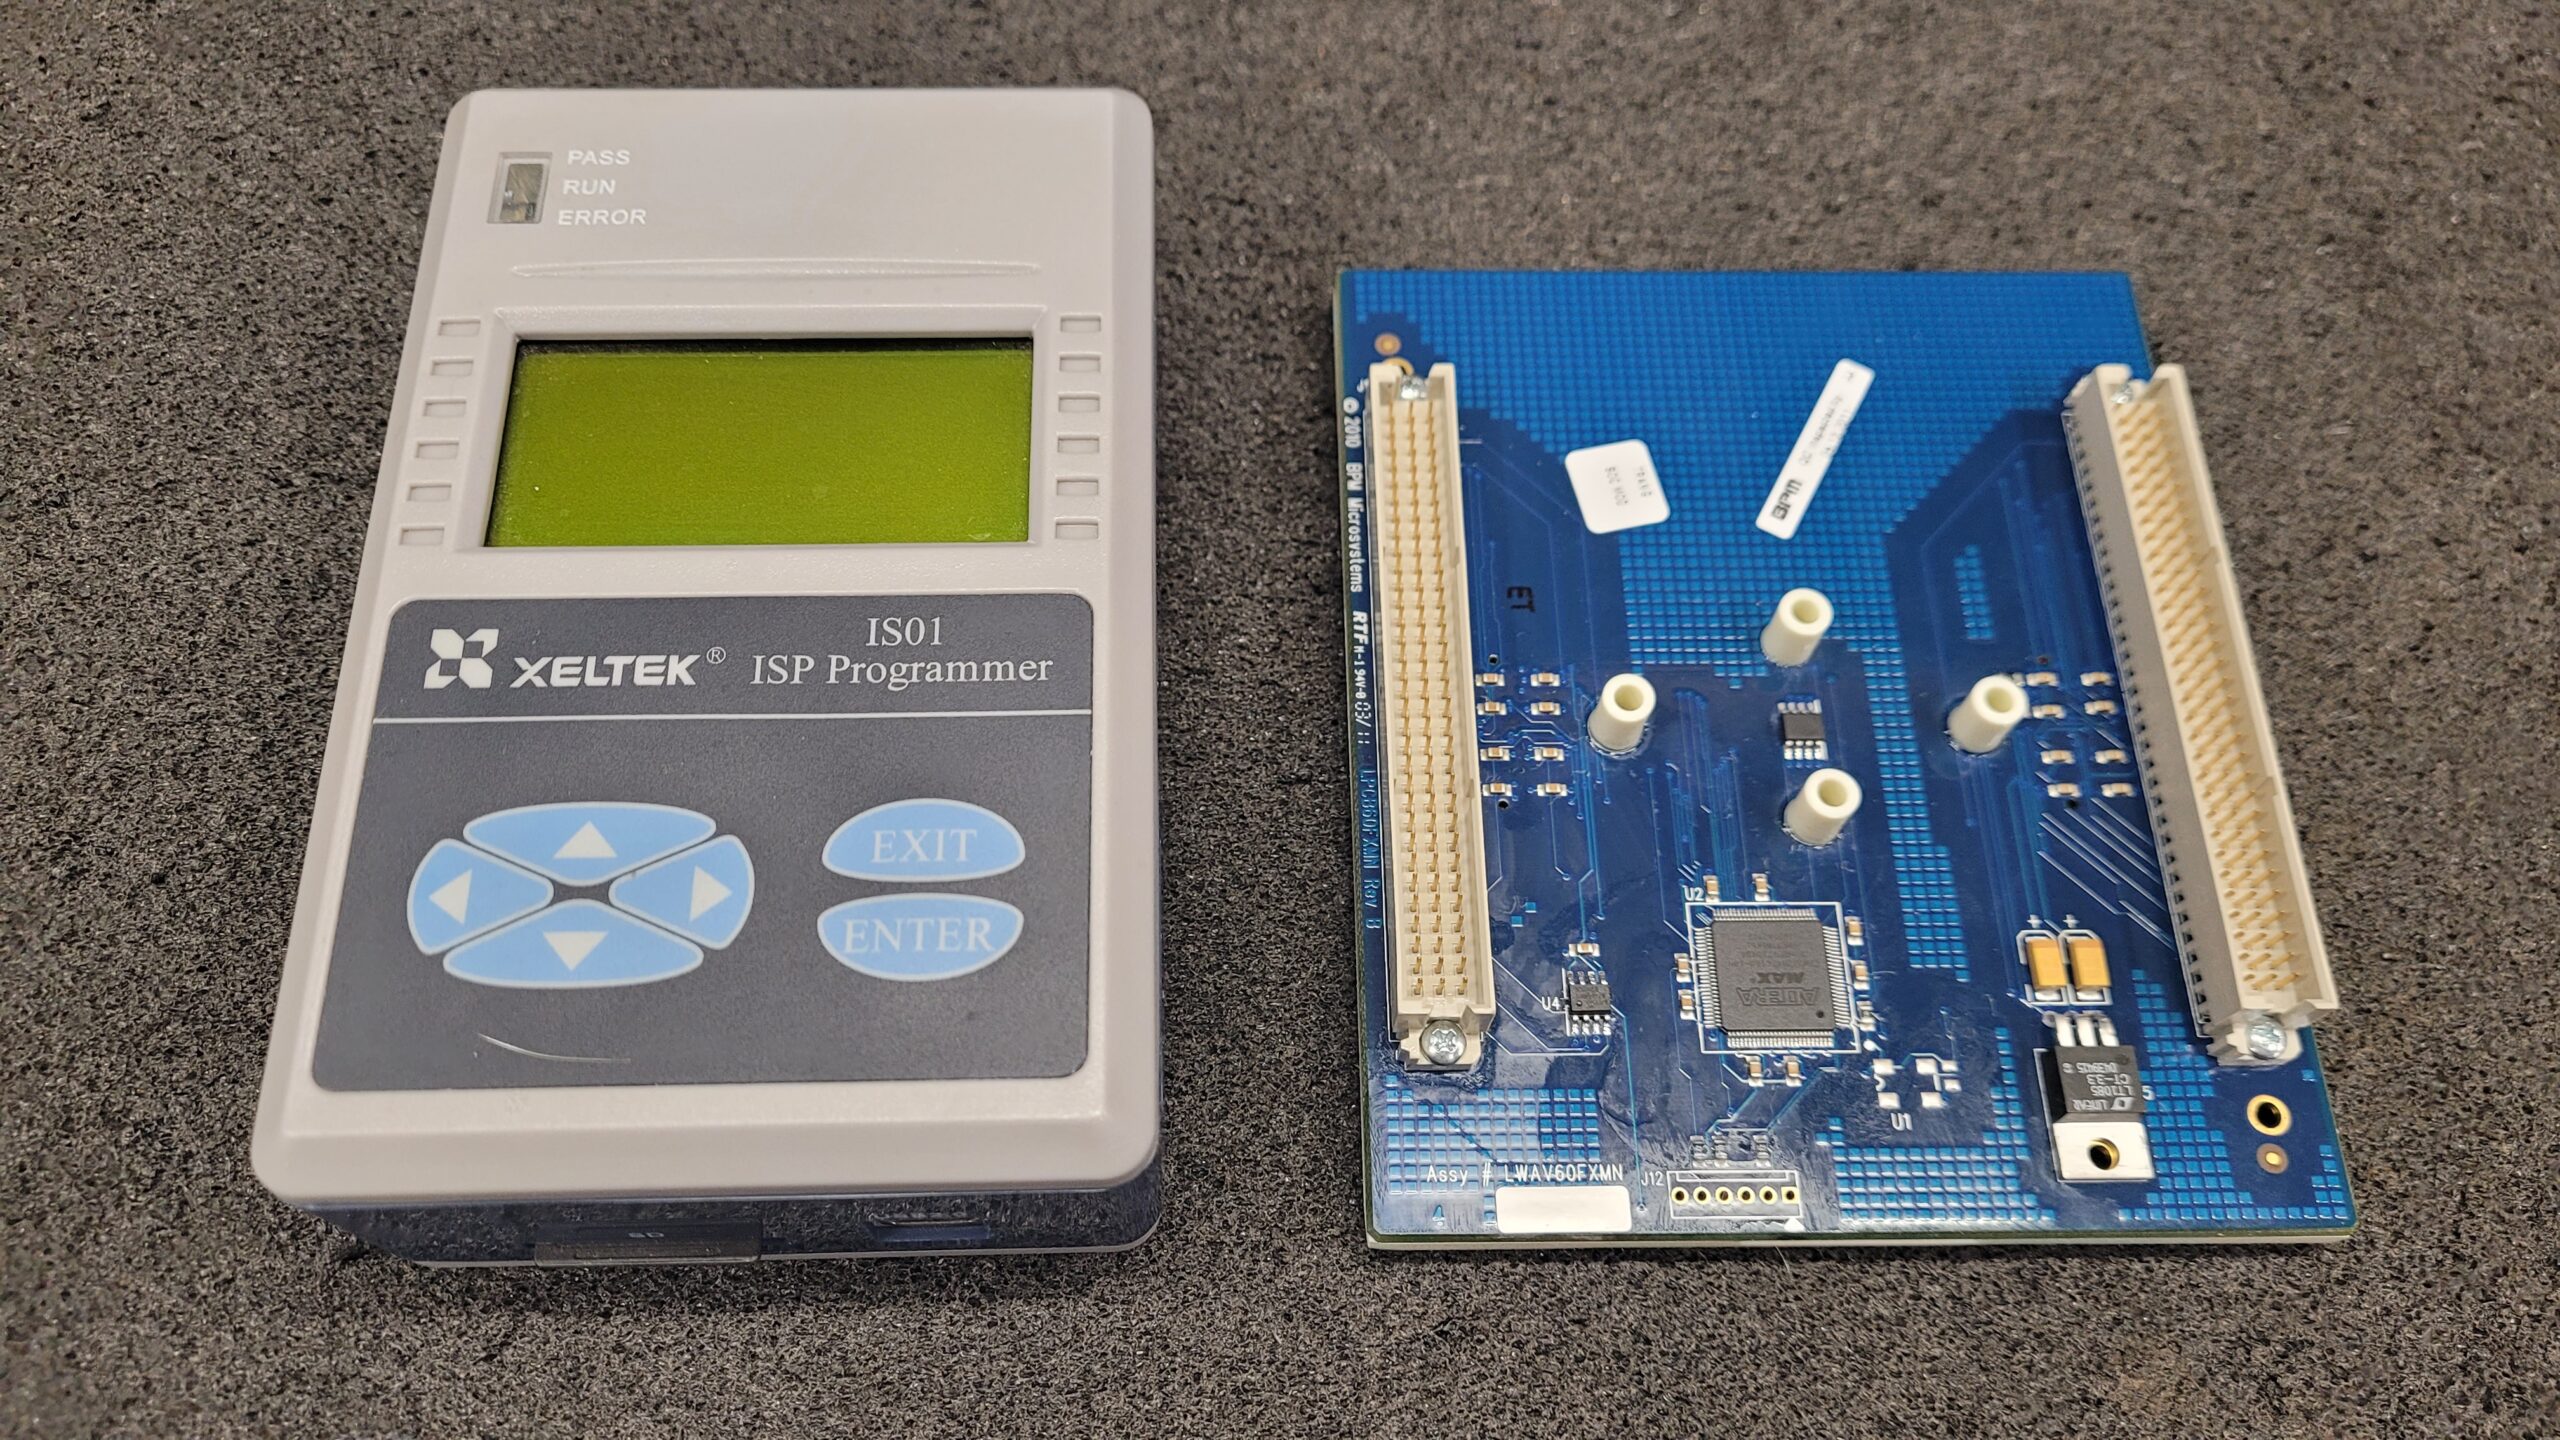
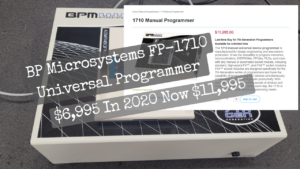
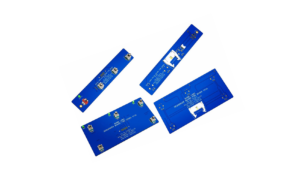
BPM Microsystems Adapter Carrier Altera EPM3128ATC100-10N Backup Attempt
BPM Microsystems Adapter Carrier Altera EPM3128ATC100-10N Backup Attempt. Let’s attempt to back up the Altera EPM3128ATC100-10N. With my luck, it’s probably locked, but it’s always worth trying. You never know…

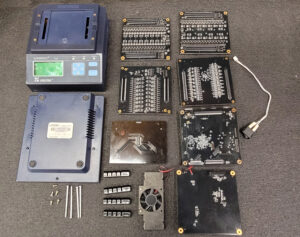
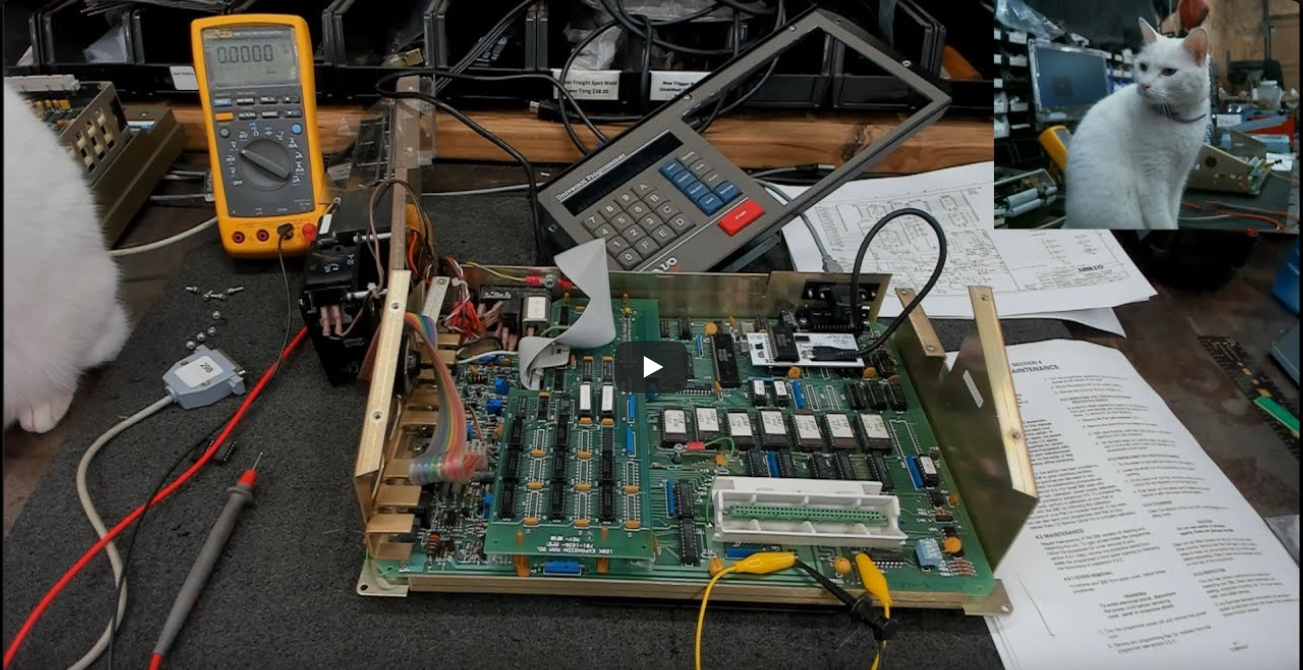
BPM Microsystems 2800 APS Site Teardown Inspection
BPM Microsystems 2800 APS Site Teardown Inspection Whats is this Vector Engine co processor? The 2800 is BPM Microsystems 8th Generation Universal Programmer it is a diffrent vairent then the…

System General Multi Apro Test And Teardown, Firmware and Info
System General Multi Apro Test and Teardown and Info System General Software Win MA 2.84Z Archive (Runs on Windows XP) Multi Apro Device List Viewer V284Z System General Multi Apro…
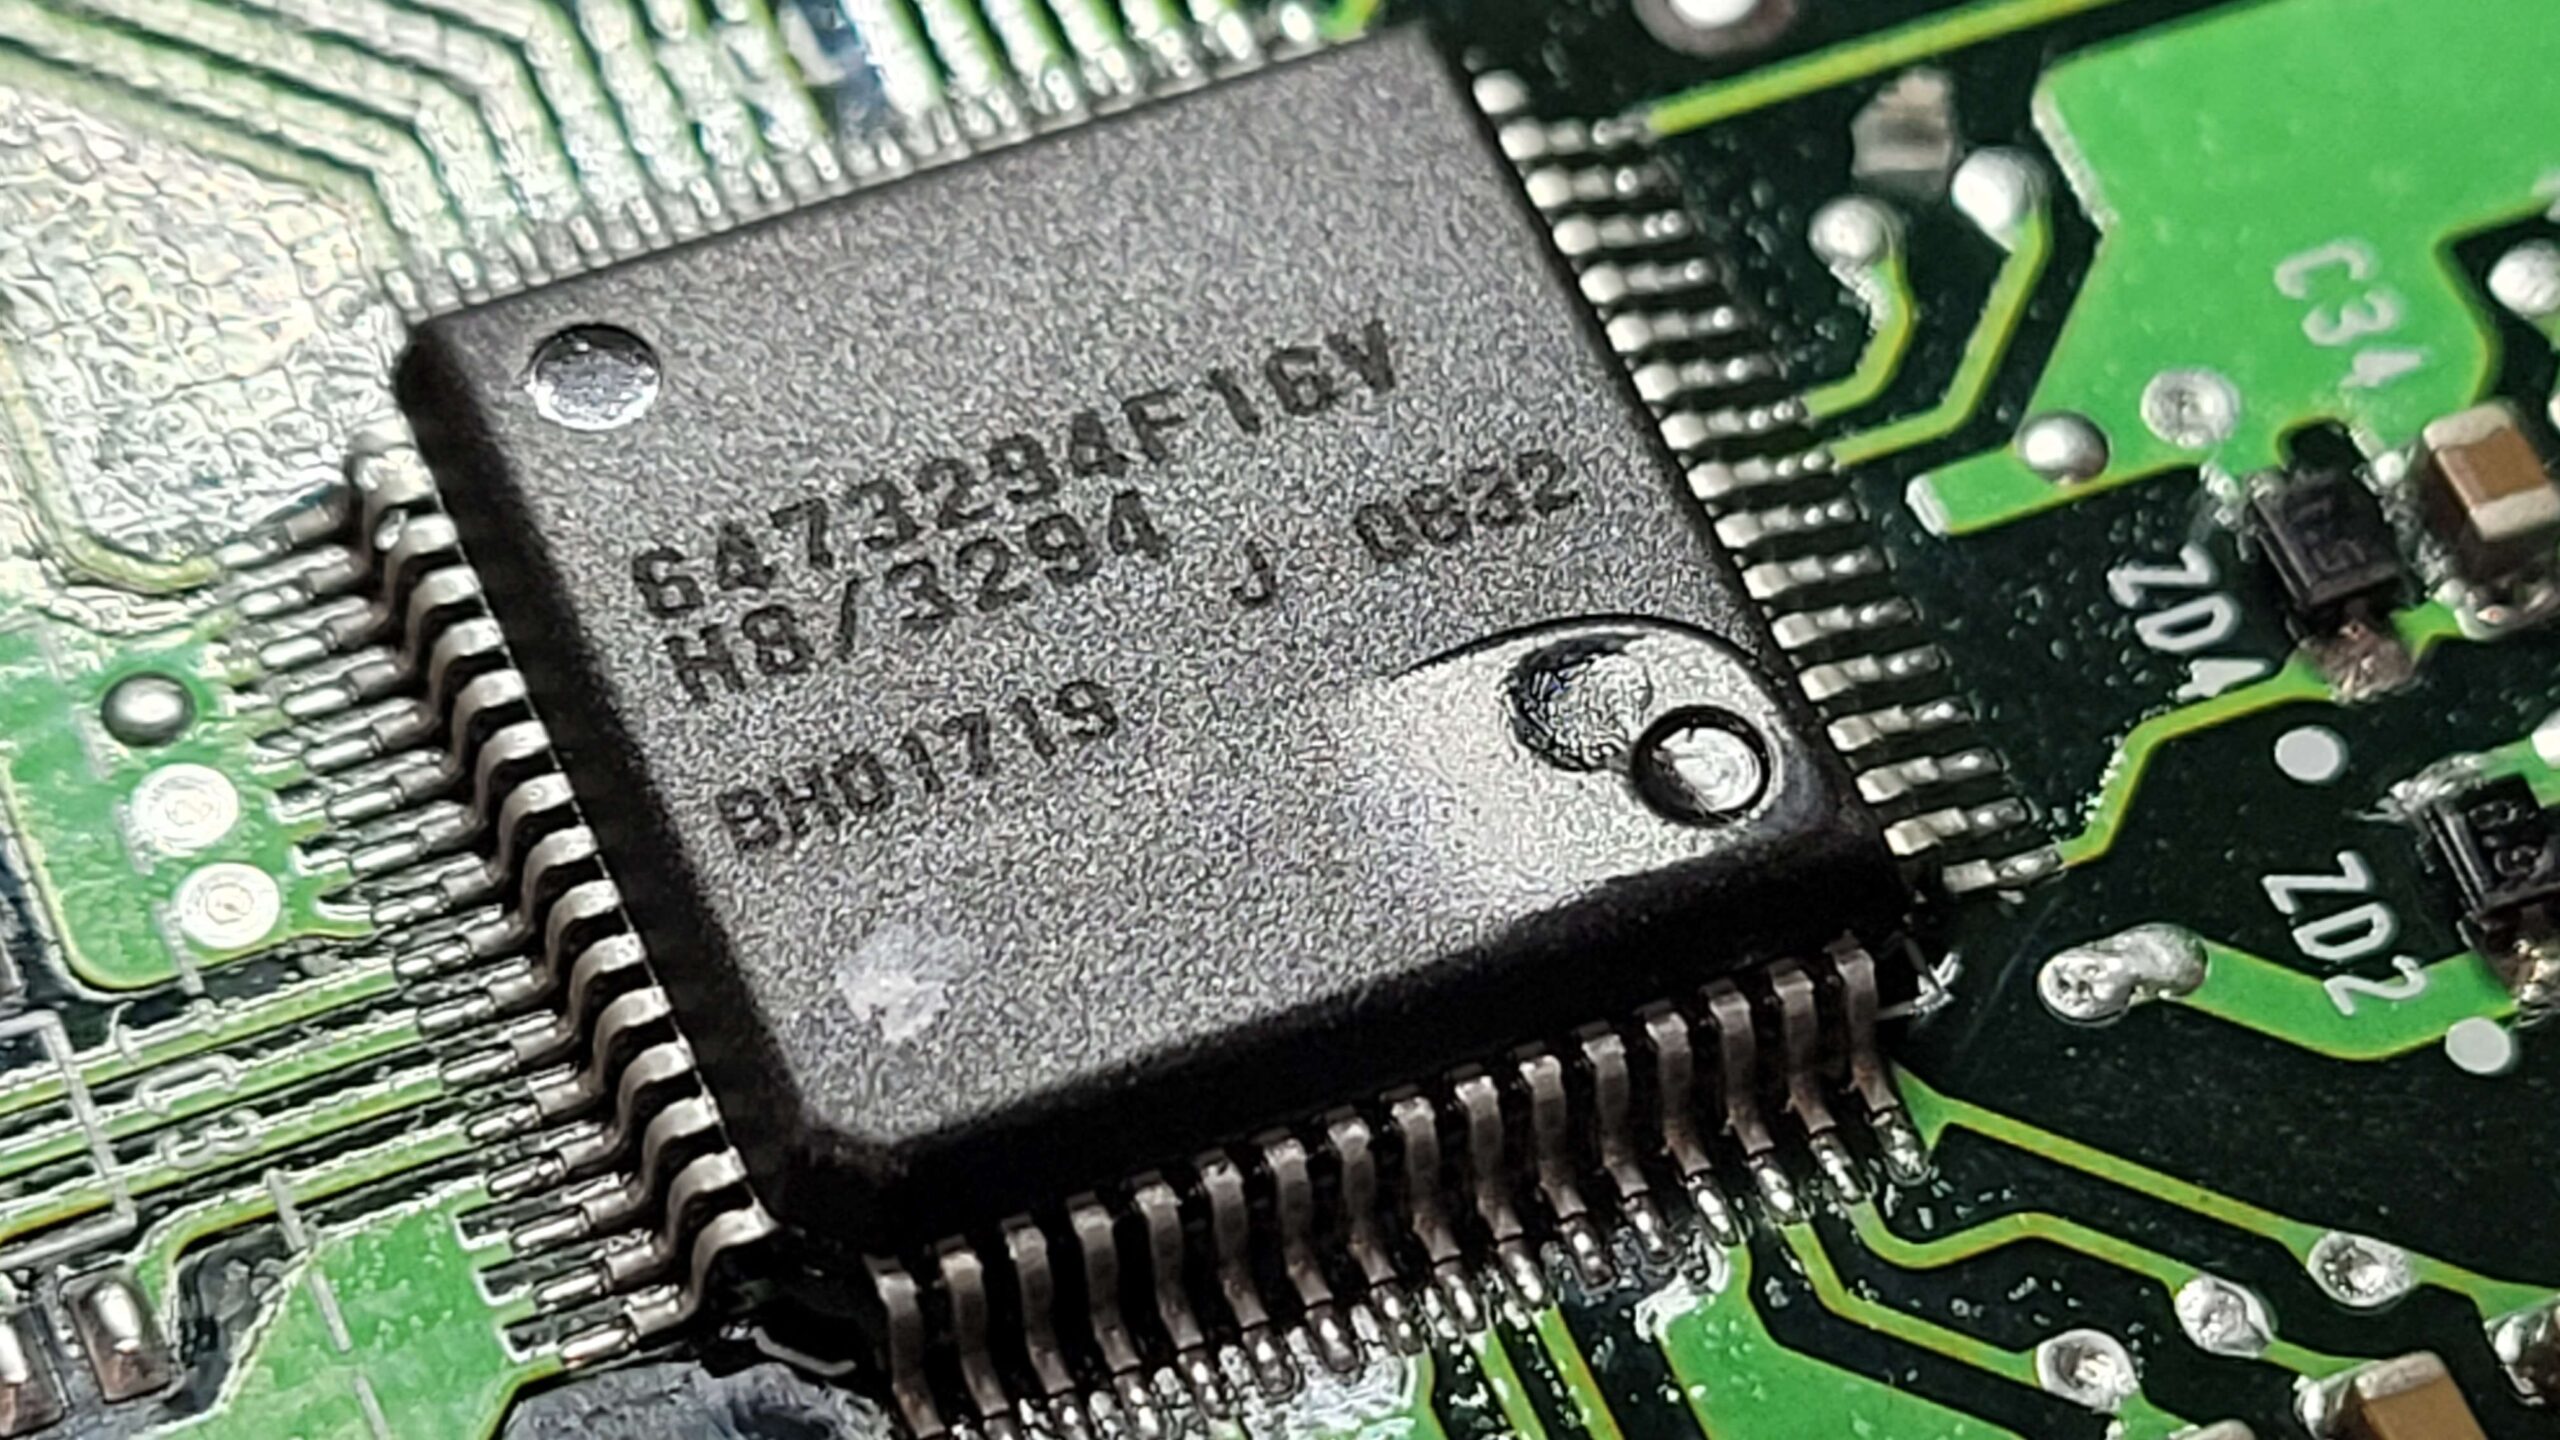
Backup of Mitsubishi Pajero “Tin Can” Renasas Hitachi H8/3297 – H8/3294 MCU
I have one of these TCU’s that has the non AISN Marked MCU for the shop to do some research on and attempt a backup. This givesme a clue as…

Tektronix 1240 / 1241 Logic Analyzers 1240 V5-2 & 1241 V1.1 Firmware Backup.
Tektronix 1240 / 1241 Logic Analyzers Tektronix 1241 Bootup Firmware 1241 V1.1 Backups Including Color Display Board and PAL’s Was Completed October 6th 2025, There was no backup online i…
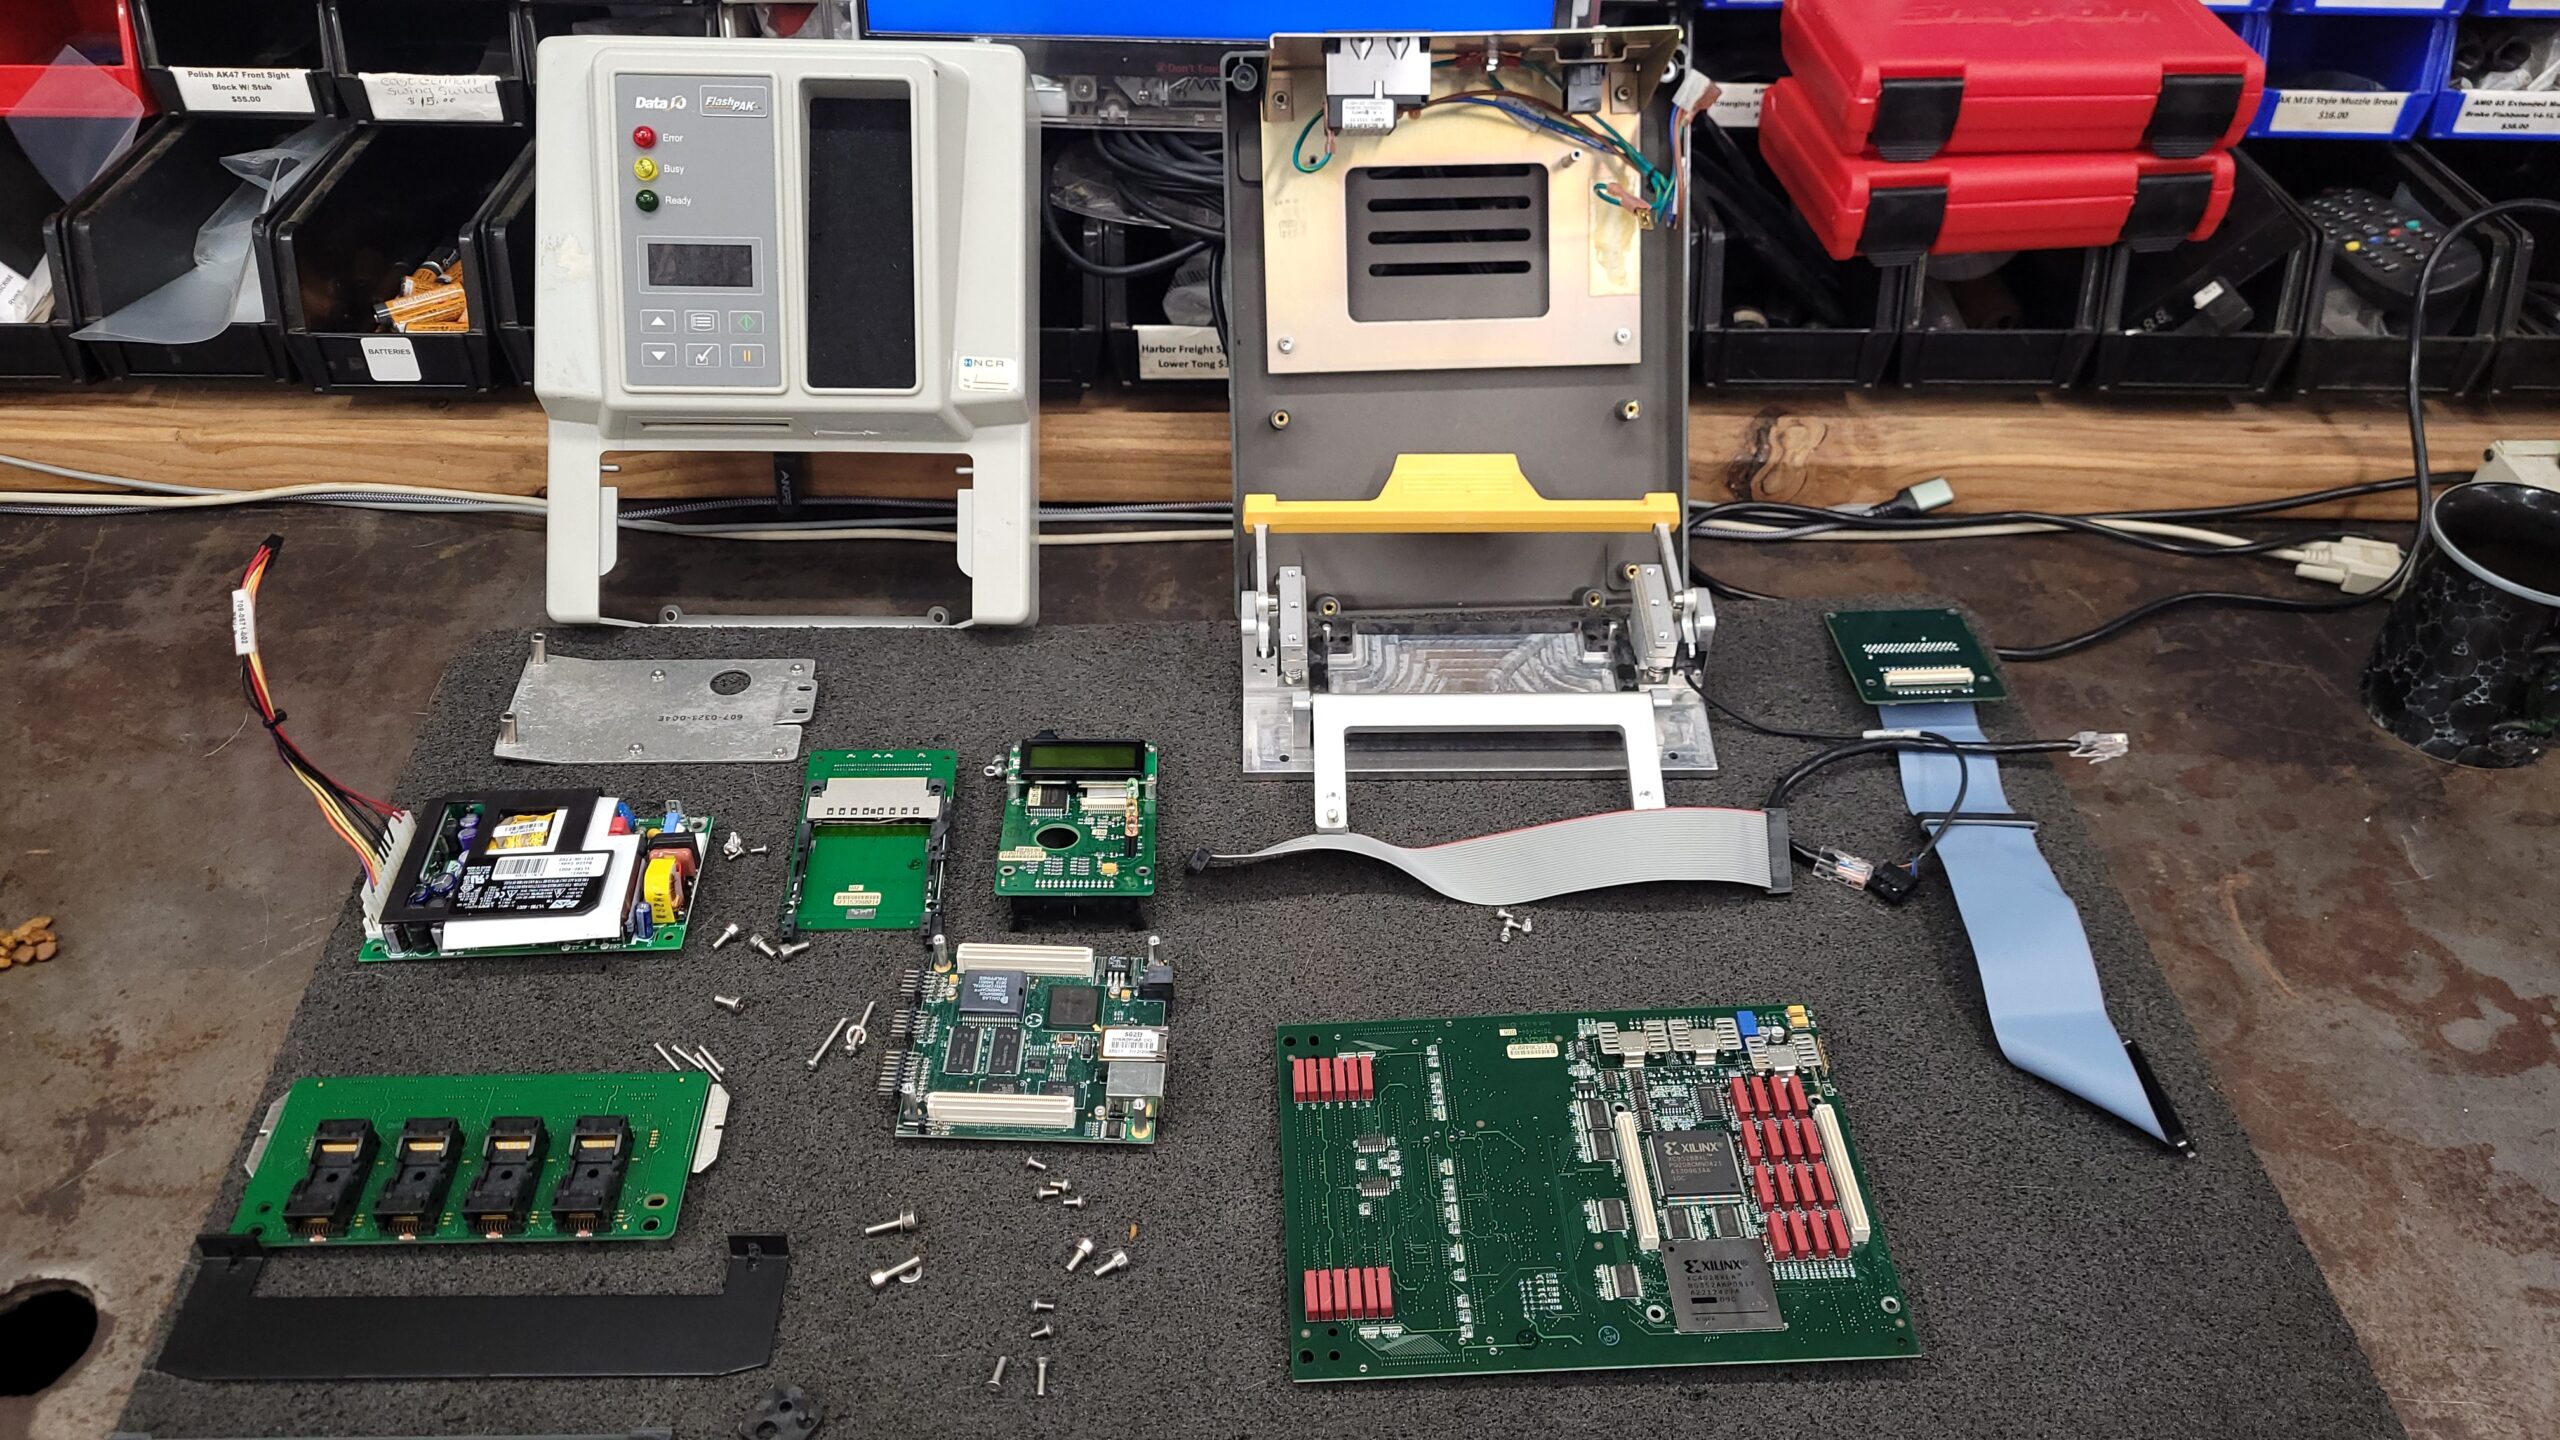
Data I/O Flashpak NSP-51 Programmer Teardown and Info
I haven’t seen anyone do a teardown of a Data I/O FlashPak NSP-51 chip programmer yet, so I knew this would make for some great content. Info on the flash…
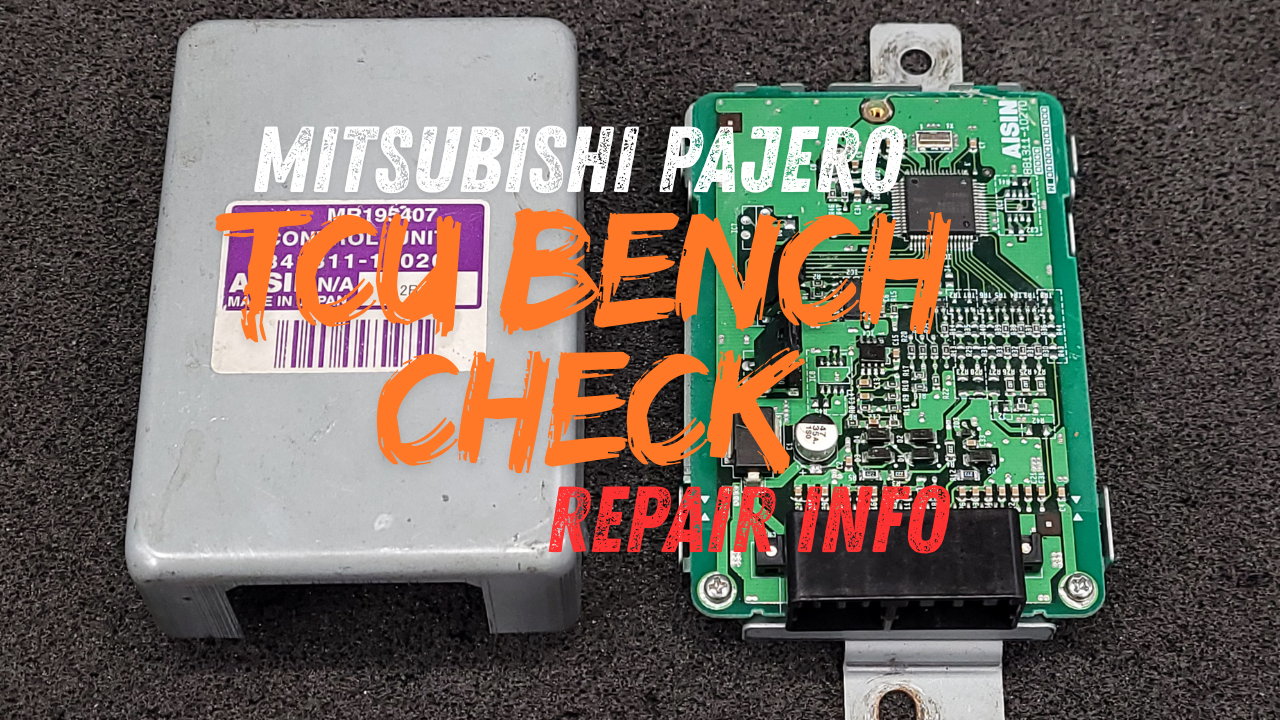
Pajero MR195407 “Tin Can” Transmission Controller Test / Repair Info
The Pajero “Tin Can” TCUs are generally more reliable than the plastic units and fail far less frequently. In fact, I’ve only encountered a handful of these in need of…
Data I/O 29B Programmer Unipack 2B Calibration How To Guide (Soon)
Data I/O 29B Programmer Unipack 2B Calibration How To Guide I Figured there was no Easy to Follow Guide out there So I will Create one! With Video! 0 0
Data I/O 29B Programmer Calibration How To Guide (Video)
Data I/O 29B Programmer Calibration How To Guide (Soon) I Figured there was no Easy Guide out there to Show how to Calibrate the Data I/O 29B Main Frame So…